
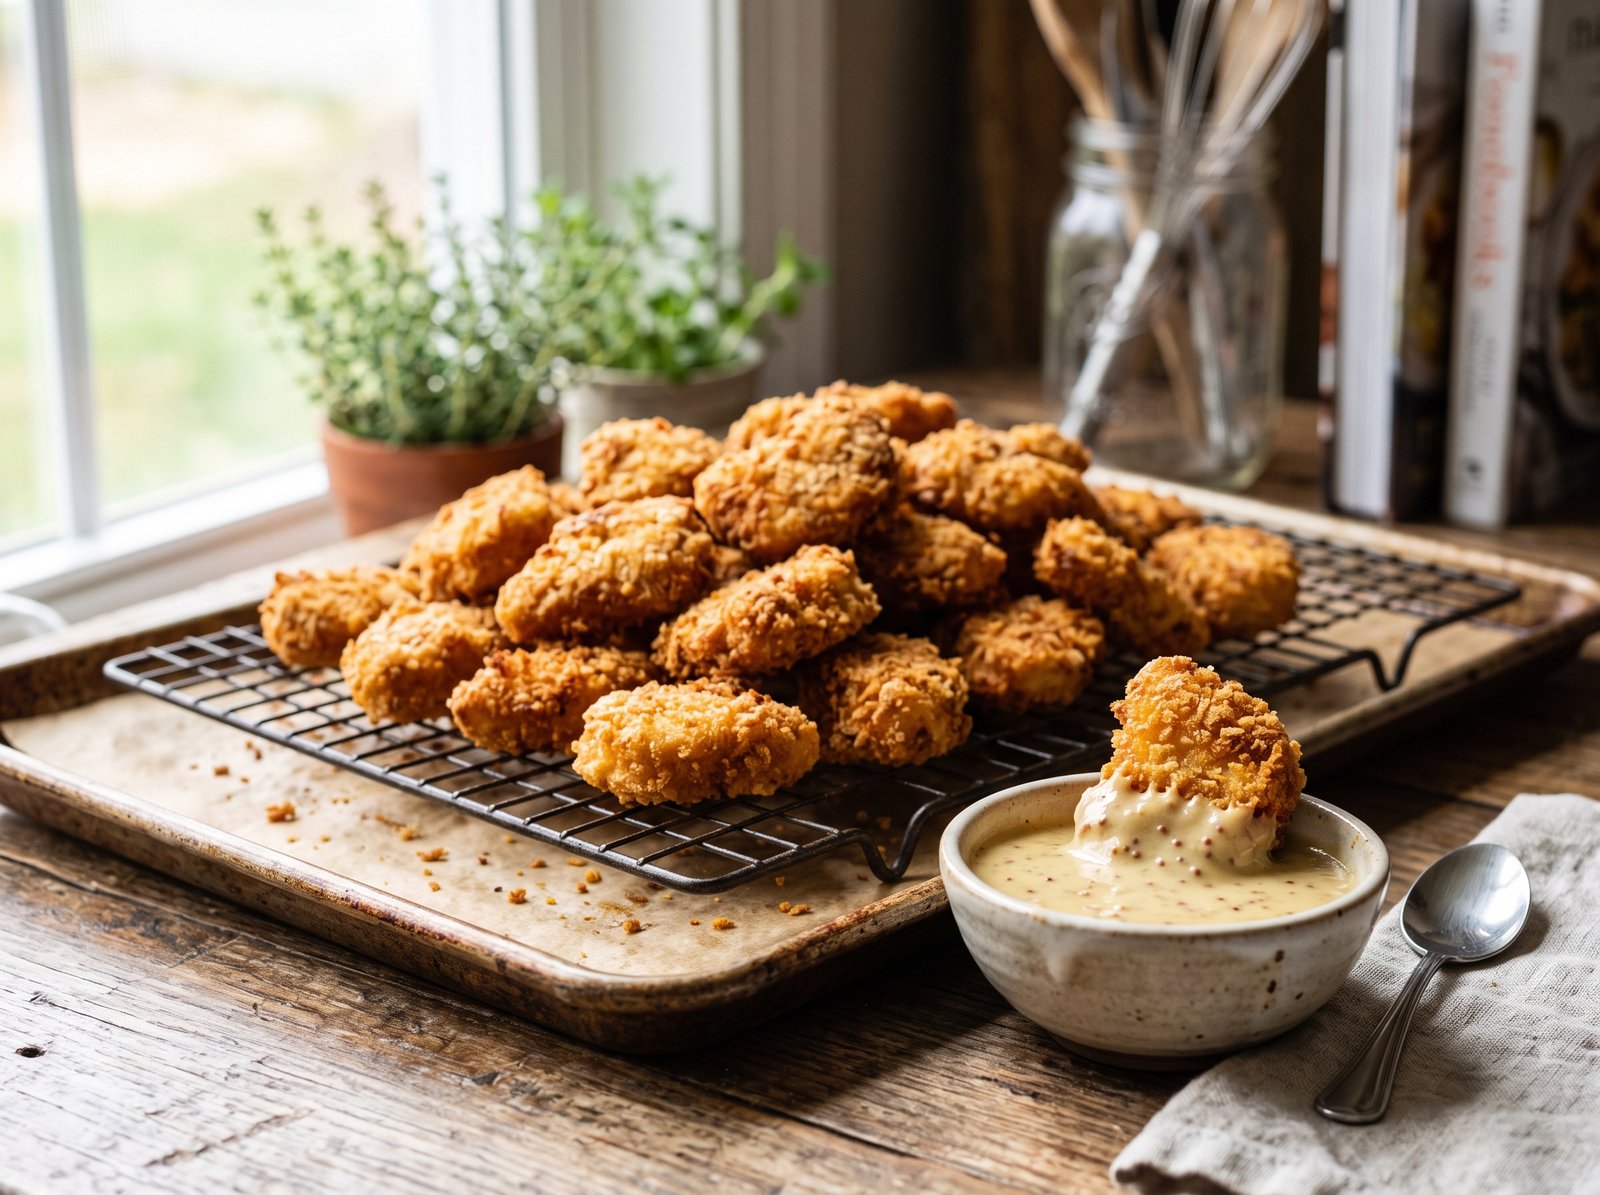
The Ultimate Crispy Homemade Chicken Nuggets
Golden-brown, impeccably crisp on the outside, and incredibly juicy on the inside, homemade chicken nuggets are a massive upgrade from the drive-thru or the freezer aisle. Skipping the heavily processed, mechanically separated meat in favor of real, whole chicken breasts transforms this nostalgic favorite into a high-quality meal. By using a simple buttermilk marinade and a heavily seasoned, double-texture breadcrumb coating, you can achieve that signature satisfying crunch without leaving your kitchen.
Whether you are feeding a crowd of kids or just craving a comfort food classic, making chicken nuggets from scratch gives you complete control over the ingredients, the sodium levels, and the cooking method. You can fry them for a classic fast-food finish, bake them for a lighter weeknight dinner, or air-fry them for maximum crunch with minimal oil. Paired with a lineup of homemade dipping sauces, these nuggets are guaranteed to disappear off the baking sheet before they even hit the dinner table.
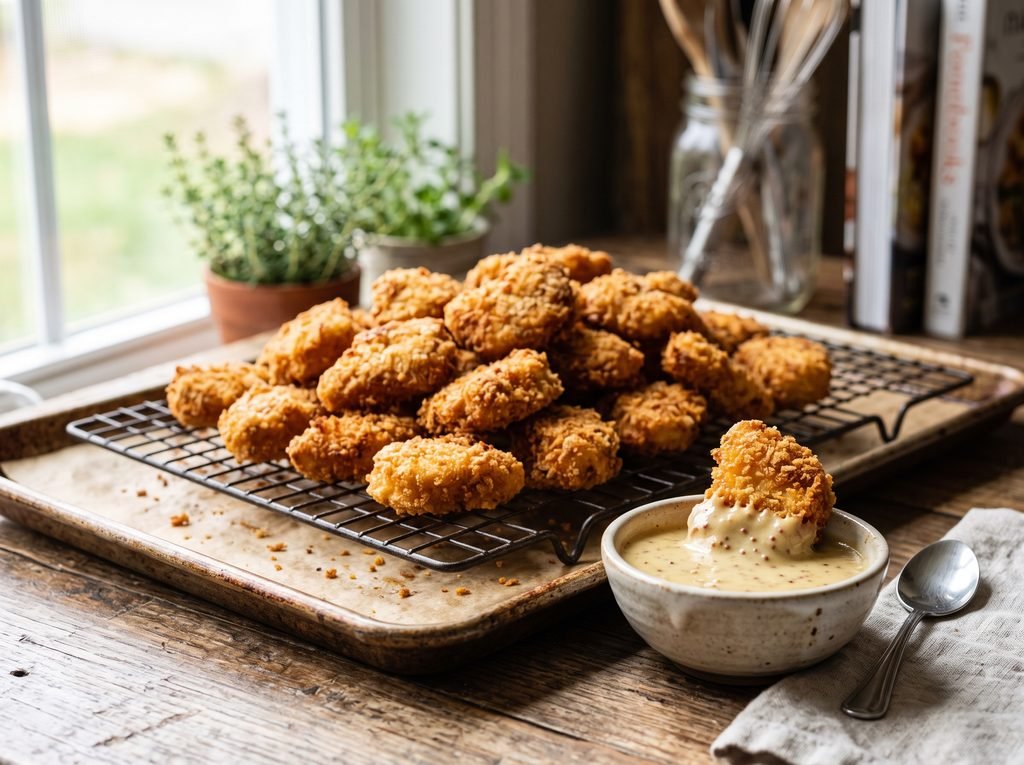
What Are Homemade Chicken Nuggets?
At their core, homemade chicken nuggets are bite-sized pieces of whole-muscle chicken—typically boneless, skinless chicken breasts or tenderloins—that are marinated, coated in a seasoned breading, and cooked until crispy.
Unlike commercial fast-food nuggets, which are often made from a paste of ground chicken meat, skin, and binders pushed through a mold, true homemade nuggets rely on actual cuts of poultry. This means the texture is naturally meatier, more satisfying, and entirely recognizable. You pull apart a homemade nugget, and you see real chicken.
To mimic the famous fast-food texture without the mystery ingredients, this recipe utilizes a buttermilk soak. The mild acidity in the buttermilk breaks down the protein structures in the chicken, yielding an incredibly tender bite that melts in your mouth, while the thick liquid provides the perfect sticky base for the breading to adhere to. The breading itself is a carefully calibrated mix of standard breadcrumbs for complete coverage and Japanese Panko breadcrumbs for a jagged, shattering crunch.
Why You’ll Love This Recipe
- 100% Real Ingredients: You know exactly what is going into your food. There are no artificial preservatives, fillers, or unpronounceable texturizers.
- Superior Texture: The combination of Panko and standard breadcrumbs ensures every square inch of the chicken is coated, resulting in a thick, hearty crust that stands up to heavy dipping.
- Versatile Cooking Options: This recipe is formulated to perform beautifully whether deep-fried, shallow-fried, baked in the oven, or tossed in the air fryer.
- Freezer-Friendly: These nuggets are the ultimate meal-prep shortcut. You can make a massive double batch on a Sunday, flash-freeze them, and have instant, high-quality nuggets ready to heat up straight from the freezer on busy weeknights.
- Customizable Flavor Profiles: Once you master the base breading, you can easily tweak the spices. Add cayenne for heat, Parmesan for richness, or lemon pepper for a bright, zesty twist.
Recipe Details
- Prep Time: 20 minutes (plus at least 1 hour of marinating time)
- Cook Time: 15 minutes
- Total Time: 1 hour 35 minutes
- Servings: 6
Ingredients
To achieve the best possible flavor and texture, gather the following ingredients. The secret lies in the heavy seasoning of both the marinade and the breading.
For the Chicken and Marinade
- 1 ½ pounds (680g) boneless, skinless chicken breasts: Cut into uniform 1-inch pieces. You can also use chicken tenderloins.
- 1 cup (240ml) full-fat buttermilk: The lactic acid tenderizes the meat. If you do not have buttermilk, stir 1 tablespoon of white vinegar or lemon juice into 1 cup of whole milk and let it sit for 5 minutes before using.
- 1 tablespoon dill pickle juice (optional): This is the secret ingredient for a fast-food copycat flavor. It adds a subtle briny tang that elevates the chicken.
- 1 teaspoon kosher salt: Essential for drawing moisture into the meat during the soak.
- ½ teaspoon black pepper: Freshly cracked is best.
For the Breading Station
- 1 cup (60g) Panko breadcrumbs: These light, airy flakes provide the ultimate crunch.
- 1 cup (115g) plain standard breadcrumbs: These finer crumbs fill in the gaps left by the Panko, ensuring the entire nugget is coated and protected.
- ½ cup (60g) all-purpose flour: Acts as the foundational layer, giving the egg wash something to grip.
- 2 large eggs: Beaten well, these bind the flour layer to the breadcrumb layer.
- 1 tablespoon garlic powder: Adds a robust, savory depth.
- 1 tablespoon onion powder: Brings a subtle, sweet earthiness.
- 1 teaspoon smoked paprika: Provides a beautiful golden color and a hint of campfire smoke.
- 1 teaspoon kosher salt: Necessary to season the crust.
- ½ teaspoon black pepper: For a slight kick.
- Cooking oil: Peanut oil, canola oil, or vegetable oil if frying. Cooking spray if baking or air-frying.
How to Make Homemade Chicken Nuggets
Creating the perfect nugget requires a classic three-step breading station. Follow these instructions carefully to prevent the dreaded “soggy bottom” or breading that slides right off the meat.
Step 1: Prep and Marinate the Chicken
- Place the 1-inch chicken pieces into a large glass or plastic mixing bowl.
- Pour the buttermilk, pickle juice (if using), 1 teaspoon of kosher salt, and ½ teaspoon of black pepper over the chicken. Stir thoroughly to ensure every piece is submerged.
- Cover the bowl tightly with plastic wrap and refrigerate for at least 1 hour. For maximum tenderness, leave the chicken in the marinade for up to 8 hours. Do not exceed 12 hours, or the acid will make the meat mushy.
Step 2: Set Up the Breading Station
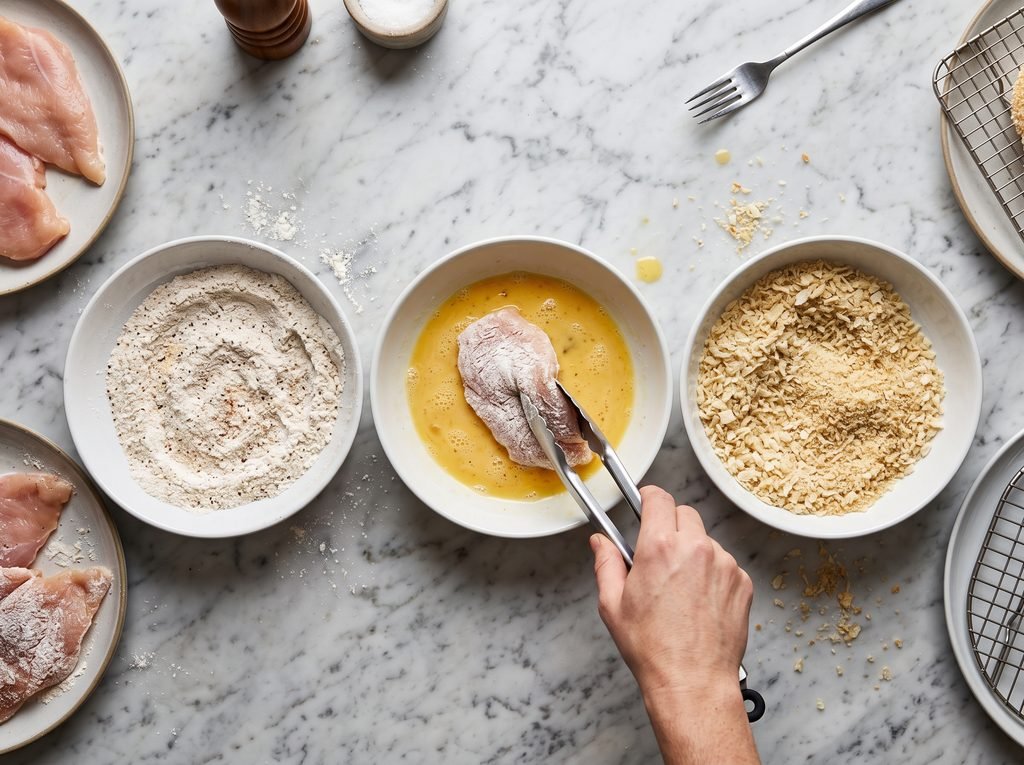
- Grab three shallow dishes (pie plates or wide, shallow bowls work perfectly).
- Dish 1: Whisk together the all-purpose flour, garlic powder, onion powder, smoked paprika, salt, and pepper.
- Dish 2: Crack the 2 large eggs into the bowl and beat them vigorously with a fork until completely smooth and slightly frothy.
- Dish 3: Toss together the Panko breadcrumbs and the standard plain breadcrumbs until evenly mixed.
Step 3: Dredge the Nuggets
- Remove the chicken from the refrigerator. Set a wire cooling rack inside a rimmed baking sheet—this is where your breaded nuggets will rest.
- Using tongs or your fingers (keep one hand for dry ingredients and one for wet ingredients to avoid “club hand”), pull a piece of chicken from the buttermilk, letting the excess drip off.
- Drop the chicken into the seasoned flour, tossing until completely coated. Shake off the excess flour.
- Dip the flour-coated chicken into the beaten egg, ensuring no dry spots remain. Let the excess egg drip back into the bowl.
- Finally, drop the chicken into the breadcrumb mixture. Press the crumbs firmly into the chicken on all sides to ensure a thick, tightly packed crust.
- Transfer the breaded nugget to the wire rack. Repeat with the remaining chicken pieces. Let the breaded nuggets rest on the rack for 10 to 15 minutes before cooking. This resting period allows the breading to hydrate and adhere securely to the meat.
Step 4: Cook the Nuggets (Choose Your Method)
Method A: Frying (For the ultimate fast-food crunch)
- Pour 1 to 2 inches of peanut or canola oil into a heavy-bottomed Dutch oven or deep skillet. Heat the oil over medium-high heat until it registers 350°F (175°C) on a deep-fry thermometer.
- Carefully drop the nuggets into the hot oil in batches of 8 to 10, ensuring you do not overcrowd the pan, which lowers the oil temperature.
- Fry for 4 to 5 minutes, flipping halfway through, until the crust is deep golden brown and the internal temperature of the chicken reaches 165°F (74°C).
- Remove with a slotted spoon or spider and transfer to a clean wire rack set over paper towels to drain.
Method B: Oven Baking (For a lighter, hands-off approach)
- Preheat your oven to 400°F (200°C). Place a wire cooling rack on top of a baking sheet and spray the rack generously with non-stick cooking spray.
- Arrange the rested nuggets on the wire rack in a single layer, leaving a little space between each one for air circulation.
- Spray the tops of the nuggets generously with cooking spray (this helps them brown in the oven).
- Bake for 15 to 18 minutes, flipping the nuggets halfway through the cooking time, until golden brown and cooked through.
Method C: Air Frying (For maximum crunch with minimal oil)
- Preheat your air fryer to 380°F (193°C) for 5 minutes.
- Spray the basket with a light coating of cooking spray. Arrange the nuggets in a single, even layer in the basket. Do not overlap them.
- Spray the tops of the nuggets lightly with cooking spray.
- Air fry for 10 to 12 minutes, shaking the basket or flipping the nuggets halfway through, until crisp and cooked through to 165°F (74°C). Work in batches if necessary.
Helpful Tips for the Best Results
- Cut Uniform Pieces: Take the extra time to cut your chicken breasts into perfectly equal 1-inch cubes. If you have some small pieces and some large chunks, they will cook unevenly. The small pieces will dry out before the large pieces are fully cooked inside.
- Press the Breading Firmly: Don’t just toss the chicken gently in the breadcrumbs. Use the palm of your hand to actively press the crumbs into the egg wash. This compression creates a denser, crunchier exterior that won’t flake off in the pan.
- Respect the Resting Time: Letting the breaded nuggets sit on a wire rack for 10-15 minutes before cooking is not an optional step if you want flawless results. This resting phase gives the flour time to absorb the moisture from the egg and buttermilk, creating a glue-like bond that locks the crust to the chicken.
- Monitor Frying Temperatures: If frying, use a thermometer. If the oil drops below 325°F (163°C), the breading will absorb the oil and become greasy. If it spikes above 375°F (190°C), the outside will burn before the raw chicken inside has a chance to cook. Adjust your burner dial constantly to maintain that 350°F (175°C) sweet spot.
Variations and Substitutions
- Gluten-Free Chicken Nuggets: Swap the all-purpose flour for a high-quality gluten-free flour blend (measure for measure). Replace both the Panko and standard breadcrumbs with gluten-free Panko or crushed gluten-free cornflakes. Cornflakes provide an incredibly shatter-crisp texture that works beautifully on chicken.
- Spicy Chicken Nuggets: To replicate the heat of famous spicy fast-food nuggets, add 1 tablespoon of hot sauce (like Frank’s RedHot) directly to the buttermilk marinade. Then, add 1 teaspoon of cayenne pepper and ½ teaspoon of chili powder to the flour mixture.
- Parmesan Herb Nuggets: For an Italian-inspired twist, remove the smoked paprika from the flour. Add ½ cup of grated Parmesan cheese and 1 tablespoon of Italian seasoning (oregano, basil, thyme) to the breadcrumb mixture. Serve these with warm marinara sauce.
- Dairy-Free Chicken Nuggets: Skip the buttermilk. Instead, marinate the chicken in a mixture of 1 cup unsweetened almond milk and 1 tablespoon of lemon juice. Ensure your breadcrumbs do not contain hidden dairy ingredients.
What to Serve With It
No plate of homemade chicken nuggets is complete without a stellar lineup of sides and dipping sauces.
Classic Sides:
- Crispy shoestring French fries or sweet potato fries.
- Creamy baked macaroni and cheese.
- A crisp, acidic coleslaw to cut through the richness of the breaded chicken.
- Fresh veggie sticks (carrots, celery, cucumbers) for a balanced kid-friendly meal.
Homemade Dipping Sauces: The right sauce elevates the entire experience. Whisk these simple sauces together while your chicken is marinating:
- Honey Mustard: Combine ¼ cup mayonnaise, ¼ cup Dijon mustard, 3 tablespoons honey, and a splash of lemon juice.
- Copycat Fast Food Sauce: Combine ¼ cup mayonnaise, 2 tablespoons BBQ sauce, 1 tablespoon yellow mustard, and 1 teaspoon honey. This tastes remarkably similar to the famous Chick-fil-A sauce.
- Quick Garlic Ranch: Combine ¼ cup mayonnaise, ¼ cup sour cream, 1 teaspoon garlic powder, 1 teaspoon onion powder, 1 tablespoon finely chopped fresh dill, and a splash of milk to thin it out.
Storage and Reheating
If you have leftovers, or if you are making a double batch specifically for meal prep, proper storage is crucial to maintaining that crispy exterior.
Refrigerating: Store leftover cooled nuggets in an airtight container lined with a paper towel in the refrigerator for up to 4 days. The paper towel absorbs excess moisture, preventing the crust from getting excessively soggy.
Freezing (The Best Meal Prep Trick): Homemade chicken nuggets freeze beautifully and taste vastly superior to store-bought frozen brands.
- Cook the nuggets completely according to the recipe instructions.
- Let them cool completely to room temperature on a wire rack.
- Place the wire rack (or a parchment-lined baking sheet) with the nuggets in the freezer for 1 hour. This “flash freezing” ensures the nuggets freeze individually rather than clumping together into a giant block of ice.
- Once frozen solid, transfer the nuggets to a heavy-duty freezer bag, squeeze out all the air, and freeze for up to 3 months.
Reheating: Never microwave your chicken nuggets. The microwave steams the breading from the inside out, resulting in a rubbery, soggy mess.
- From the Fridge: Bake in a 400°F (200°C) oven for 8-10 minutes, or air fry at 380°F (193°C) for 3-5 minutes until heated through and crisp.
- From the Freezer: Do not thaw them first. Bake directly from frozen in a 400°F (200°C) oven for 15-18 minutes, or air fry at 380°F (193°C) for 10-12 minutes.
Frequently Asked Questions
Can I use chicken thighs instead of chicken breasts? Absolutely. Boneless, skinless chicken thighs actually contain more fat, which means they yield an even juicier, more flavorful nugget. The prep and cooking process is exactly the same, though thighs might require an extra minute or two of cooking time to reach an internal temperature of 165°F (74°C).
Why is my breading falling off in the pan? Breading usually falls off for three reasons: the chicken was too wet before hitting the flour, the egg wash wasn’t thoroughly shaken off, or you skipped the resting phase. Letting the breaded chicken rest on a wire rack for 15 minutes before cooking allows the starches to hydrate and create a tight bond with the meat. Additionally, if you are pan-frying, do not move or flip the nuggets until a solid crust has formed on the bottom.
Can I make these ahead of time? You can prep the chicken up to the breading stage and leave it in the refrigerator for a few hours before cooking. However, for the absolute best texture, it is highly recommended to cook them fully, freeze them, and then reheat them in the oven or air fryer when you are ready to eat.
What is the best oil for frying chicken nuggets? You need an oil with a high smoke point and a neutral flavor. Peanut oil is the gold standard for frying chicken due to its high heat tolerance and crisp finish. Canola oil, vegetable oil, and sunflower oil are also excellent, affordable alternatives. Avoid olive oil or butter, as they will burn at the temperatures required for deep frying.
How do I know when the chicken nuggets are fully cooked? Visual cues are helpful—the crust should be a deep golden brown—but the only foolproof way to know is by using a digital meat thermometer. Insert the probe into the thickest part of the largest nugget; it should register exactly 165°F (74°C). If you don’t have a thermometer, cut the largest nugget in half. The meat should be completely opaque and white, with clear juices running out.
Are homemade chicken nuggets healthier than fast food? Yes. By making them at home, you eliminate industrial seed oils, artificial preservatives, sodium-heavy fillers, and mechanically separated meat. Furthermore, by choosing to bake or air fry the nuggets instead of deep-frying them, you significantly reduce the overall calorie and fat content while still enjoying a high-protein meal.
Can I use a food processor to make ground chicken nuggets? Yes, if you prefer the exact texture of a McDonald’s McNugget, you can cube your raw chicken breast and pulse it in a food processor with the salt and spices until it forms a coarse paste. Wet your hands, form the paste into traditional nugget shapes, and then proceed with the standard flour-egg-breadcrumb dredging process.
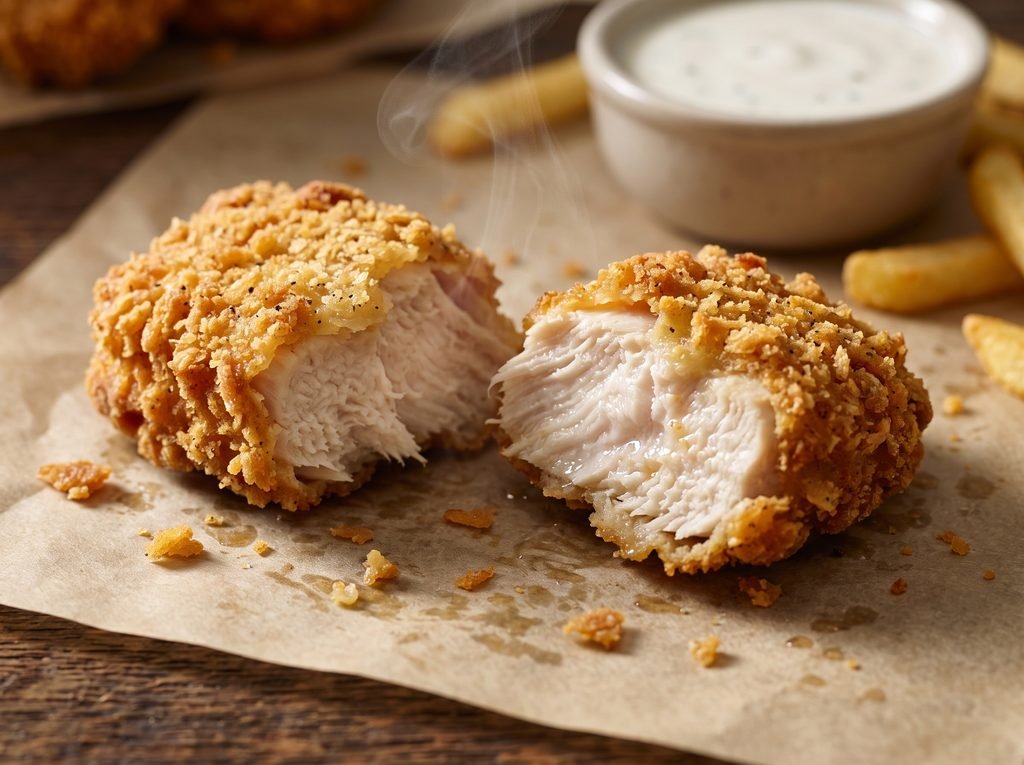
Final Thoughts
Mastering homemade chicken nuggets is a game-changer for your culinary repertoire. By relying on a simple buttermilk marinade, a highly seasoned crust, and proper cooking techniques, you can recreate the magic of your favorite drive-thru right in your own kitchen. Whether you fry them to a golden crisp or bake them for a lighter crunch, these juicy, flavorful nuggets prove that cooking entirely from scratch is always worth the effort. Whip up a batch of homemade dipping sauces, gather the family, and enjoy a comfort food classic made the right way.