
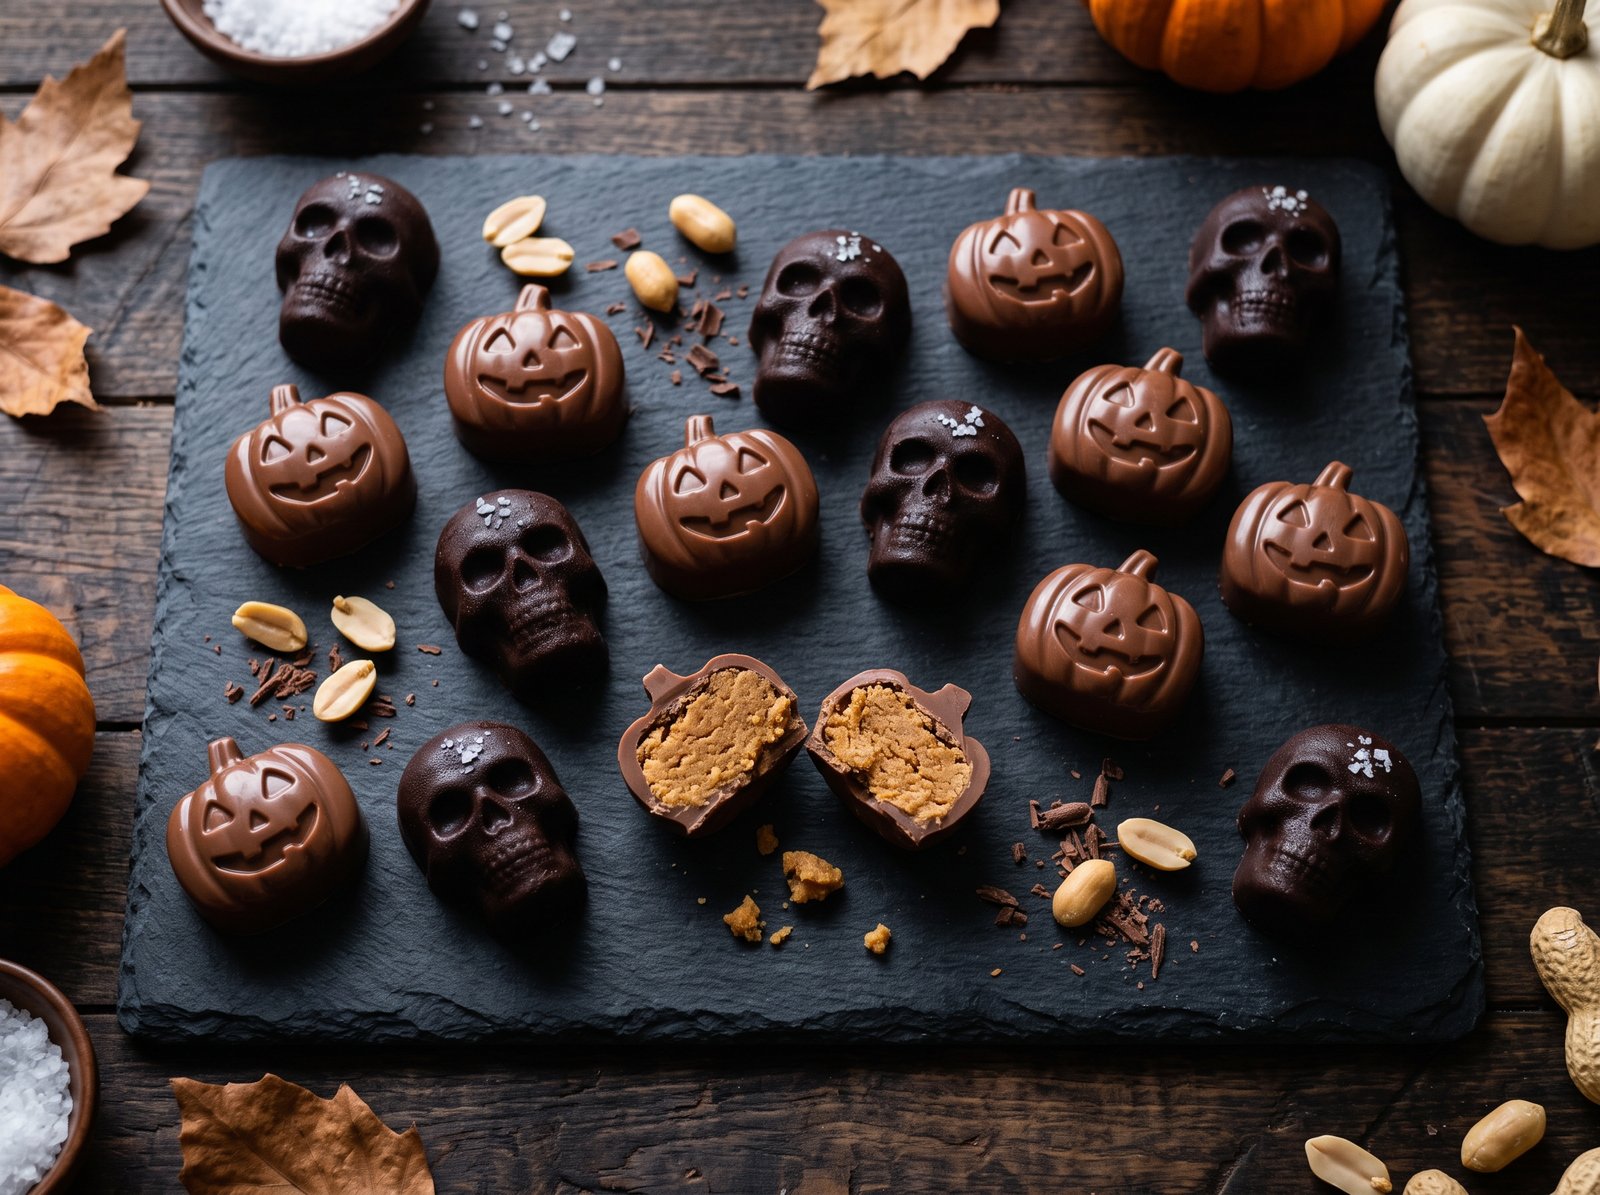
The Ultimate Homemade Halloween Candy Recipes: Peanut Butter Pumpkins & Salted Caramel Skulls
October brings a familiar, crisp chill to the air, fading daylight, and the undeniable urge to embrace all things spooky and sweet. For many of us, the true highlight of the season is not the costumes or the haunted houses, but the undeniable thrill of the candy haul. There is a deep, nostalgic joy in dumping a plastic pumpkin bucket onto the living room floor and sorting through the colorful wrappers to find your absolute favorites.
While store-bought treats will always hold a special place in our hearts, there is an entirely new level of satisfaction that comes from creating your own confections at home. Recreating classic trick-or-treat staples allows you to elevate them from mass-produced sweets to gourmet, melt-in-your-mouth desserts. By using high-quality chocolate, rich butter, and pure vanilla, you can capture the exact flavor profiles of your childhood favorites while leaving behind the artificial preservatives and commercial stabilizers.
If you are hosting a sophisticated monster mash, looking for a cozy weekend baking project with your family, or simply wanting to indulge your sweet tooth with something extraordinary, these homemade Halloween candy recipes are the perfect solution. We are going to tackle two of the most universally beloved treats: the iconic, creamy milk chocolate peanut butter pumpkin, and the decadent, dark chocolate salted caramel skull. Roll up your sleeves and get your silicone molds ready; your kitchen is about to become the best candy shop in the neighborhood.
What Are Homemade Halloween Candies?
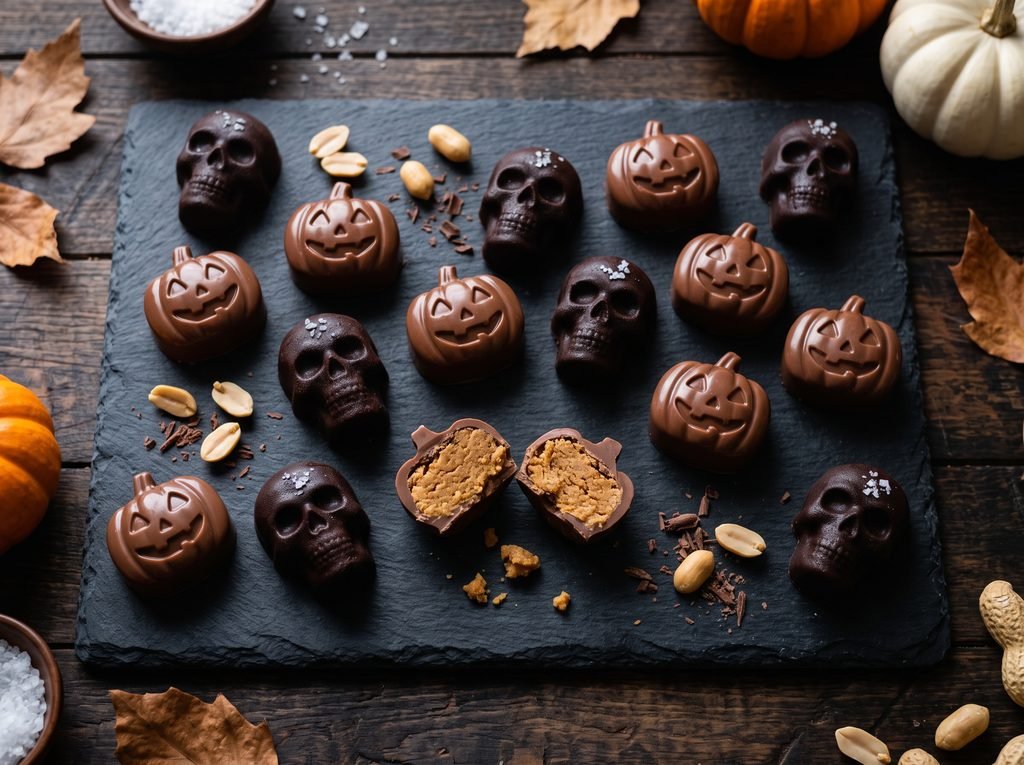
At their core, homemade Halloween candies are artisanal recreations of the popular commercial treats found in every trick-or-treat bag across America. Instead of relying on vast industrial machines and highly processed ingredients designed for long-term shelf stability, these homemade versions focus entirely on flavor and texture.
The concept involves crafting small-batch fillings—such as a slightly textured, sweet peanut butter dough or a rich, buttery, flowing caramel—and enrobing them in a high-quality chocolate shell. By utilizing festive silicone molds shaped like jack-o’-lanterns, bats, ghosts, or skulls, these candies take on the playful, spooky aesthetic of the holiday. The result is a treat that looks just like the ones you remember, but tastes infinitely richer, fresher, and more complex.
Why You’ll Love These Halloween Candy Recipes
Taking the time to craft your own candy might seem intimidating at first, but it is an incredibly rewarding culinary project. Here is why these specific recipes will become a permanent part of your October traditions:
- Premium Flavor Profile: Mass-produced candies often use compound chocolate (which replaces cocoa butter with cheaper vegetable oils) to save money. By using real, high-quality chocolate bars, your homemade candies will have a velvety snap and a complex flavor that commercial brands simply cannot match.
- Total Ingredient Control: Making candy at home means you know exactly what is going into it. You can control the level of sweetness, choose organic ingredients, and completely avoid artificial dyes, high-fructose corn syrup, and synthetic preservatives.
- Customizable Shapes and Themes: You are not limited to the standard peanut butter egg or pumpkin. With the vast array of silicone molds available today, you can make peanut butter bats, salted caramel witches’ hats, or dark chocolate gravestones.
- An Unforgettable Party Feature: If you are hosting a Halloween gathering, a platter of shiny, handcrafted, gourmet trick-or-treat candies will impress your guests far more than a bowl of wrapped, store-bought miniatures.
- Allergy-Friendly Adaptability: If you or your children have dietary restrictions, making candy at home allows you to safely substitute ingredients, such as swapping peanut butter for sunflower seed butter or using certified dairy-free chocolate.
The Secret to Perfect Candy: Understanding Chocolate
Before we dive into the recipes, it is crucial to understand the chocolate you are working with. For the best snap and shine, you want to use “couverture” chocolate or high-quality baking bars (like Lindt, Ghirardelli, or Guittard). Do not use standard chocolate chips, as they contain stabilizers designed to prevent melting, which will make your candy coating thick, lumpy, and dull.
To get that professional, glossy finish that does not melt immediately when you touch it, your chocolate should ideally be tempered. Tempering is the process of heating and cooling chocolate to specific temperatures to stabilize the cocoa butter crystals.
The Easy Seeding Method for Tempering: If you do not want to use a complex candy thermometer, the “seeding” method is an excellent, beginner-friendly way to temper chocolate. Finely chop all of your chocolate. Place two-thirds of it into a microwave-safe bowl. Microwave it on 50% power in 30-second bursts, stirring thoroughly after each burst, until it is completely melted and warm to the touch (around 110°F / 43°C).
Remove the bowl from the microwave and immediately add the remaining one-third of the un-melted, finely chopped chocolate (the “seed” chocolate). Stir continuously and vigorously. The residual heat from the melted chocolate will melt the seed chocolate, while the seed chocolate cools the overall mixture down and introduces perfectly formed cocoa butter crystals. Once all the chocolate is melted and smooth, and the bowl feels slightly cooler than your bottom lip (around 88°F / 31°C), it is in temper and ready to use!
Recipe Details
This guide provides two complete recipes that can be made simultaneously or separately.
- Prep Time: 45 minutes
- Cook Time: 15 minutes (melting and mixing)
- Chill Time: 1 hour
- Total Time: 2 hours
- Servings: Makes about 24 candies total (12 peanut butter pumpkins, 12 caramel skulls, depending on your mold size)
Ingredients
To achieve bakery-quality results, ensure your ingredients are fresh. Room temperature ingredients mix much more smoothly.
For the Peanut Butter Pumpkins:
- 1 cup (250g) creamy peanut butter: Use standard commercial peanut butter (like Jif or Skippy). Natural peanut butters that separate and require stirring contain too much loose oil and will cause your filling to become greasy and weep inside the chocolate shell.
- 1/4 cup (1/2 stick / 56g) unsalted butter: Softened to room temperature. This adds richness and helps the filling set firm in the fridge.
- 1/2 teaspoon pure vanilla extract: Elevates the nutty flavor profile.
- 1 1/4 cups (150g) powdered sugar (confectioners’ sugar): Sifted to prevent any lumps in your filling. This sweetens and thickens the dough.
- 1/4 cup (30g) graham cracker crumbs: Finely crushed. This is the secret bakery ingredient that provides that iconic, slightly dry, crumbly texture found in commercial peanut butter cups.
- 1/4 teaspoon kosher salt: Crucial to balance the sweetness.
- 12 ounces (340g) high-quality milk chocolate: Finely chopped, for the coating.
For the Dark Chocolate Salted Caramel Skulls:
- 11 ounces (310g) soft caramel candies: Unwrapped (such as Kraft caramels or a high-quality soft baking caramel).
- 2 tablespoons heavy whipping cream: Helps melt the caramels into a smooth, flowing consistency that won’t break your teeth when it sets.
- 12 ounces (340g) high-quality dark chocolate: Finely chopped (60% to 70% cacao is ideal). The bitterness of the dark chocolate perfectly cuts the intense sweetness of the caramel.
- Flaky sea salt (like Maldon): For finishing and flavor contrast.
Equipment Needed:
- Festive silicone candy molds (pumpkins and skulls, or cups)
- Small, clean, food-safe paintbrushes (optional, but incredibly helpful for getting chocolate into the crevices of the molds)
How to Make Homemade Halloween Candy
Follow these step-by-step instructions carefully. Working with chocolate requires patience and attention to temperature. Ensure your kitchen is relatively cool (around 68°F to 70°F) before you begin.
Part 1: Prepare the Peanut Butter Filling
- Cream the Butter and Peanut Butter: In a medium mixing bowl, use a hand mixer on medium speed to beat the softened unsalted butter and the creamy peanut butter together until completely smooth and cohesive.
- Add Flavorings: Beat in the pure vanilla extract and kosher salt.
- Incorporate the Dry Ingredients: Turn the mixer to the lowest speed. Gradually add the sifted powdered sugar and the graham cracker crumbs. Mix just until combined. The mixture should look slightly crumbly but hold together easily when pinched between your fingers, similar to play-dough.
- Shape the Filling: Pinch off small, teaspoon-sized pieces of the peanut butter dough and roll them into smooth balls. Flatten them slightly into discs that will fit inside your pumpkin molds. Place the discs on a parchment-lined plate and freeze them for 15 minutes to firm up.
Part 2: Prepare the Caramel Filling
- Melt the Caramel: Place the unwrapped soft caramel candies and the heavy whipping cream into a microwave-safe bowl. Microwave on 50% power in 30-second intervals, stirring thoroughly with a silicone spatula after each interval, until the caramel is completely melted, smooth, and flowing.
- Cool Slightly: Set the liquid caramel aside to cool for about 10 minutes. If you pour boiling hot caramel into your chocolate molds, it will immediately melt the chocolate shell and ruin the candy.
Part 3: Shelling the Molds
- Temper the Chocolate: Using the seeding method described earlier, temper your milk chocolate in one bowl and your dark chocolate in another.
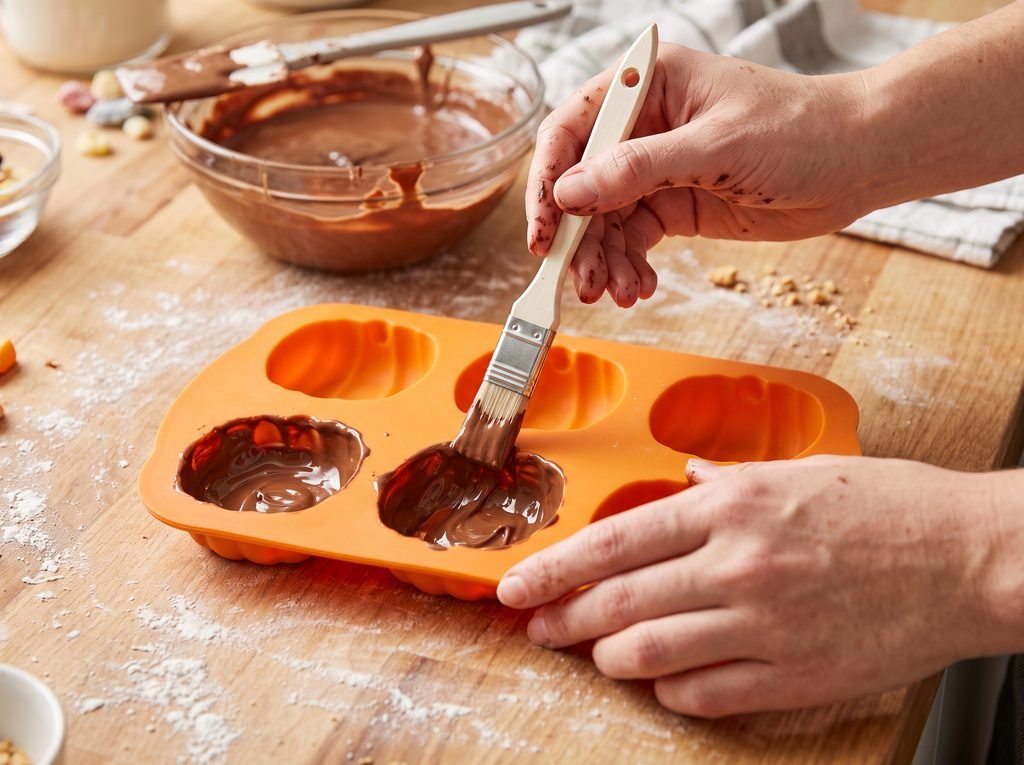
- Paint the Molds: Take your clean, completely dry silicone molds. Spoon a small amount of tempered milk chocolate into the pumpkin cavities, and tempered dark chocolate into the skull cavities. Use your food-safe paintbrush (or the back of a small spoon) to paint the chocolate up the sides of the molds, ensuring every nook and cranny is thickly coated. You want a sturdy shell, so do not make the walls too thin.
- Chill the Shells: Tap the silicone molds gently on the counter a few times to force any trapped air bubbles to rise to the surface and pop. Place the molds in the refrigerator for 10 minutes until the chocolate shells are completely set and firm to the touch.
Part 4: Filling and Capping
- Add the Fillings: Remove the molds from the fridge. Place one chilled peanut butter disc into each milk chocolate pumpkin shell, pressing down gently so it sits below the top edge of the chocolate. For the dark chocolate skulls, sprinkle a tiny pinch of flaky sea salt into the bottom of the shell, then spoon or pipe the cooled, flowing caramel into the cavity, leaving about 1/8-inch of space at the top.
- Cap the Candies: Spoon more of the appropriately tempered chocolate over the top of the fillings to cap the candies. Use a small offset spatula or a butter knife to scrape across the top of the silicone mold, removing excess chocolate and creating a perfectly flat bottom for your candies.
- Final Chill: Tap the molds gently on the counter one last time to settle the bottom layer. Return the molds to the refrigerator for 20 to 30 minutes, or until the chocolate is completely hardened and set.
- Unmold and Enjoy: Once set, turn the silicone molds over and gently peel the silicone back to pop out your beautiful, glossy homemade Halloween candies.
Helpful Tips for the Best Results
Candy making is a science, but a few professional tricks will guarantee you achieve flawless results on your very first try:
- Avoid Water at All Costs: Chocolate’s biggest enemy is water. Even a single drop of water from a wet bowl or spoon will cause melted chocolate to “seize,” turning it into a gritty, stiff, unworkable paste. Ensure all bowls, spatulas, and silicone molds are bone-dry before you begin.
- Do Not Overfill: When adding your peanut butter or caramel filling to the chocolate shells, be very careful not to fill them all the way to the brim. You must leave enough room for the final layer of capping chocolate to adhere to the side walls of the shell, sealing the candy completely. If the filling breaches the top, your candies will leak.
- The Tap is Essential: Tapping the silicone molds firmly on the countertop after painting the shells and after capping is not an optional step. This mechanical action forces microscopic air bubbles to the surface. If you skip this, your finished candies will have tiny, unsightly holes or craters on their surface.
- Polishing Molds: For the absolute highest shine on your finished candies, take a clean, dry microfiber cloth or a cotton ball and buff the inside of the silicone mold cavities before adding the chocolate.
Variations and Substitutions
Once you master the basic technique of shelling, filling, and capping silicone molds, the flavor possibilities are endless. Here are a few fantastic variations to expand your homemade Halloween candy recipes:
- Homemade Peppermint Patty Ghosts: Swap the peanut butter filling for a cool mint fondant. Mix 1 1/2 cups of powdered sugar, 1 tablespoon of softened butter, 1 tablespoon of heavy cream, and 3/4 teaspoon of peppermint extract until it forms a thick dough. Use white chocolate for the shell and a ghost-shaped mold.
- Crispy Chocolate Crunch Bats: If you love Nestle Crunch bars, this is incredibly easy. Skip the fillings entirely. Simply fold 1 cup of crisped rice cereal (like Rice Krispies) into 2 cups of tempered milk chocolate. Pour the mixture directly into bat-shaped silicone molds, tap out the air bubbles, and chill until set.
- Nut-Free Adaptations: To make the peanut butter pumpkins safe for classrooms or parties with nut allergies, simply substitute the creamy peanut butter for an equal amount of creamy sunflower seed butter or soy nut butter.
- Vegan/Dairy-Free Options: Use high-quality dairy-free dark chocolate chips or bars for the shells. For the peanut butter filling, substitute the butter for a vegan butter block. For the caramel, you can find excellent coconut-milk-based soft caramels on the market to melt down with a splash of full-fat coconut milk.
What to Serve With It
These candies are incredibly rich, making them the perfect centerpiece for a festive autumn gathering. Here is how to best present and serve your homemade treats:
- The Ultimate Halloween Dessert Board: Serve these candies on a large wooden charcuterie board. Surround the homemade peanut butter pumpkins and caramel skulls with complementary textures: salty pretzel sticks, dried orange slices, roasted pumpkin seeds, and a bowl of fresh berries.
- Paired with Autumn Beverages: The intense sweetness of the caramel and milk chocolate pairs beautifully with slightly bitter or spiced drinks. Serve them alongside mugs of hot, dark roast coffee, unsweetened spiced apple cider, or a robust black tea.
- As an Ice Cream Topping: Chop up any slightly imperfect or “ugly” candies you made during your practice run and fold them into softened vanilla bean ice cream for an incredible, custom trick-or-treat ice cream sundae.
Storage and Reheating
Proper temperature control is the absolute most important factor when dealing with chocolate, both during the making process and for long-term storage.
Storing Finished Candy: Do not store your finished homemade chocolate candies in the refrigerator unless your house is exceptionally hot (above 75°F). Refrigerators are humid environments, and the moisture can cause “sugar bloom” on the chocolate, leaving a sticky, white, grainy residue on the surface. Instead, store the candies in an airtight container lined with parchment paper in a cool, dark cupboard or pantry. They will remain fresh and delicious for up to 3 weeks.
“Reheating” or Re-Melting Seized Chocolate: While you will obviously never reheat a finished piece of candy in the microwave, you will frequently need to “reheat” your working chocolate. If your bowl of melted chocolate cools down too much while you are working and becomes too thick to pipe or cap your molds, you must warm it gently. Place the bowl back in the microwave for exactly 5 to 10 seconds. Stir vigorously. This is usually enough to bring it back to a fluid, workable consistency without pushing it out of temper.
If your chocolate accidentally seized (became hard and grainy due to a drop of water or overheating), you cannot use it for molding candy anymore. However, do not throw it away! You can “reheat” and rescue seized chocolate by placing it in a saucepan over low heat and vigorously whisking in a few tablespoons of warm heavy cream until it turns into a smooth chocolate ganache, which is perfect for pouring over ice cream or brownies.
Frequently Asked Questions
Why did my homemade chocolate candy turn white and streaky? This is called “fat bloom,” and it happens when chocolate is exposed to drastic temperature changes or was not properly tempered. The cocoa butter separates and rises to the surface, drying into white streaks. While it might look unappetizing, the candy is still completely safe and delicious to eat.
Can I use chocolate chips instead of chopped chocolate bars? It is highly recommended that you avoid standard chocolate chips. They are formulated with soy lecithin and other stabilizers to hold their shape in the oven when baking cookies. When melted, they form a very thick, gloppy paste rather than a smooth, flowing liquid, making it very difficult to paint thin shells in your silicone molds.
Do I absolutely need a silicone mold? If you do not have silicone molds, you can still make these recipes! Simply freeze your peanut butter discs until they are rock hard. Using a fork, dip the frozen discs completely into the bowl of melted chocolate, tap the fork against the edge of the bowl to let the excess chocolate drip off, and place them on a parchment-lined baking sheet to set. They will look like classic homemade peanut butter cups.
Why is my peanut butter filling too soft to handle? If your filling is too soft to roll into balls, your kitchen might be too warm, or your peanut butter may have had too much loose oil. Simply place the bowl of peanut butter dough into the refrigerator for 20 minutes to allow the butter inside the mixture to firm up before shaping.
How long does homemade candy last compared to store-bought? Because you are not using chemical preservatives, homemade candy does not have the years-long shelf life of commercial candy. However, because the fillings are encased in an airtight chocolate shell, they will easily keep for 3 to 4 weeks at room temperature, making them perfect to make ahead of a party.
What is the best way to clean chocolate out of silicone molds? Do not try to wash chocolate molds with cold water and soap, as the cold water will instantly harden the residual chocolate in the crevices. Instead, run the molds under very hot tap water. The heat will melt the cocoa butter, allowing the leftover chocolate to wash away easily. Then, wash gently with dish soap and air dry completely.
Can I freeze my finished homemade candies? Yes, you can freeze them for up to 3 months. Wrap the candies tightly in plastic wrap and place them in an airtight freezer container. When you are ready to eat them, you must let them thaw in the container at room temperature for a full 24 hours before opening it. If you open a cold container in a warm room, condensation will instantly form on the cold chocolate, ruining the glossy finish.
Final Thoughts
Making your own Halloween candy is about so much more than just satisfying a sweet tooth; it is about reclaiming the magic and creativity of the season. There is an undeniable thrill in watching a simple bowl of melted chocolate and a few pantry staples transform into beautiful, professional-looking treats that rival anything you can find in a brightly colored wrapper.
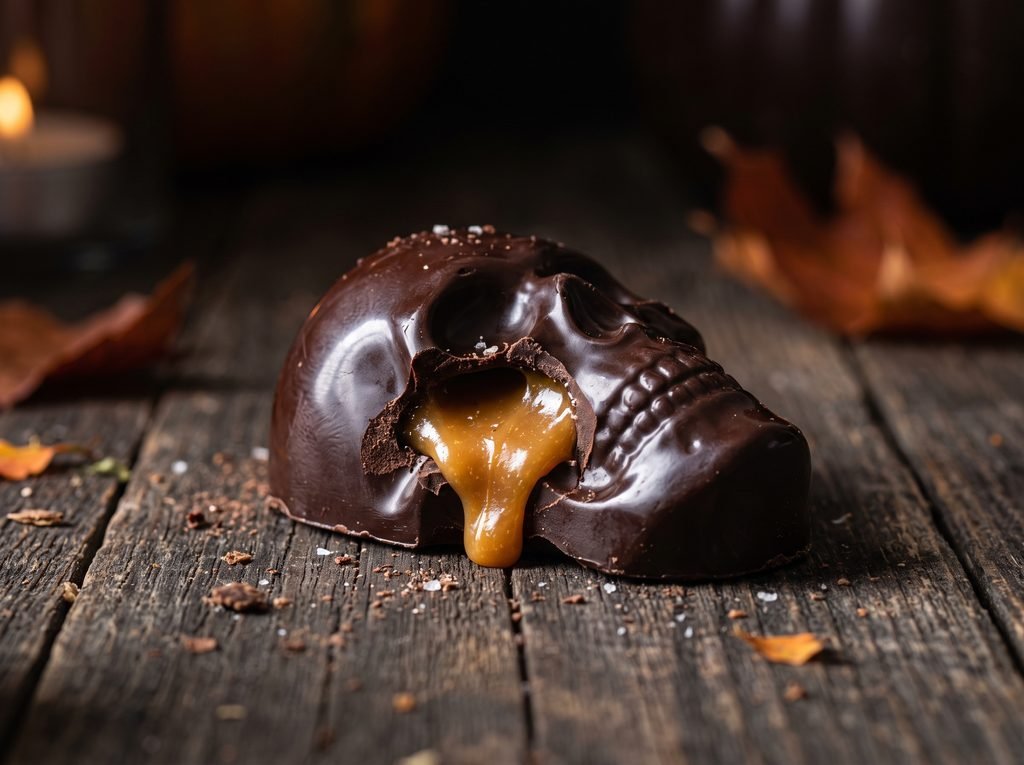
Whether you decide to stick to the classic comfort of the peanut butter pumpkins, indulge in the sophisticated richness of the dark chocolate salted caramel skulls, or experiment with your own creepy creations, these homemade Halloween candy recipes are guaranteed to elevate your October celebrations. Take your time, enjoy the process, and get ready to experience the nostalgic joy of trick-or-treating in a whole new, delicious way. Happy Halloween, and happy candy making!