
The Ultimate Guide to the Perfect Grilled Steak
There is a distinct, undeniable magic that happens when high-quality beef meets an open flame. The sound of the sizzle as the meat hits the hot grates, the intoxicating aroma of wood smoke and rendering fat, and the anticipation of that first perfectly charred, juicy bite—it is the quintessential American summer dining experience. Yet, despite how universally beloved a good steak is, many home cooks find the prospect of grilling one to be incredibly intimidating.
When you invest in a beautiful, expensive cut of meat, the pressure not to overcook it or ruin the crust can be overwhelming. But here is the comforting truth: achieving a steakhouse-quality dinner in your own backyard is not about having a culinary degree or a five-thousand-dollar outdoor kitchen. It is about understanding a few fundamental principles of heat, salt, and patience.
Once you learn the simple science of dry-brining, the necessity of a two-zone fire, and the life-saving magic of an instant-read meat thermometer, you will never feel nervous standing over the grill again. Whether you are hosting a festive Fourth of July barbecue, planning an intimate anniversary dinner, or simply treating yourself to a phenomenal Friday night meal, this comprehensive guide will equip you with the knowledge to grill the perfect steak every single time.
What Is the Perfect Grilled Steak?
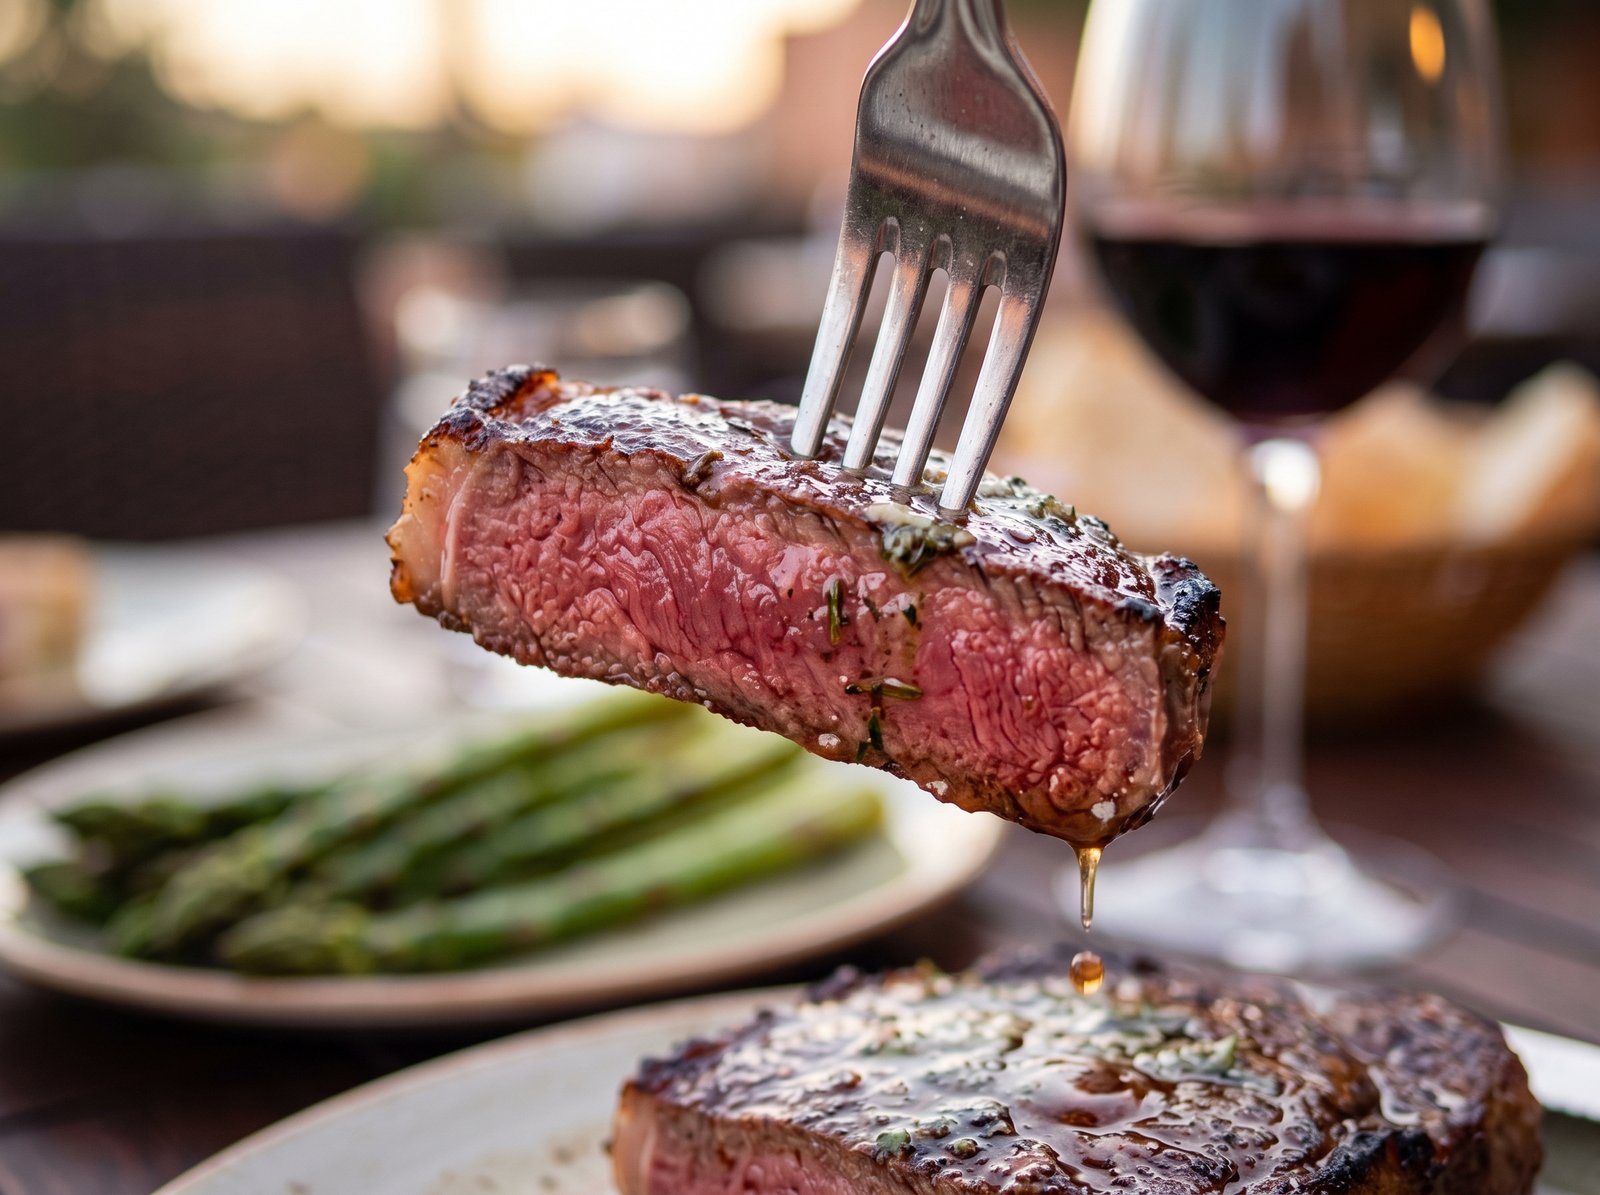
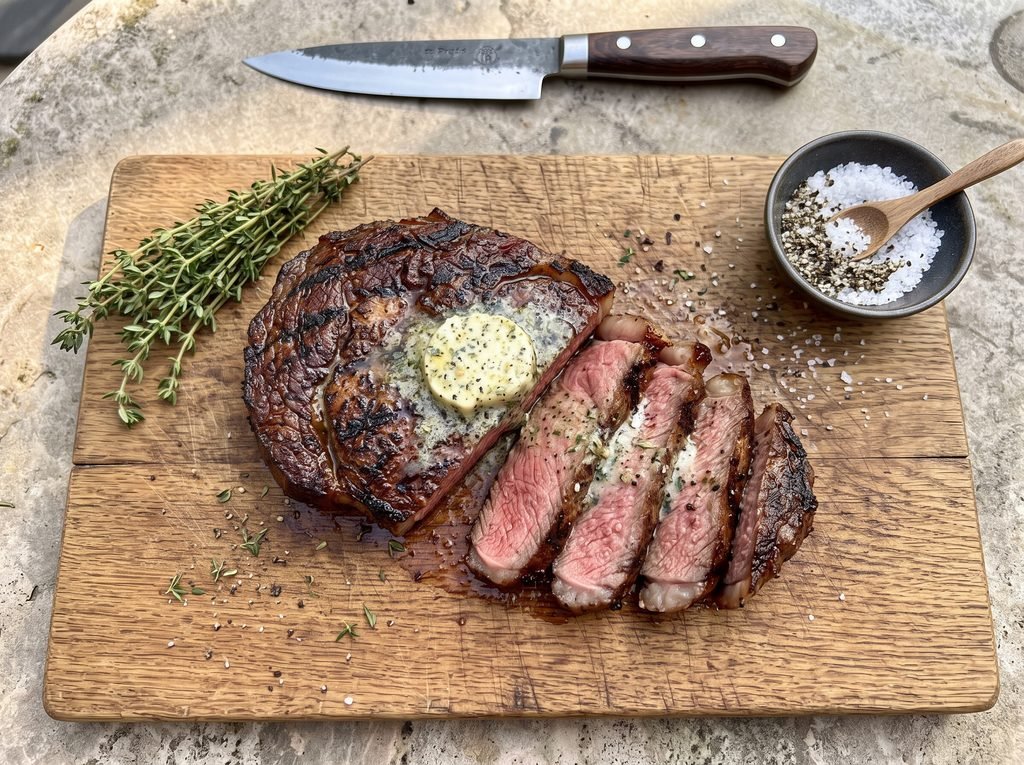
A perfectly grilled steak is an exercise in beautiful contrasts. On the outside, it should boast a dark, mahogany-brown crust with distinct grill marks and a slight, smoky char. This exterior crust—developed through the Maillard reaction—is packed with complex, savory, roasted flavors.
On the inside, the steak should be edge-to-edge pink (or your preferred level of doneness), incredibly tender, and bursting with rich, beefy juices. The fat should be perfectly rendered, meaning it melts in your mouth rather than feeling chewy or rubbery. Achieving this balance requires cooking the exterior fast and hot enough to develop flavor, while managing the internal temperature precisely so the center remains tender and succulent.
Why You’ll Love This Method
- Foolproof and Reliable: By utilizing a two-zone grilling method and a meat thermometer, we remove all the guesswork from the process. You will know exactly when your steak is perfectly medium-rare.
- Minimal Ingredients, Maximum Flavor: Great beef does not need to be masked by heavy sauces or complicated marinades. This method relies on the holy trinity of steak seasoning: kosher salt, freshly cracked black pepper, and garlic powder, allowing the natural flavor of the meat to shine.
- Steakhouse Quality at Home: Learning how to finish your grilled steak with a simple compound butter (a classic restaurant technique) elevates the dish from a backyard cookout standard to a luxurious dining experience.
- Highly Adaptable: Whether you are cooking on a classic charcoal kettle grill or a modern gas grill, these core techniques apply perfectly to your setup.
Choosing the Best Cuts of Steak for the Grill
Not all beef is created equal, and not every cut is suited for the intense, dry heat of a grill. When shopping for steak, you want to look for cuts that are naturally tender and have good marbling (the little white flecks of intramuscular fat). Always ask your butcher to cut your steaks at least 1.5 to 2 inches thick; thin steaks will overcook in the center before they ever develop a good crust.
1. The Ribeye (The King of Flavor)
For many grill masters, the ribeye is the undisputed champion of the grill. Cut from the rib section, it is highly marbled with fat, which melts down during the grilling process, naturally basting the meat from the inside out. This makes the ribeye incredibly flavorful, juicy, and very forgiving if you accidentally leave it on the heat a minute too long.
2. The New York Strip (The Perfect Balance)
Cut from the short loin, the New York Strip offers a fantastic balance of tenderness and robust beef flavor. It has a tighter texture than a ribeye and a thick fat cap along one edge. It is slightly leaner, meaning it requires a bit more attention to avoid overcooking, but it delivers a profoundly satisfying, classic steakhouse chew.
3. Filet Mignon (The Tender Choice)
Cut from the tenderloin, the filet is famous for being so tender you can practically cut it with a butter knife. However, because it is extremely lean, it lacks the rich, beefy flavor found in a ribeye or strip. If you grill a filet, you must monitor the temperature aggressively, as overcooked tenderloin becomes incredibly dry. It benefits greatly from a compound butter finish to add necessary fat and flavor.
4. Top Sirloin (The Budget-Friendly Option)
If you are grilling for a large crowd and do not want to spend a fortune, top sirloin is your best friend. It is lean, offers a great beefy flavor, and is highly affordable. Because it lacks extensive marbling, it is crucial to cook sirloin no past medium (preferably medium-rare) and slice it thinly against the grain for maximum tenderness.
The Secret to the Best Crust: Dry Brining
If you want a professional-level crust on your steak, you must understand dry brining. Dry brining simply means aggressively salting your steak and letting it rest uncovered in the refrigerator before cooking.
When you first apply kosher salt to the steak, the salt draws moisture out of the meat, creating little puddles of water on the surface. If you wait about 45 minutes to an hour, a magical process called osmosis occurs. The salty liquid breaks down the muscle proteins and is reabsorbed back into the meat. This seasons the steak deeply all the way through, rather than just on the surface.
Furthermore, leaving the steak uncovered in the fridge allows the cold, circulating air to completely dry out the surface of the meat. Moisture is the enemy of a good sear; if your steak is wet when it hits the grill, the heat must first evaporate that water (creating steam) before it can begin browning the meat. A dry surface guarantees a fast, dark, beautiful crust.
Ingredients
To execute this classic method, you need very few ingredients. Quality is key here.
For the Steaks:
- 2 Thick-Cut Steaks: (Ribeye or New York Strip, about 1.5 inches thick and 1 to 1.25 pounds each).
- 1 tablespoon Kosher Salt: Diamond Crystal or Morton’s. Do not use standard table salt, as it is too fine and will make the meat overly salty.
- 1 tablespoon Freshly Cracked Black Pepper: Coarse grind is best for a great crust.
- 1 teaspoon Garlic Powder: Adds a savory, earthy background note.
- 1 tablespoon Canola Oil or Avocado Oil: For lightly oiling the steaks. You need an oil with a high smoke point; do not use extra virgin olive oil, which will burn and taste bitter over an open flame.
For the Garlic Herb Compound Butter (Optional but Highly Recommended):
- 4 tablespoons (1/2 stick) Unsalted Butter: Softened to room temperature.
- 1 clove Garlic: Minced very finely.
- 1 tablespoon Fresh Parsley: Finely chopped.
- 1/2 teaspoon Fresh Thyme Leaves: Chopped.
- A pinch of Kosher Salt.
How to Make the Best Grilled Steak
The key to a stress-free grilling experience is setting up a two-zone fire. This means having one side of your grill screaming hot for searing, and the other side at a lower, gentler temperature for finishing the cooking process.
Prep Time: 1 hour (for dry brining)
Cook Time: 15 minutes
Total Time: 1 hour 15 minutes
Servings: 2 to 4
Step 1: Dry Brine the Steaks
At least one hour before you plan to grill (or up to 24 hours in advance), place your steaks on a wire rack set over a baking sheet. Pat them completely dry with paper towels. Season them aggressively on all sides, including the edges, with the kosher salt. Place them uncovered in the refrigerator.
Step 2: Make the Compound Butter
While the steaks are resting, combine the softened butter, minced garlic, chopped parsley, fresh thyme, and a pinch of salt in a small bowl. Mash everything together with a fork until well combined. Scrape the butter onto a piece of plastic wrap, roll it into a small log, and place it in the fridge to firm up.
Step 3: Temper and Season
Remove the steaks from the refrigerator about 30 minutes before grilling to take the intense chill off the meat. Pat them dry one final time with a paper towel—they should feel tacky and dry to the touch. Lightly rub the steaks with the canola or avocado oil. Season all sides with the coarse black pepper and garlic powder, pressing the spices gently into the meat so they adhere.
Step 4: Prepare the Two-Zone Grill
- For a Gas Grill: Turn half of your burners to the absolute highest setting. Leave the other half of the burners completely off. Close the lid and let the grill preheat for at least 15 minutes until the grates are fiercely hot.
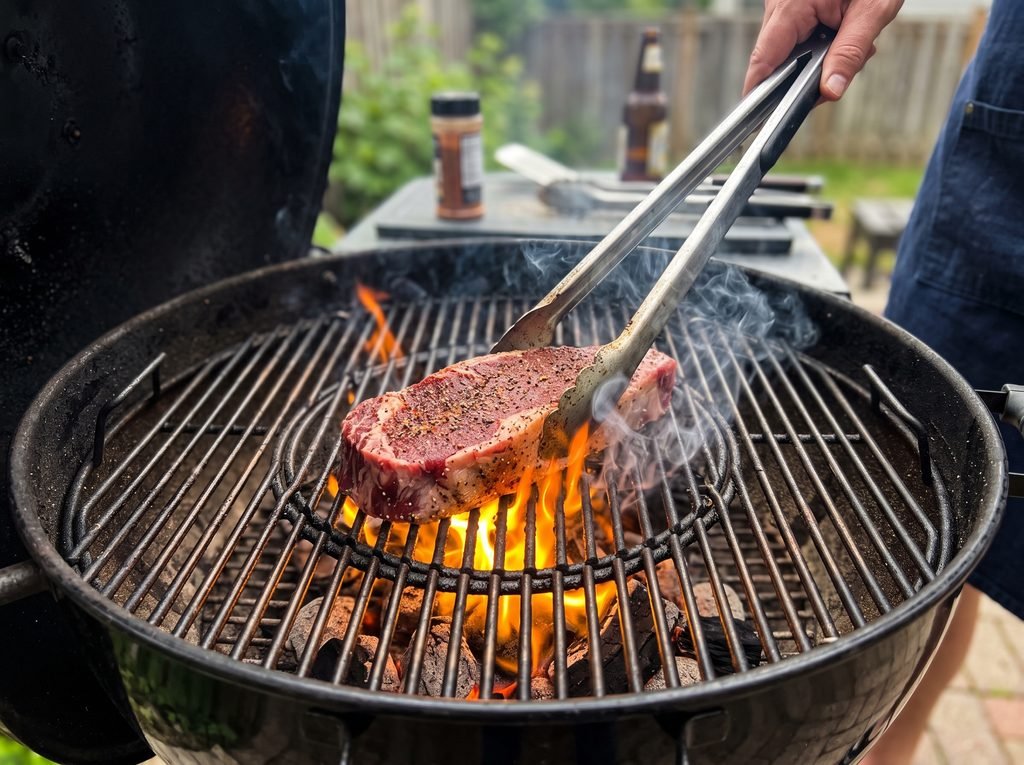
- For a Charcoal Grill: Light a large chimney starter full of charcoal briquettes. Once they are covered in white ash, dump the coals exclusively onto one half of the charcoal grate, piling them high. Leave the other half of the grate empty. Put the cooking grate in place, cover, and let it heat up for 5 minutes.
- Brush the hot grates clean with a grill brush.
Step 5: The Hard Sear
Place the steaks directly over the hottest part of the grill (the direct heat zone). Leave the lid open. Let the steaks sear undisturbed for 2 to 3 minutes until a dark, mahogany crust forms and the meat releases easily from the grates. Flip the steaks and sear the other side for another 2 to 3 minutes. Note: If you get a massive flare-up from dripping fat, use long tongs to temporarily move the steaks to the cool side of the grill until the flames die down, then move them back.
Step 6: Finish on Indirect Heat
Once both sides have a beautiful crust, move the steaks over to the cool side of the grill (the indirect heat zone). Close the grill lid. This allows the steaks to roast gently, bringing the internal temperature up without burning the exterior.
Step 7: Check the Temperature
After 3 to 4 minutes on the cool side, open the lid and insert an instant-read meat thermometer into the thickest part of the steak, away from any bones or large pockets of fat. Pull the steaks off the grill when they are exactly 5 degrees below your target final temperature (see the temperature guide below).
Step 8: The Crucial Rest and Butter Finish
Transfer the grilled steaks to a clean cutting board or platter. Immediately slice a generous medallion of your prepared garlic herb compound butter and place it directly on top of each hot steak so it melts over the crust. Do not slice the meat yet. Tent the steaks loosely with aluminum foil and let them rest for a minimum of 5 to 10 minutes. Serve whole, or slice against the grain and pour the resting juices and melted butter over the top.
Steak Temperature Guide (And Carryover Cooking)
Understanding “carryover cooking” is the difference between an amateur and a grill master. When you remove a steak from a 500°F (260°C) grill, the intense heat trapped in the outer layers of the meat continues to travel inward to the cooler center. Your steak will continue to cook and rise in temperature by about 5°F while it rests on the cutting board.
Therefore, you must always pull the steak off the grill 5 degrees before it reaches your desired doneness. Use this chart for the perfect finish:
- Rare (Cool red center): Pull off grill at 120°F (49°C) / Final resting temp: 125°F (52°C)
- Medium-Rare (Warm red center): Pull off grill at 130°F (54°C) / Final resting temp: 135°F (57°C) Highly recommended for maximum flavor and tenderness.
- Medium (Warm pink center): Pull off grill at 140°F (60°C) / Final resting temp: 145°F (63°C)
- Medium-Well (Slightly pink center): Pull off grill at 145°F (63°C) / Final resting temp: 150°F (66°C)
- Well Done (Little or no pink): Pull off grill at 155°F (68°C) / Final resting temp: 160°F (71°C)
Helpful Tips for the Best Results
- Invest in a Thermometer: Grilling by “feel” or poking the meat with your finger is highly inaccurate because every cut of meat has a different density. A digital instant-read meat thermometer is the only guaranteed way to achieve perfect doneness.
- Never Press the Meat: When the steak is sizzling on the grates, resist the urge to press down on it with your spatula. Pressing the meat acts like a sponge, squeezing all those precious, flavorful juices right down into the fire, leaving you with a dry steak.
- Slice Against the Grain: If you are slicing the steak before serving, look for the direction of the muscle fibers (the grain). Always cut perpendicular to these lines. This shortens the muscle fibers, making the meat significantly more tender to chew.
- Clean and Oil the Grates: A dirty grill grate will cause your steak to stick and tear, ruining your beautiful crust. Always scrub your grates before cooking. Right before you put the meat on, grab a wad of paper towels with your tongs, dip it lightly in canola oil, and rub it quickly over the hot grates.
Variations and Marinades
While a thick Ribeye or Strip only needs salt and pepper, other cuts of beef welcome creative flavor profiles.
- The Classic Steakhouse Marinade: If you are grilling a Flank or Skirt steak, marinades are fantastic. Whisk together 1/4 cup olive oil, 1/4 cup soy sauce, 2 tablespoons balsamic vinegar, 1 tablespoon Worcestershire sauce, 1 tablespoon Dijon mustard, and 3 cloves minced garlic. Marinate the steak for 4 to 8 hours before grilling.
- Cowboy Coffee Rub: For a robust, smoky flavor, mix 1 tablespoon finely ground dark roast coffee, 1 tablespoon brown sugar, 1 teaspoon smoked paprika, 1 teaspoon kosher salt, and 1/2 teaspoon black pepper. Rub this into the steaks right before grilling. The coffee adds an incredible earthy bitterness that perfectly balances the rich beef fat.
- Spicy Chimichurri Finish: Instead of a compound butter, top your rested steak with fresh chimichurri. Blend fresh parsley, cilantro, oregano, garlic, olive oil, red wine vinegar, and red pepper flakes. The bright, herbaceous acid cuts through the richness of the steak beautifully.
What to Serve With It
A great grilled steak demands side dishes that are equally bold and classic, yet simple enough not to outshine the main event.
- Grilled Asparagus: Since the grill is already hot, toss thick spears of asparagus in olive oil, salt, and pepper, and grill them over direct heat for 3 to 4 minutes until slightly charred and tender-crisp.
- The Ultimate Baked Potato: Serve a massive, fluffy Russet potato loaded with butter, sour cream, sharp cheddar cheese, crispy bacon bits, and fresh chives.
- Classic Wedge Salad: A cold, crisp quarter of iceberg lettuce topped with creamy blue cheese dressing, cherry tomatoes, red onions, and bacon crumbles provides a sharp, refreshing contrast to the heavy, hot beef.
- Garlic Bread: Thick slices of sourdough or a French baguette slathered in garlic butter and toasted on the cool side of the grill until golden brown.
Storage and Reheating
Leftover high-quality steak is a terrible thing to waste, but it is very easy to ruin during the reheating process.
- To Store: Allow the leftover steak to cool to room temperature. Wrap it tightly in aluminum foil or place it in an airtight container. Store in the refrigerator for up to 3 days.
- Serve it Cold: Frankly, leftover steak is often best eaten cold. Slice it thinly and serve it over a large green salad with a sharp vinaigrette, or tuck it into a toasted baguette with horseradish mayo for an incredible steak sandwich.
- To Reheat (The Oven-to-Pan Method): Never microwave a good steak; it will instantly turn it rubbery and gray. The best way to reheat it without overcooking the center is to place the steak on a wire rack over a baking sheet and heat it in a 250°F (120°C) oven for about 10 to 15 minutes, just until warmed through. Then, get a skillet screaming hot with a tiny drop of oil, and quickly sear the steak for 30 seconds per side to re-crisp the crust.
Frequently Asked Questions
Should I use a gas or charcoal grill? Both produce fantastic results, but they offer different advantages. Gas grills are unmatched for convenience, speed, and precise temperature control. Charcoal grills take more time and effort to set up, but they provide a distinct, authentic wood-smoke flavor that a gas grill simply cannot replicate. Use whatever you are most comfortable with; the two-zone setup works for both.
Is it true you should only flip a steak once? This is a long-standing grilling myth. While flipping it only once (leaving it alone for 4 minutes per side) guarantees distinct crosshatch grill marks, flipping the steak multiple times (every 60 seconds) actually helps the meat cook more evenly from edge to edge and can result in an even better, more uniform crust. Both methods work perfectly fine.
Why is my steak chewy and tough? Tough steak usually stems from three things: purchasing a low-quality or inherently tough cut of meat (like bottom round), overcooking the meat past medium (which tightens the muscle fibers and squeezes out the juices), or forgetting to slice the meat against the grain.
What is the “Reverse Sear” method? The reverse sear is essentially flipping the traditional grilling method backward. Instead of searing first, you start the steak on the cool, indirect heat side of the grill, cooking it very slowly until it reaches about 115°F (46°C). Then, you move it to the screaming hot direct heat side for just 1 minute per side to create the crust. This method takes longer but guarantees a perfectly even, edge-to-edge pink interior without any gray bands of overcooked meat near the crust. It is especially recommended for massive steaks that are over 2 inches thick.
Should I oil the grill grates or the steak? It is best to lightly oil both. Brushing a light coat of high-heat oil directly onto the steak ensures that the seasoning sticks and gives the crust a jumpstart in the browning process. Quickly wiping the hot grill grates with an oiled paper towel right before putting the meat down creates a temporary non-stick surface, ensuring your steak releases easily without tearing.
How long does a steak really need to rest? The resting time depends on the size of the steak. For a standard 1.5-inch thick ribeye or strip, 5 to 10 minutes is ideal. For a massive, 2.5-pound Tomahawk steak, it may need up to 20 minutes. Resting allows the super-heated, rapidly moving juices inside the meat to cool slightly, thicken, and redistribute throughout the muscle fibers. If you cut into a steak immediately off the grill, those juices will flood your cutting board, leaving the meat dry.
Final Thoughts
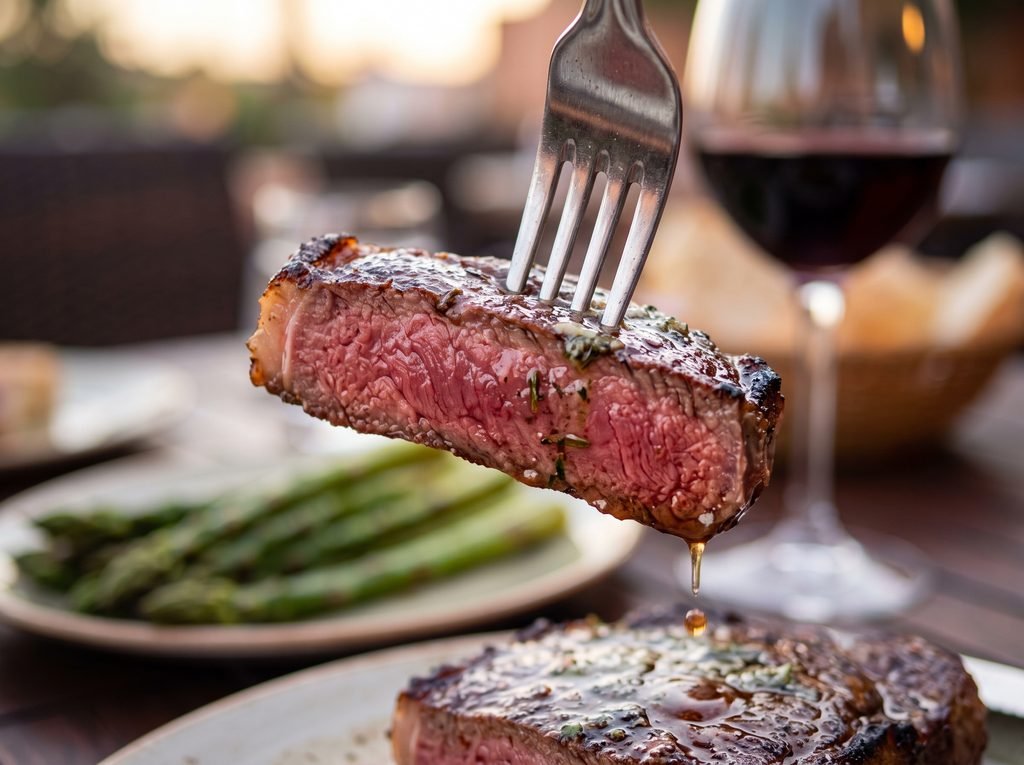
Mastering the art of the perfect grilled steak is one of the most rewarding culinary skills you can develop. It transforms your backyard into the best steakhouse in town and gives you the confidence to cook premium cuts of beef without the fear of ruining them.
By taking the time to dry-brine your meat, utilizing the control of a two-zone fire, and relying on a digital thermometer rather than guesswork, you guarantee a flawless result every single time. The next time you fire up the grill, remember these simple principles. Pour yourself a favorite beverage, embrace the smoke, and get ready to enjoy a steak that is charred to perfection on the outside and unbelievably tender and juicy on the inside.