
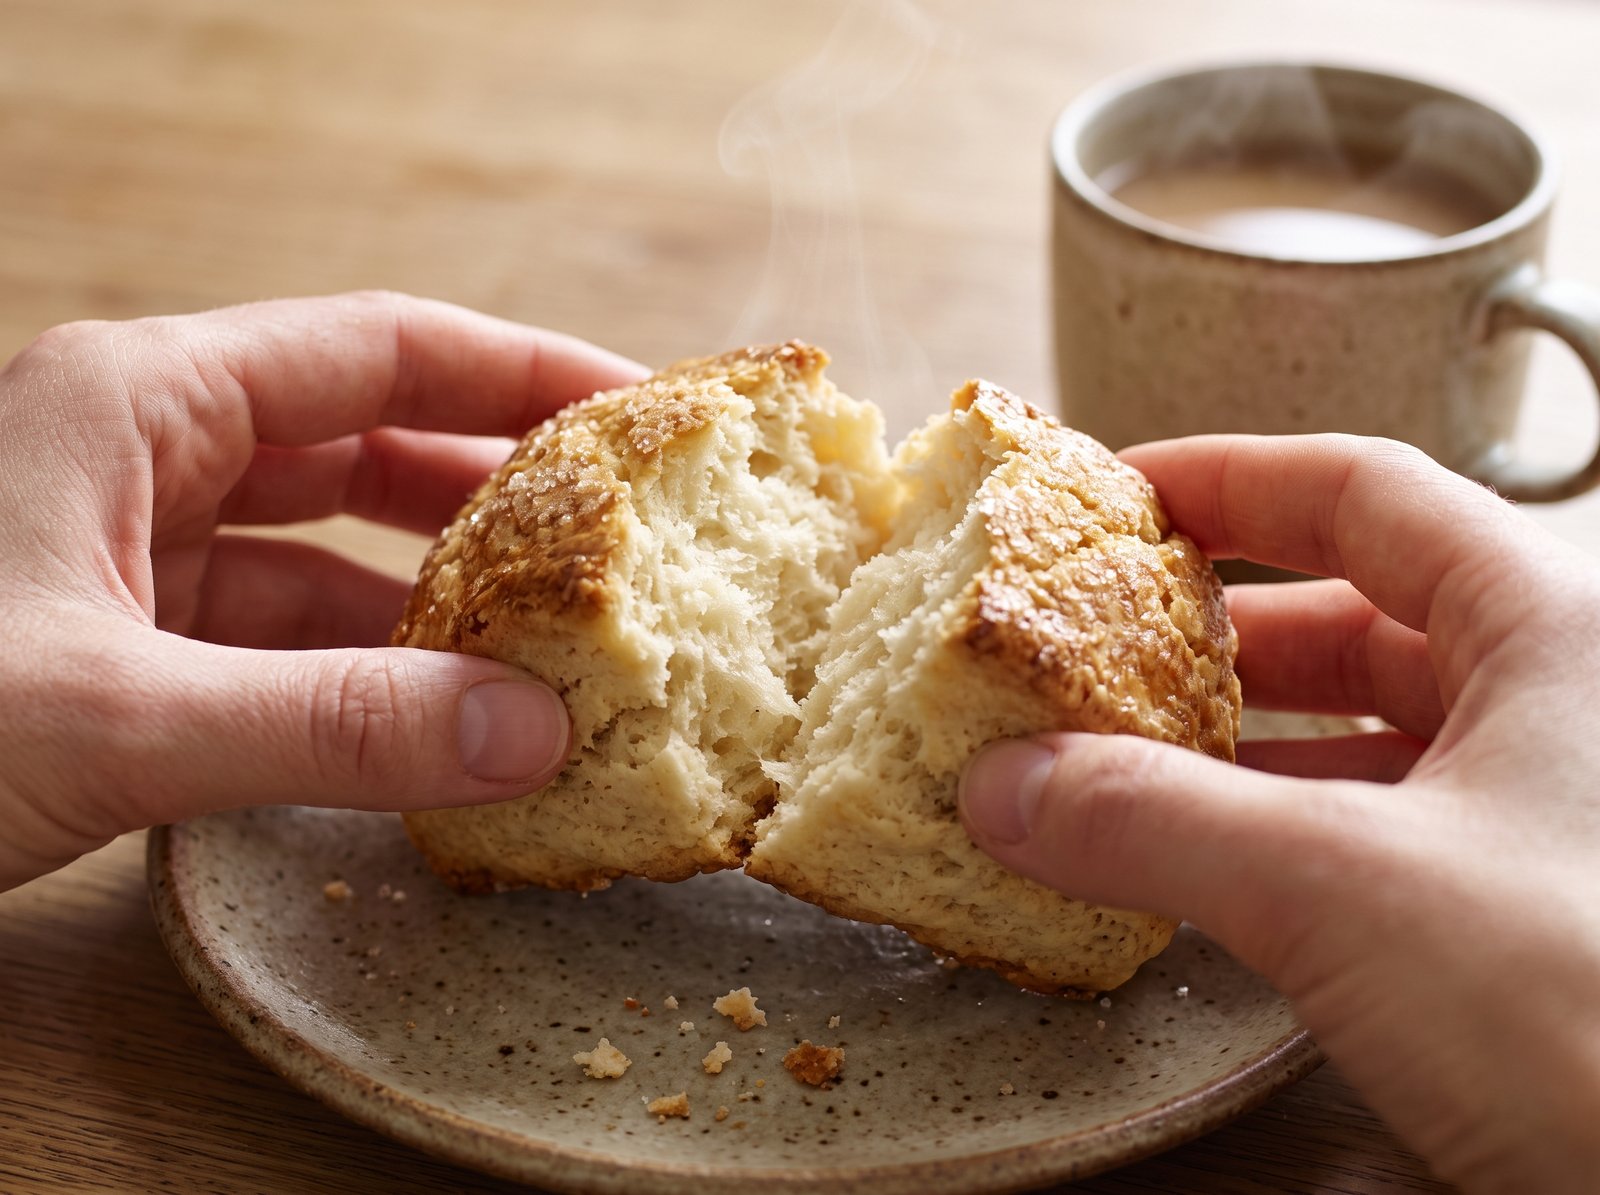
Easy Scones: The Foolproof Recipe for Flaky, Buttery Pastries
There is a common misconception that baking delicate, flaky pastries requires years of culinary training, specialized equipment, and an entire afternoon of careful preparation. If you have ever stood in your kitchen, intimidated by the thought of cutting butter into flour or worried about overworking a delicate dough, this easy scones recipe is going to completely change the way you bake.
For many home cooks, the pursuit of the perfect pastry often ends in dense, dry pucks that crumble into dust. This happens because most traditional methods are unnecessarily fussy. They ask you to use a pastry blender until your wrist aches or require you to roll the dough out multiple times, which inevitably leads to tough, chewy results.
This streamlined, beginner-friendly approach strips away all the complication. You do not need a stand mixer, a food processor, or even a rolling pin. With a simple mixing bowl, a box grater, and a few basic pantry staples, you can produce towering, golden-brown pastries that rival anything you would find in an upscale bakery. The resulting scones boast a beautifully crisp, sugar-crusted exterior and an impossibly tender, soft, and moist interior that melts in your mouth. Best of all, from the moment you pull your flour out of the pantry to the moment the baking sheet goes into the oven, you only need about fifteen minutes of active prep time.
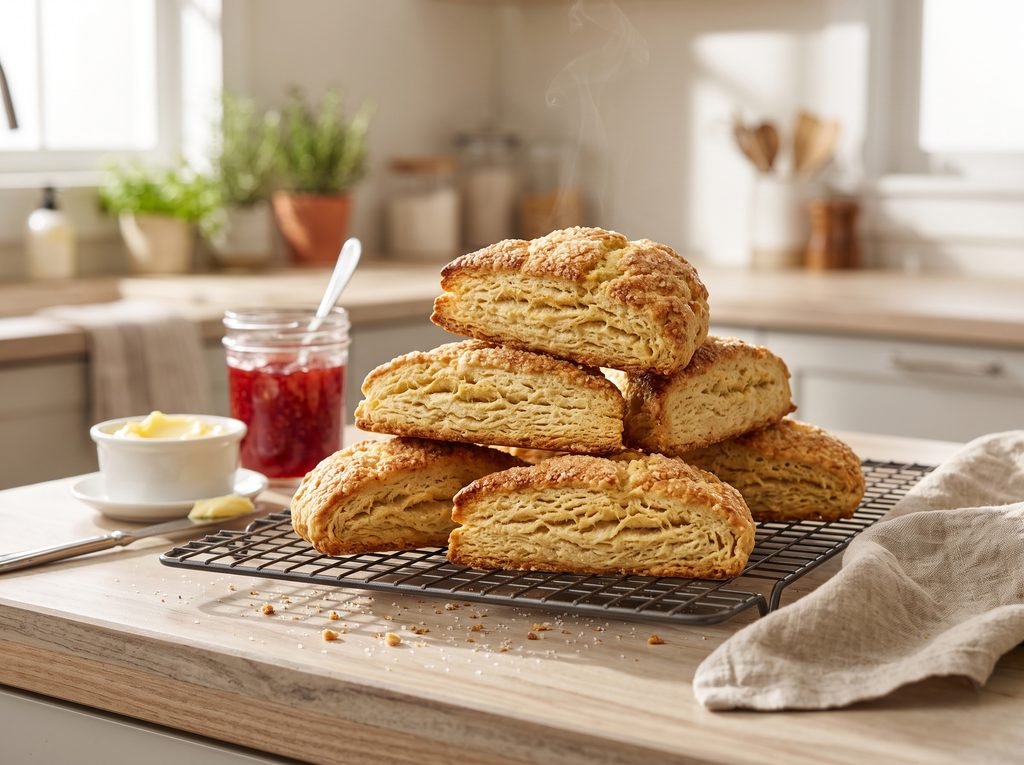
What Makes This Recipe So Easy?
If you are wondering how a pastry can be both spectacular and effortless, the answer lies in a few smart techniques that eliminate the most common points of failure in baking.
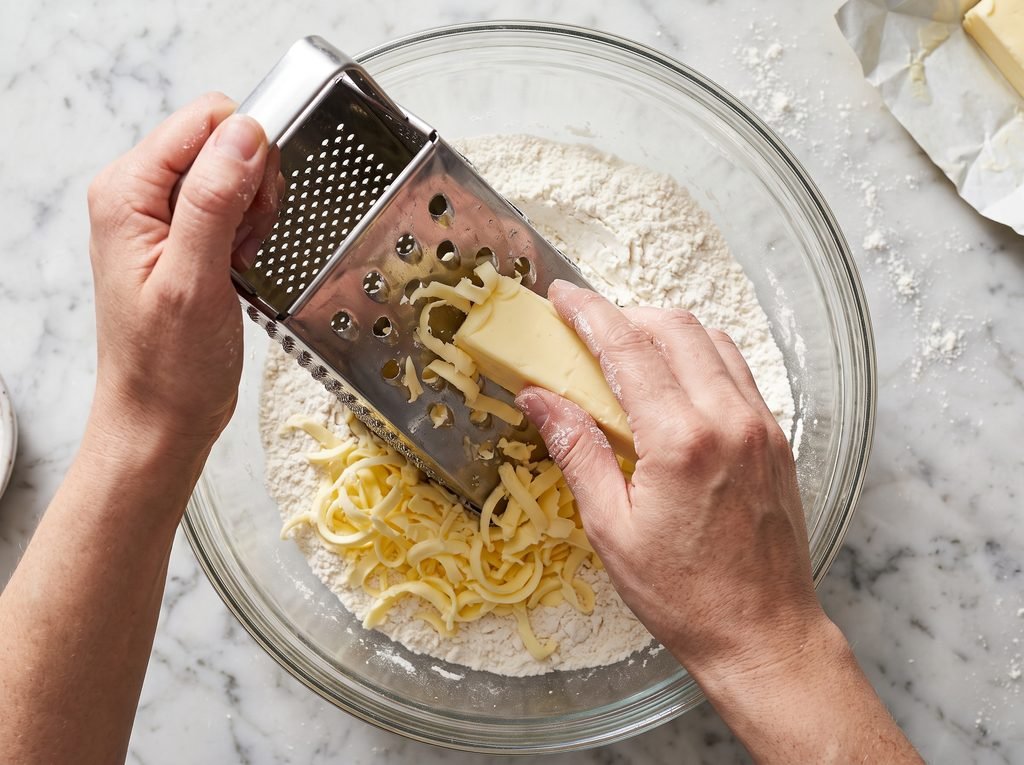
First, this method completely skips the traditional, frustrating step of “cutting” cold butter into the dry ingredients using a fork or a pastry blender. Instead, it utilizes a standard kitchen box grater. By grating a solid, frozen block of butter directly into the flour, you instantly create perfectly uniform, thin ribbons of fat that distribute evenly with just a quick toss of your fingers.
Second, this recipe utilizes a heavy cream base rather than a combination of milk and eggs. Heavy cream provides both the liquid needed to hydrate the dough and a high fat content that coats the flour proteins. This coating action naturally inhibits gluten formation, meaning you have to worry much less about accidentally overmixing the dough and ending up with a tough pastry.
Finally, we use the wedge-cutting method. Instead of rolling the dough out and using round biscuit cutters—which leaves you with scraps that must be gathered and re-rolled—you simply pat the dough into a single circle and slice it like a pizza. This guarantees that the dough is handled as little as possible, ensuring a maximum rise and a tender crumb.
The Science of Flakiness: Why Cold Matters
Before you begin measuring your ingredients, you must understand the single most important rule of this recipe: keep everything incredibly cold.
The signature flaky layers in a scone are created by tiny, distinct pieces of solid fat suspended throughout the flour mixture. When you place the cold dough into a 400°F oven, the water naturally present inside those small pieces of butter rapidly evaporates, turning into steam. That steam pushes upward with surprising force, separating the flour into distinct, airy layers before the structure of the dough sets.
If your butter is too warm while you are mixing, it will soften and smear evenly into the flour. Without those distinct, solid pockets of fat, there is no localized steam expansion. The result is a dense, heavy, cake-like texture rather than a flaky pastry. To guarantee success, leave your butter in the freezer and your heavy cream in the refrigerator until the exact moment you are ready to use them.
Ingredients You Will Need
This recipe relies on a very short list of everyday baking staples. Because there are so few elements, measuring them correctly is essential for the perfect texture.
- 2 cups All-Purpose Flour: Standard all-purpose flour provides exactly the right amount of structure. Do not scoop your measuring cup directly into the bag, which compacts the flour and leads to a dry dough. Instead, fluff the flour with a fork, spoon it into your measuring cup, and level it off with a flat edge.
- 1/3 cup Granulated Sugar: This small amount of sugar provides a gentle sweetness that balances the rich butter. Sugar also tenderizes the crumb and helps the exterior achieve a beautiful golden-brown color in the oven.
- 1 tablespoon Baking Powder: Because this dough is heavy with fat and dairy, it requires a robust leavening agent to rise properly. Ensure you are using baking powder, not baking soda, and check the expiration date on the tin.
- 1/2 teaspoon Fine Sea Salt: Salt is an essential flavor enhancer in baking. It wakes up the vanilla and prevents the finished pastry from tasting flat or floury.
- 1/2 cup (1 stick / 4 ounces) Unsalted Butter: The butter must be frozen solid. Using unsalted butter allows you to control the exact seasoning of the dough.
- 3/4 cup Heavy Cream (plus extra for brushing): Heavy cream is the secret weapon for an easy, tender scone. Its richness guarantees a moist interior. You will need an extra tablespoon or two to brush over the tops of the scones before they bake.
- 1 teaspoon Pure Vanilla Extract: A splash of high-quality vanilla extract adds a lovely, aromatic warmth to the plain dough.
- Coarse Sugar (Optional): Sprinkling coarse turbinado or sanding sugar over the cream-brushed tops adds a wonderful, professional-looking bakery crunch.
How to Make Easy Scones
Follow these clear, step-by-step instructions. Remember, a gentle hand is the key to perfect pastries.
Prep Time: 15 minutes Cook Time: 15 to 17 minutes Total Time: 32 minutes Servings: 8 scones
1. Prepare Your Baking Station
Begin by preheating your oven to 400°F (200°C). Line a large, heavy-duty baking sheet with parchment paper or a silicone baking mat. Having your pan ready means your cold dough will not have to sit on the warm counter waiting to be transferred.
2. Whisk the Dry Ingredients
In a large mixing bowl, combine the 2 cups of all-purpose flour, 1/3 cup of granulated sugar, 1 tablespoon of baking powder, and 1/2 teaspoon of salt. Whisk these together thoroughly for about thirty seconds. It is critical that the baking powder is evenly distributed so the scones rise evenly.
3. Grate the Frozen Butter
Remove your stick of unsalted butter from the freezer. Using the side of a metal box grater with the largest holes, grate the entire stick directly into the bowl of dry ingredients.
4. Toss to Coat
Using your fingertips, gently toss the grated butter ribbons into the flour mixture. Do not squeeze, press, or rub the butter into the flour; simply toss it like a salad until all the pieces of butter are separated and thoroughly coated in flour. The mixture should look like coarse sand.
5. Incorporate the Wet Ingredients
Make a small well in the center of the dry ingredients. Pour in the 3/4 cup of cold heavy cream and the 1 teaspoon of vanilla extract.
6. Mix Gently
Using a rubber spatula or a wooden spoon, gently fold the mixture together. Stop mixing the moment the liquid is absorbed and a shaggy, rough dough begins to form. There will likely be some dry, loose flour remaining at the bottom of the bowl—this is entirely normal and expected.
7. Shape the Dough
Turn the shaggy dough and any loose flour out onto a clean, lightly floured countertop. With floured hands, gently press and gather the loose pieces together, folding the dough over itself once or twice just until it forms a cohesive mass. Press the dough down into a flat disc that is approximately 8 inches in diameter and 1 inch thick.
8. Slice into Wedges
Using a sharp chef’s knife or a metal bench scraper, cut the dough disc in half, then into quarters, and finally into eighths, creating 8 equal triangular wedges. When cutting, press the blade straight down and pull it straight up. Do not saw back and forth, as this pinches the edges and restricts the rise.
9. Brush and Garnish
Transfer the 8 wedges to your prepared baking sheet, leaving at least two inches of space between each one to allow for spreading and air circulation. Dip a pastry brush into a little extra heavy cream and lightly brush the top of each wedge. Sprinkle generously with coarse sugar.
10. Bake Until Golden
Place the baking sheet on the middle rack of your preheated 400°F (200°C) oven. Bake for 15 to 17 minutes. The scones are finished when they have puffed up significantly and the edges and tops are a beautiful, light golden brown.
11. Cool and Serve
Remove the pan from the oven and let the scones rest on the hot baking sheet for 5 minutes. This helps them set their structure. Transfer them to a wire cooling rack. They are best enjoyed warm, about ten to fifteen minutes out of the oven.
The “Drop Scone” Alternative
If you want to make this recipe even easier, you can entirely skip the process of patting the dough into a disc and slicing it. Instead, you can make “drop scones.”
Follow the recipe exactly as written through step 6. Once the shaggy dough forms in the bowl, use a large cookie scoop or two large spoons to scoop out rustic, uneven mounds of dough. Drop them directly onto your prepared baking sheet. Brush the tops with cream and bake. Drop scones will have a craggier, crispier exterior and a slightly more rustic appearance, but they require zero countertop shaping, making cleanup even faster.
Helpful Tips for the Best Results
- Do Not Overwork the Gluten: Scones are considered a “quick bread.” As soon as flour meets liquid, gluten begins to form. Overworking the dough by kneading it will yield a tough, dense, chewy texture. Mix and shape the dough only until it just barely holds together.
- The Chilling Trick: If your kitchen is particularly warm, or if you feel the dough took a while to come together and the butter has softened, place the entire baking sheet of cut wedges into the refrigerator for 15 minutes before baking. Re-chilling the fat ensures maximum flakiness.
- Check Your Baking Powder: Baking powder loses its potency over time. If your tin has been sitting in the pantry for a year, your pastries will likely fall flat. To test it, drop a half-teaspoon into a cup of hot water. If it fizzes and bubbles vigorously, it is active and ready to use.
Customizing Your Easy Scones
This base recipe is an incredibly stable canvas. Because the ratio of fat to liquid is so reliable, you can easily fold in up to one cup of your favorite mix-ins without altering the rest of the recipe. Always add your mix-ins to the dry flour and butter mixture before you pour in the heavy cream.
Lemon Blueberry
Toss 1 cup of fresh or frozen blueberries into the flour mixture, along with the freshly grated zest of one large lemon. If using frozen blueberries, do not thaw them first, as they will turn your entire dough a muddy purple color.
Classic Chocolate Chip
Add 3/4 cup of semi-sweet or dark chocolate chips to the dry ingredients. For a gourmet touch, try using a chopped bar of high-quality dark chocolate. The tiny shards will melt into the crumb while the larger chunks provide gooey pockets of chocolate.
Cinnamon Apple
Peel and finely dice one small baking apple (such as a Granny Smith or Honeycrisp). Toss the diced apple into the flour mixture along with 1 teaspoon of ground cinnamon and 1/4 teaspoon of ground nutmeg.
Savory Cheddar and Herb
To transform this into a savory bake perfectly suited for serving alongside a bowl of soup, reduce the granulated sugar to just 1 tablespoon and omit the vanilla extract. Add 1 cup of freshly grated sharp cheddar cheese, 1/4 cup of finely chopped fresh chives or scallions, and a generous pinch of cracked black pepper.
What to Serve With It
Serving a fresh scone properly is part of the experience. While these are rich and flavorful enough to eat completely plain, they truly shine when paired with the right accompaniments.
- The Traditional Approach: Split the warm scone horizontally. Spread a thick layer of clotted cream on each half, followed by a generous spoonful of high-quality strawberry or raspberry preserves.
- Bright and Tart Spreads: The buttery richness of the pastry pairs beautifully with bright, acidic flavors. A smooth, homemade lemon curd or orange marmalade offers a perfect contrast.
- Simple and Sweet: Keep it simple by serving them warm with lightly salted whipped butter and a drizzle of local honey or pure maple syrup.
- Beverages: Scones have a distinctly crumbly, cake-like texture that demands a beverage. Serve them alongside a strong cup of black tea, a cappuccino, or a French press of dark roast coffee.
Storage, Freezing, and Reheating
Like most baked goods that rely on butter and baking powder, scones are at their absolute peak within a few hours of leaving the oven. However, with proper storage, you can enjoy them for days.
Storing Baked Leftovers
Allow the baked scones to cool completely to room temperature. Storing them while they are still warm will cause condensation to build up inside the container, resulting in a soggy crust. Once cool, place them in an airtight container or a heavy-duty zip-top bag lined with a dry paper towel. They will keep at room temperature for up to 2 days, or in the refrigerator for up to 5 days.
Freezing Unbaked Dough (Highly Recommended)
Freezing unbaked dough is the ultimate baker’s secret for having fresh pastries on demand. Prepare the recipe entirely through the cutting stage. Place the raw, cut wedges on a parchment-lined plate and put them in the freezer for one hour. Once the wedges are frozen solid, transfer them to a freezer-safe bag. They will keep for up to 3 months. When you want a fresh scone, place the frozen wedge directly onto a prepared baking sheet, brush with cream, and bake at 400°F (200°C), adding about 2 to 4 extra minutes to the baking time.
Reheating Baked Scones
To recapture the freshly baked texture and crisp up the exterior, reheat leftover baked scones in a 350°F (175°C) oven or toaster oven for 5 to 7 minutes until warmed through. You can microwave them for 15 seconds if you are in a rush, but be aware that the microwave will make the exterior completely soft and steamy.
Frequently Asked Questions
Why did my scones spread out and turn into flat cookies? Spreading occurs when the butter in the dough gets too warm and melts before the baking powder has a chance to activate in the oven. This causes the structure to collapse. Always use frozen butter, and if your dough feels soft, chill the cut wedges in the fridge for 15 minutes before baking. Additionally, make sure you did not pat the dough disc too thin; it must be a full inch thick before baking.
Can I substitute milk for the heavy cream? You can use whole milk, but the texture will change. Heavy cream has a much higher fat content, which tenderizes the crumb and provides a rich flavor. Milk will yield a slightly tougher, less rich pastry. If you must use milk, consider adding an extra tablespoon of grated butter to the dry ingredients to compensate for the lost fat. Buttermilk is a better substitute than regular milk, as its acidity reacts well with the baking powder, though it will give the scones a distinct, tangy flavor similar to a Southern biscuit.
Why are my scones dry and crumbly? Dryness is almost always caused by adding too much flour or overbaking. Never scoop your measuring cup directly into the flour bag, as this packs the flour down and adds too much volume. Always fluff, spoon, and sweep. Furthermore, oven temperatures can vary. Check your scones at the 15-minute mark to ensure they do not overbake and dry out.
Can I make the dough ahead of time? Yes. You can prepare the dough, cut it into wedges, and arrange them on your baking sheet. Cover the sheet tightly with plastic wrap and store it in the refrigerator overnight. The next morning, uncover the pan, brush the scones with heavy cream, and bake them directly from the fridge.
Do I need to use an egg wash? An egg wash (one egg beaten with a splash of milk) is optional. Brushing the tops with heavy cream, as outlined in this recipe, yields a beautiful, matte, golden-brown finish. An egg wash will create a much darker, glossier, and shinier crust. Both methods work perfectly; it simply depends on your aesthetic preference.
What is the difference between all-purpose and self-rising flour here? All-purpose flour requires you to add your own leavening agent (baking powder) and salt. Self-rising flour already has baking powder and salt blended into it. If you choose to use self-rising flour for this recipe, you must completely omit the 1 tablespoon of baking powder and the 1/2 teaspoon of salt listed in the ingredients, otherwise, your pastries will taste highly metallic and incredibly salty.
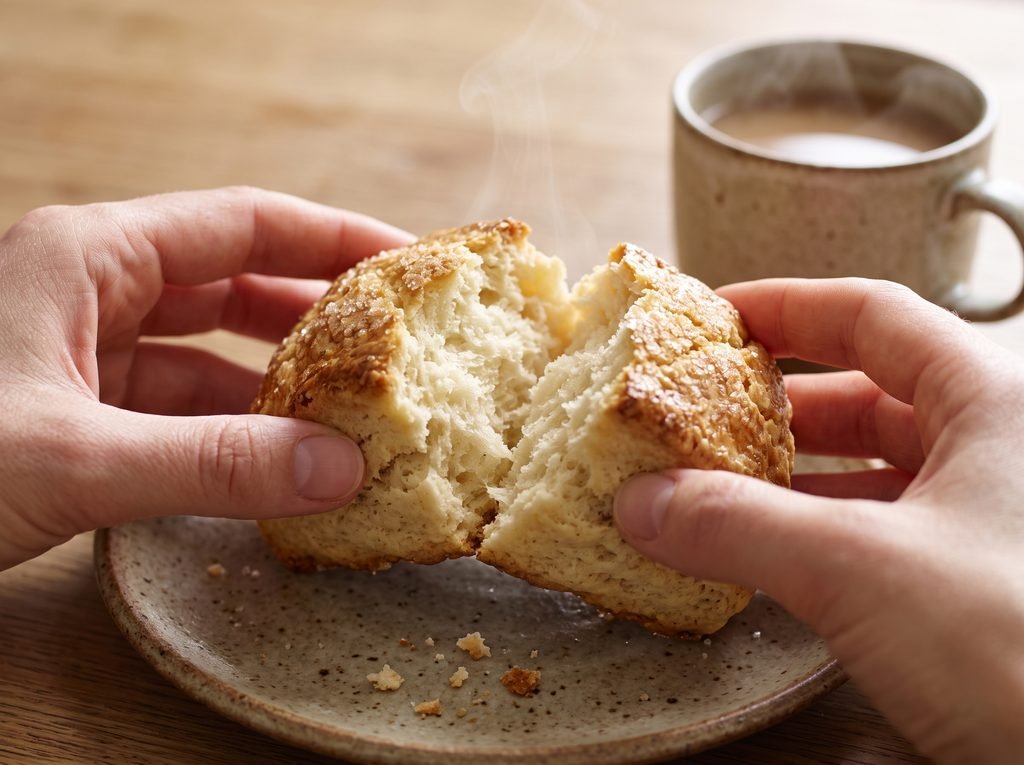
Final Thoughts
Baking from scratch does not need to be an intimidating, messy, or time-consuming endeavor. With this easy scones recipe, you are equipped with a master technique that prioritizes simplicity without sacrificing an ounce of quality. By leaning on cold ingredients, utilizing the box grater method, and handling the dough with care, you can consistently produce stunning, towering pastries that look and taste like they came from a professional bakery. Once you experience how effortless it is to pull a tray of warm, buttery, flaky scones from your own oven in under thirty minutes, you will never look at a coffee shop pastry case the same way again.