
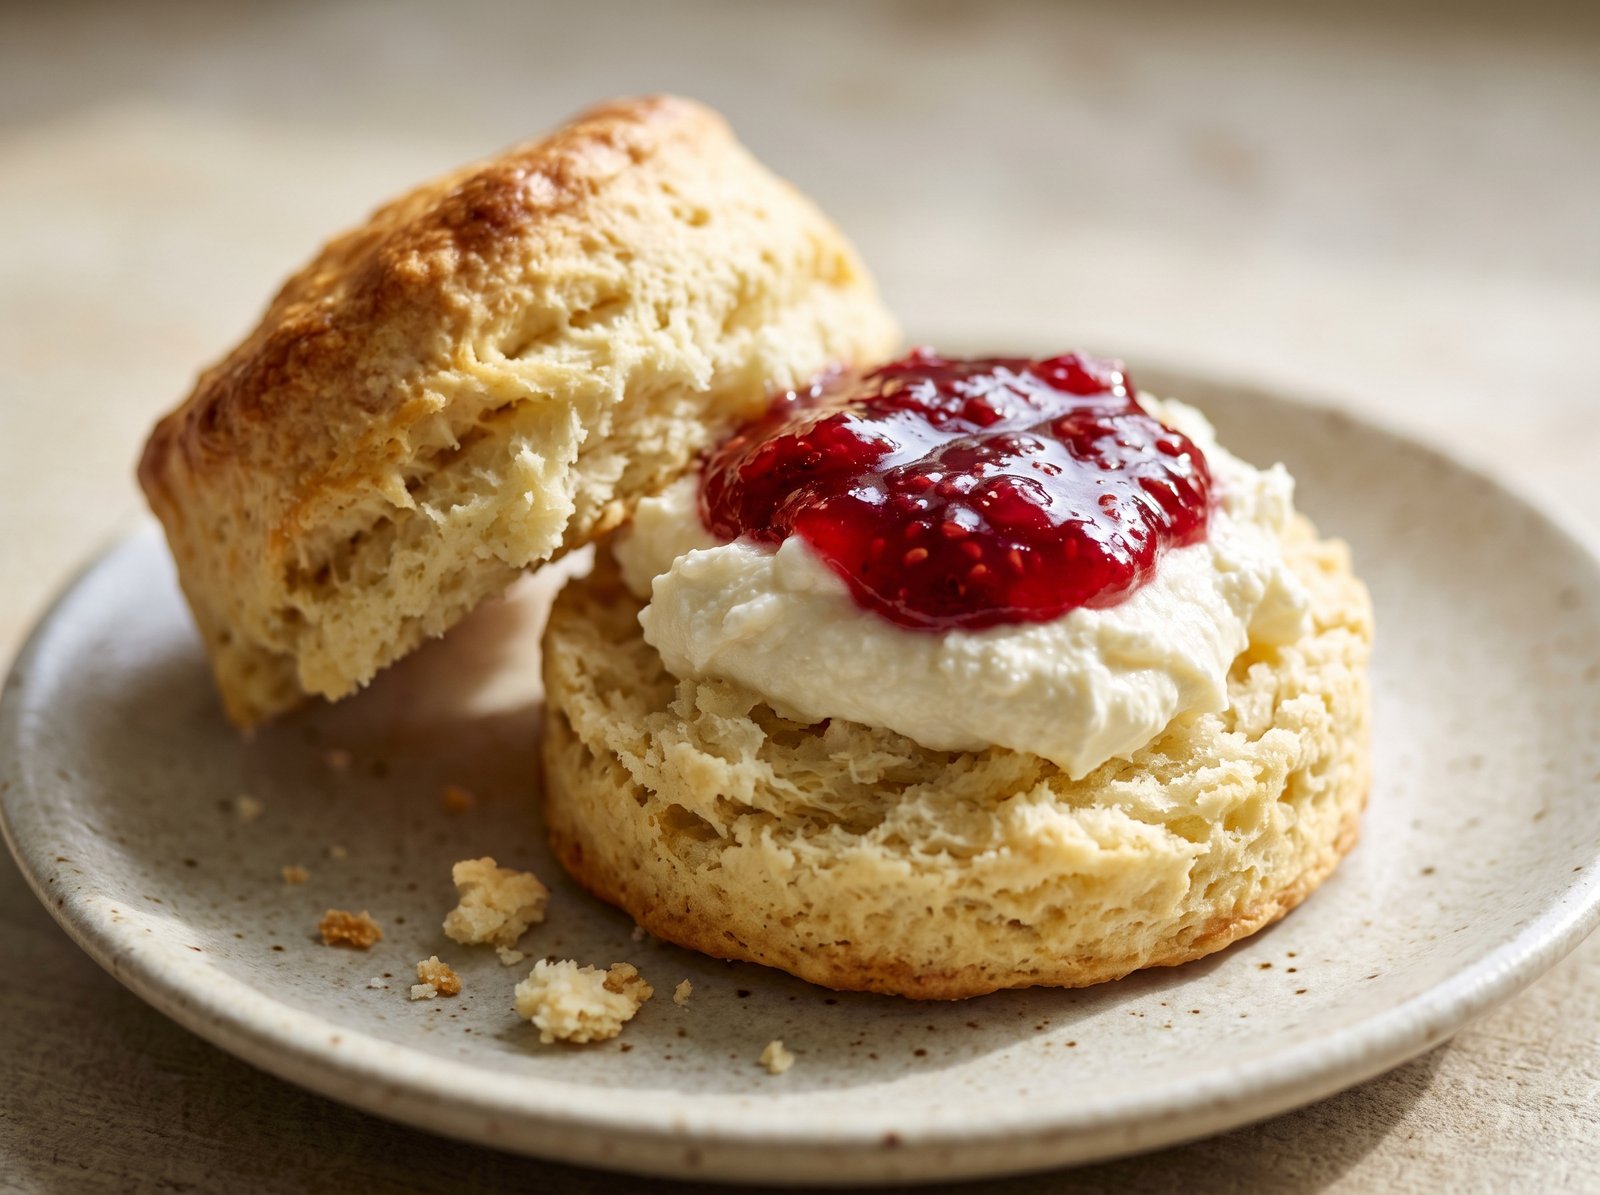
Easy Scones Recipe: The Ultimate Guide to Flaky, Buttery Perfection
There is something undeniably magical about pulling a tray of warm, golden-brown scones from the oven. For many home bakers, however, the idea of making scones from scratch carries an unnecessary sense of intimidation. You might picture dry, crumbly pucks or dense, heavy pastries that sit like a rock in your stomach.
This easy scones recipe is designed to shatter those misconceptions entirely. With a few basic pantry staples, a simple technique, and less than thirty minutes of your time, you can create bakery-quality pastries right in your own kitchen. These scones are characterized by their deeply buttery flavor, tender and moist crumb, and signature flaky layers that eagerly soak up whatever jam or cream you choose to spread on them.
The secret does not lie in complex folding techniques or specialized baking equipment. Instead, it comes down to understanding a few fundamental rules about temperature and handling. Once you master this foundational dough, it becomes a blank canvas for an endless variety of flavors, from bright lemon blueberry to rich chocolate chunk. Grab your mixing bowl and prepare to discover just how effortless a perfect homemade scone can be.
What Are Scones?
A scone is a traditional baked good, originally hailing from Scotland, that falls somewhere between a bread and a pastry. They are typically made from wheat flour, sugar, baking powder, butter, and a liquid like milk or heavy cream.
In the United States, scones have evolved to become slightly sweeter, richer, and larger than their British counterparts. While a traditional British scone is relatively plain and intended to serve merely as a vehicle for clotted cream and jam, the American scone is often heavily studded with fruits, nuts, or chocolate, and frequently topped with a sweet glaze.
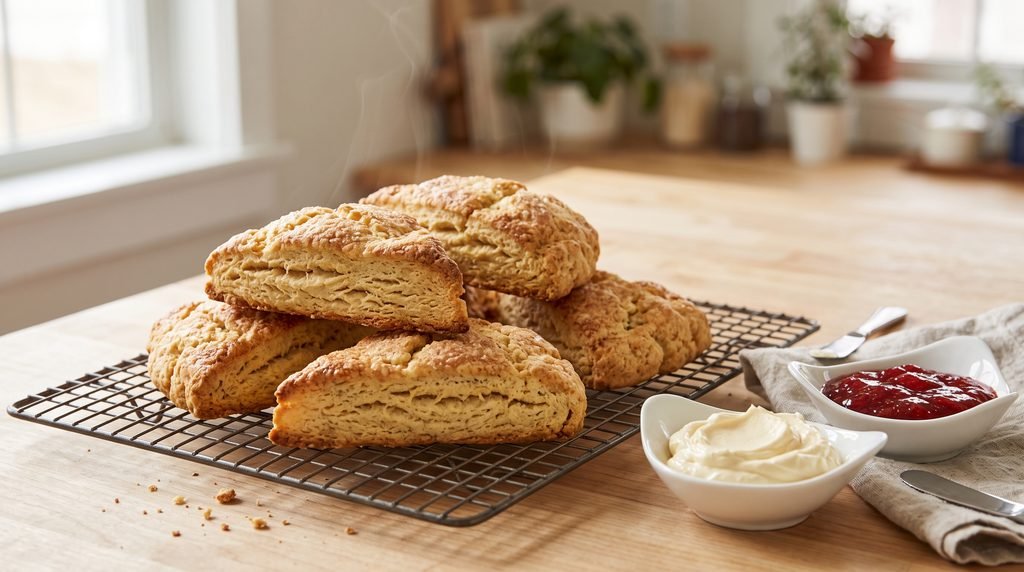
Furthermore, you will notice a distinct difference in shape. British scones are usually stamped out into tall, round circles using a biscuit cutter. American scones, largely popularized by coffee shop chains, are most often formed into a large disc and sliced into generous wedges or triangles. This wedge shape is actually easier to execute at home because it prevents you from having to reroll leftover dough scraps—a process that can overwork the gluten and lead to tough pastries.
Scones vs. Biscuits: What is the Difference?
While the ingredient lists for scones and traditional American buttermilk biscuits look incredibly similar, the final results are quite distinct. Biscuits are savory, relying on higher ratios of fat to flour, and are designed to be light, airy, and intensely flaky. Scones contain sugar, sometimes eggs (though not in this specific recipe), and have a slightly more substantial, crumbly, and cake-like texture. Scones are meant to be paired with coffee or tea, while biscuits find their home alongside sausage gravy, fried chicken, or a hearty dinner.
Why You’ll Love This Easy Scones Recipe
If you have been searching for a foolproof, reliable baking staple, this recipe will quickly earn a permanent spot in your rotation.
- Pantry-Friendly Ingredients: You do not need to make a special trip to the grocery store. Flour, sugar, butter, baking powder, salt, and heavy cream are all it takes.
- Incredibly Quick: From the moment you pull your mixing bowl out of the cupboard to the moment the baking sheet goes into the oven, you only need about 15 minutes of active preparation time.
- No Fancy Equipment: You do not need a stand mixer or a food processor. A simple box grater and a mixing bowl are the only tools required to achieve perfect flakiness.
- Highly Adaptable: This master recipe is designed to be customized. Once you understand the base dough, you can fold in almost any sweet or savory ingredient you are craving.
- Freezer-Friendly: These scones freeze beautifully, both baked and unbaked. You can keep a stash of raw scone wedges in your freezer and bake them fresh on a lazy Sunday morning.
The Secret to Flaky Scones: Cold Ingredients
Before you begin measuring your flour, it is crucial to understand the single most important rule of scone-making: keep everything as cold as possible.
The flakiness in a scone is created by tiny, distinct pieces of solid butter suspended throughout the flour mixture. When the cold dough enters the hot oven, the water content inside those small pieces of butter rapidly turns to steam. That steam pushes upward, creating little pockets of air that form the tender, flaky layers we associate with a great pastry.
If your butter is too warm while you are mixing the dough, it will simply blend into the flour, resulting in a dense, heavy texture more akin to a muffin or a cookie.
To ensure success, keep your butter in the refrigerator—or ideally, the freezer—until the exact moment you need it. If your kitchen is particularly warm, you can even chill your mixing bowl and measure out your heavy cream and keep it in the fridge while you prep the dry ingredients.
Recipe Details
- Prep Time: 15 minutes
- Cook Time: 15 minutes
- Total Time: 30 minutes
- Servings: 8 scones
Ingredients
This recipe relies on a carefully balanced ratio of everyday ingredients. Here is exactly what you will need.
- 2 cups All-Purpose Flour: Spoon the flour into your measuring cup and level it off with a butter knife. Scooping directly from the bag can pack the flour down, adding too much dry volume and resulting in dry scones. (For ultimate precision, use a kitchen scale to measure out 250 grams).
- 1/3 cup Granulated Sugar: This provides a gentle sweetness that perfectly balances the rich butter without turning the scone into a dessert.
- 1 tablespoon Baking Powder: Do not confuse this with baking soda. Baking powder is the primary leavening agent here, providing the lift needed to make the scones tall and tender. Make sure your baking powder is fresh and not expired.
- 1/2 teaspoon Fine Sea Salt: Salt is essential in baking to enhance the flavors of the other ingredients. If you only have standard table salt, reduce the amount slightly to 1/4 teaspoon.
- 1/2 cup (1 stick / 4 ounces) Unsalted Butter: The butter must be frozen solid for the best results. Using unsalted butter allows you to control the exact sodium level in the dough.
- 3/4 cup Heavy Cream: Heavy cream provides the moisture and fat needed for a rich, tender crumb. You will also need an extra 1 to 2 tablespoons to brush over the tops of the scones before baking.
- 1 teaspoon Pure Vanilla Extract: Vanilla adds a lovely background aroma and flavor profile to the basic dough.
- Coarse Sugar (Optional): Sprinkling coarse sugar (like turbinado or sanding sugar) over the cream-brushed tops adds a beautiful, professional-looking bakery crunch.
How to Make Easy Scones
Follow these clear, step-by-step instructions for perfect pastries every time.
1. Prepare Your Oven and Baking Sheet
Preheat your oven to 400°F (200°C). Line a large, heavy-duty baking sheet with parchment paper or a silicone baking mat. A hot oven is essential for creating the burst of steam needed for tall scones.
2. Whisk the Dry Ingredients
In a large mixing bowl, combine the 2 cups of all-purpose flour, 1/3 cup of granulated sugar, 1 tablespoon of baking powder, and 1/2 teaspoon of salt. Whisk these together thoroughly so the baking powder is evenly distributed throughout the flour.
3. Grate the Frozen Butter
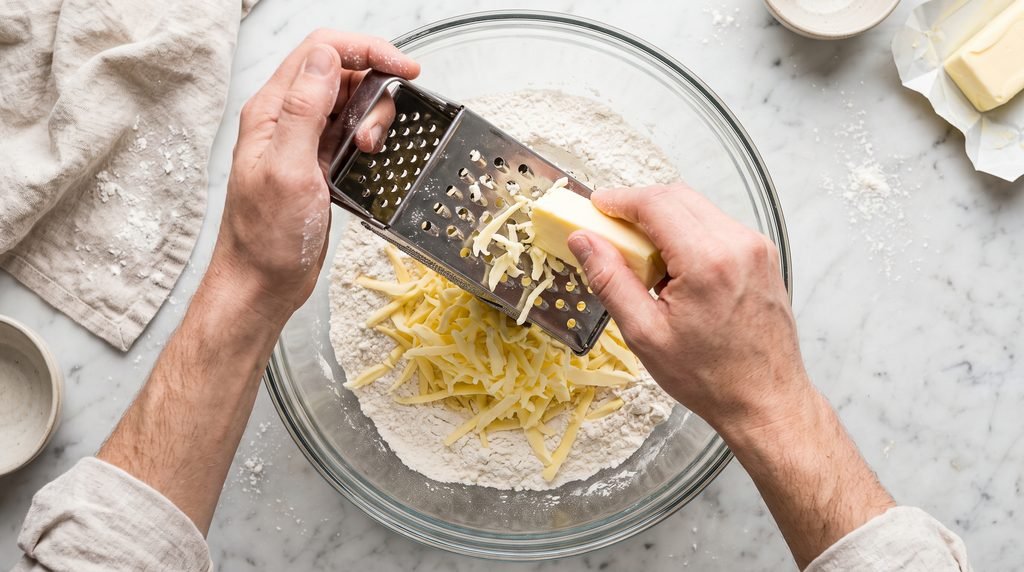
Take your frozen stick of butter out of the freezer. Using a standard metal box grater (the side with the largest holes typically used for cheddar cheese), grate the entire stick of butter directly into the bowl of dry ingredients.
4. Toss the Butter and Flour
Using your fingers, gently toss the grated butter ribbons into the flour mixture. Do not squeeze or knead; simply toss until all the butter pieces are separated and fully coated in flour. The mixture should resemble coarse, crumbly sand with distinct, pea-sized chunks of butter.
5. Add the Wet Ingredients
Make a small well in the center of the dry ingredients. Pour in the 3/4 cup of heavy cream and the 1 teaspoon of vanilla extract.
6. Fold the Dough Gently
Using a rubber spatula or a wooden spoon, gently fold the mixture together. Stop mixing as soon as the liquid is absorbed and a shaggy dough begins to form. There will likely be some dry flour remaining at the bottom of the bowl—this is completely normal.
7. Shape the Dough
Turn the shaggy dough and any loose flour out onto a clean, lightly floured countertop. With floured hands, gently press and gather the dough together until it forms a cohesive ball. Press the dough down into a flat disc that is about 8 inches in diameter and 1 inch thick.
8. Cut into Wedges
Using a sharp chef’s knife or a bench scraper, cut the dough disc in half, then into quarters, and finally into eighths, creating 8 equal-sized triangles.
9. Brush and Garnish
Transfer the 8 wedges onto your prepared baking sheet, leaving about 2 inches of space between each one to allow for spreading. Dip a pastry brush into a little extra heavy cream and lightly brush the top of each scone. Sprinkle generously with coarse sugar.
10. Bake Until Golden
Bake on the middle rack of the preheated 400°F (200°C) oven for 15 to 17 minutes. The scones are done when they have puffed up significantly and the edges and tops are a light, golden brown.
11. Cool and Serve
Remove from the oven and allow the scones to cool on the baking sheet for 5 minutes before transferring them to a wire cooling rack. They are best enjoyed warm.
Helpful Tips for the Best Results
- Do Not Overmix: The most common mistake in scone-making is overworking the dough. Gluten develops the moment flour meets liquid, and overworking the gluten leads to tough, chewy scones. Mix only until the dough holds together.
- Chill Before Baking: If your kitchen was warm or you feel the butter softened while you were handling the dough, place the entire baking sheet of cut scones into the refrigerator for 15 minutes before baking. Chilling solidifies the butter again, ensuring maximum flakiness.
- Use a Sharp Knife: When cutting the dough disc into wedges, press straight down with a sharp knife or bench scraper. Do not use a sawing motion. Sawing pinches the edges of the dough together, which restricts the scones from rising properly in the oven.
- Use High-Quality Butter: Because butter is the primary flavor profile of a plain cream scone, use the best quality butter you can find. European-style butter, which has a higher butterfat content and lower water content, yields exceptional results.
Variations and Substitutions
This base recipe is a canvas waiting for your creativity. Because the ratio of wet to dry ingredients is very stable, you can easily fold in up to 1 cup of mix-ins. Add these mix-ins to the dry ingredients right after you toss the grated butter.
Blueberry Lemon Scones
Toss 1 cup of fresh or frozen blueberries into the flour mixture. If using frozen berries, do not thaw them first, as they will bleed juice into the dough. Add the freshly grated zest of one large lemon to the dry ingredients as well.
Chocolate Chip Scones
Add 3/4 cup of semi-sweet or dark chocolate chips to the dry ingredients. For a more sophisticated twist, try using chopped dark chocolate chunks and a dash of espresso powder.
Cinnamon Pecan Scones
Add 1 teaspoon of ground cinnamon and 1/2 cup of toasted, roughly chopped pecans to the dry ingredients. After baking, drizzle the cooled scones with a simple glaze made from powdered sugar, vanilla, and a splash of milk.
Cheddar and Chive Savory Scones
To turn this into a savory scone, reduce the granulated sugar to just 1 tablespoon. Add 1 cup of freshly grated sharp cheddar cheese, 1/4 cup of finely chopped fresh chives, and a pinch of black pepper to the flour mixture. Omit the vanilla extract.
Substituting the Heavy Cream
If you do not have heavy cream, buttermilk is the best substitute. It provides a lovely tang and reacts beautifully with the baking powder. Whole milk can be used in a pinch, but because it lacks the fat content of heavy cream, the resulting scones will be slightly less tender and rich.
What to Serve With It
Serving scones properly is an art in itself. While these are rich and flavorful enough to eat completely plain straight from the oven, elevating the presentation makes for a wonderful breakfast or afternoon tea experience.
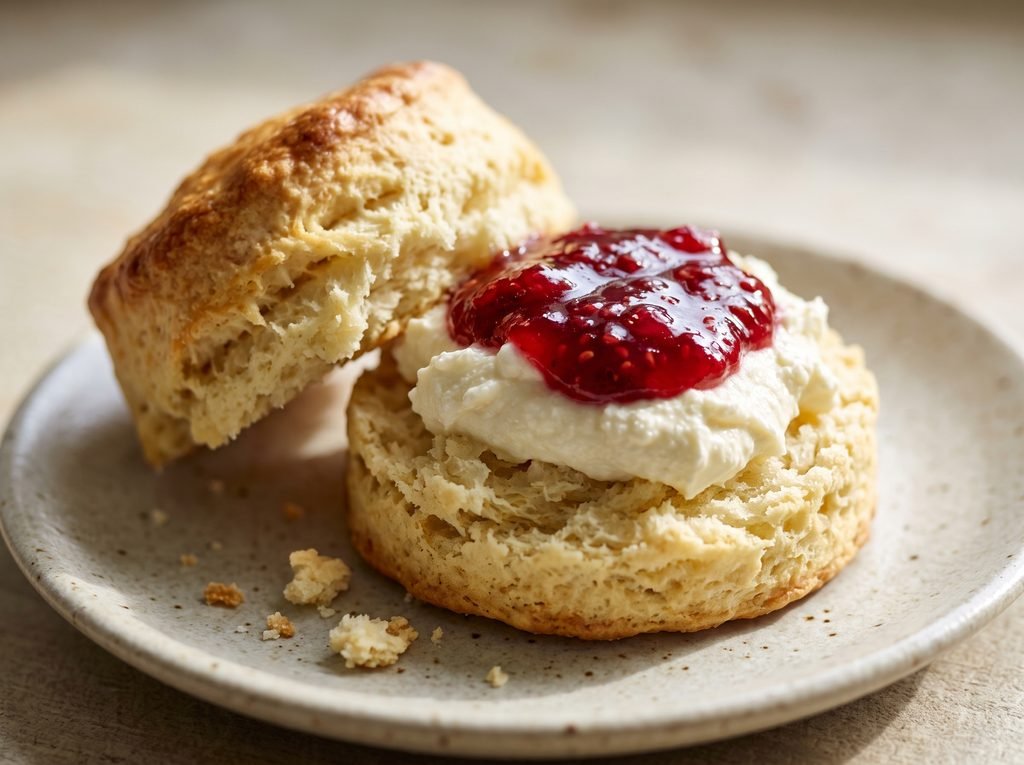
- Clotted Cream and Jam: This is the most traditional pairing. Split the warm scone in half horizontally, spread a generous layer of clotted cream on each side, and top with high-quality strawberry or raspberry preserves.
- Lemon Curd: The bright, tart flavor of a smooth lemon curd cuts beautifully through the rich, buttery pastry.
- Whipped Butter and Honey: Keep it simple by serving the scones warm with lightly salted whipped butter and a drizzle of local honey.
- Beverages: Scones demand a beverage. Serve them alongside a strong cup of black tea (like Earl Grey or English Breakfast), a freshly brewed cappuccino, or a tall glass of iced coffee.
Storage and Reheating
Scones are undoubtedly at their absolute peak of perfection within a few hours of leaving the oven. However, proper storage ensures your leftovers will still be delicious for days.
Storing Baked Scones
Allow the baked scones to cool completely to room temperature. Storing warm scones will cause condensation to build up inside the container, resulting in soggy pastries. Place the cooled scones in an airtight container or a heavy-duty zip-top bag lined with a paper towel. They will keep at room temperature for up to 2 days, or in the refrigerator for up to 1 week.
Freezing Unbaked Dough
This is the best method for meal-prepping. Prepare the recipe entirely through the cutting stage. Place the raw dough triangles on a baking sheet and put the sheet in the freezer for one hour. Once the wedges are frozen solid, transfer them to a freezer-safe bag or container. They will keep for up to 3 months. When you are ready to bake, place the frozen wedges directly onto a prepared baking sheet, brush with cream, and bake at 400°F (200°C), adding 2 to 4 extra minutes to the original baking time.
Reheating Baked Scones
To recapture the freshly baked texture, reheat baked scones in a 350°F (175°C) oven for 5 to 7 minutes until warmed through and the exterior crisps up again. If you are in a rush, you can microwave a scone for 15 to 20 seconds, but be aware that microwaving will result in a much softer, steamier texture and you will lose the crispy exterior.
Frequently Asked Questions
Can I make the scone dough ahead of time?
Yes. You can prepare the dough, cut it into wedges, and place them on a baking sheet. Cover the sheet tightly with plastic wrap and store it in the refrigerator overnight. The next morning, simply brush with heavy cream and bake directly from the fridge.
Why did my scones turn out flat instead of tall?
Flat scones usually happen for three reasons: the baking powder was expired and lost its lifting power, the butter got too warm and melted into the dough before baking, or the dough was pressed out too thin. Make sure you leave the dough disc at least 1-inch thick before cutting.
Can I use a food processor instead of grating the butter?
You can use a food processor. Add the dry ingredients to the bowl, then drop in cold, cubed butter. Pulse 5 or 6 times until the butter resembles pea-sized crumbles. However, grating the butter is highly recommended as it creates the most consistent, flaky layers without the risk of over-processing the flour.
Are scones supposed to be dry?
No. While they have a crumbly texture and are drier than a standard cake or muffin, a properly made scone should still be rich, tender, and moist inside. If your scones are completely dry and choking, you likely overmeasured the flour, baked them for too long, or did not use enough fat (heavy cream/butter).
What is the difference between all-purpose flour and self-rising flour for scones?
All-purpose flour requires you to add your own leavening agent (baking powder) and salt. Self-rising flour already contains baking powder and salt mixed in. If you want to use self-rising flour for this recipe, you must omit the baking powder and the salt called for in the ingredients list entirely.
Can I use frozen fruit in the dough?
Yes, frozen fruit works wonderfully, especially berries. Do not thaw the fruit before adding it to the dough, or it will turn the dough a muddy color and add too much extra moisture. Toss the frozen fruit directly into the dry flour and butter mixture before adding the wet ingredients.
How do I get those shiny, golden brown tops?
Brushing the tops of the unbaked dough is crucial. Heavy cream creates a lovely matte brown finish. For a glossier, shinier finish, you can brush the tops with a beaten egg wash (one egg beaten with one tablespoon of water or milk) instead of heavy cream.
Can I roll the dough out and use biscuit cutters?
Yes, you can gently pat the dough out to a 1-inch thickness and use a floured biscuit cutter to punch out rounds. Remember to press straight down and pull straight up—do not twist the cutter, which seals the edges and stops the rise. Gently press the remaining scraps together to cut out the final few scones.
Final Thoughts
Baking from scratch does not have to be a complicated, all-day affair reserved for special occasions or holidays. With this easy scones recipe, you possess a versatile, foundational baking skill that can elevate an ordinary Tuesday morning or serve as the centerpiece of an elegant weekend brunch. By focusing on keeping your butter cold, measuring your flour accurately, and treating the dough with a gentle hand, you will consistently produce gorgeous, towering scones with an impossibly tender, buttery crumb. Experiment with different flavor combinations, serve them warm alongside your favorite hot beverage, and enjoy the satisfaction of sharing freshly baked, bakery-quality pastries straight from your own oven.