
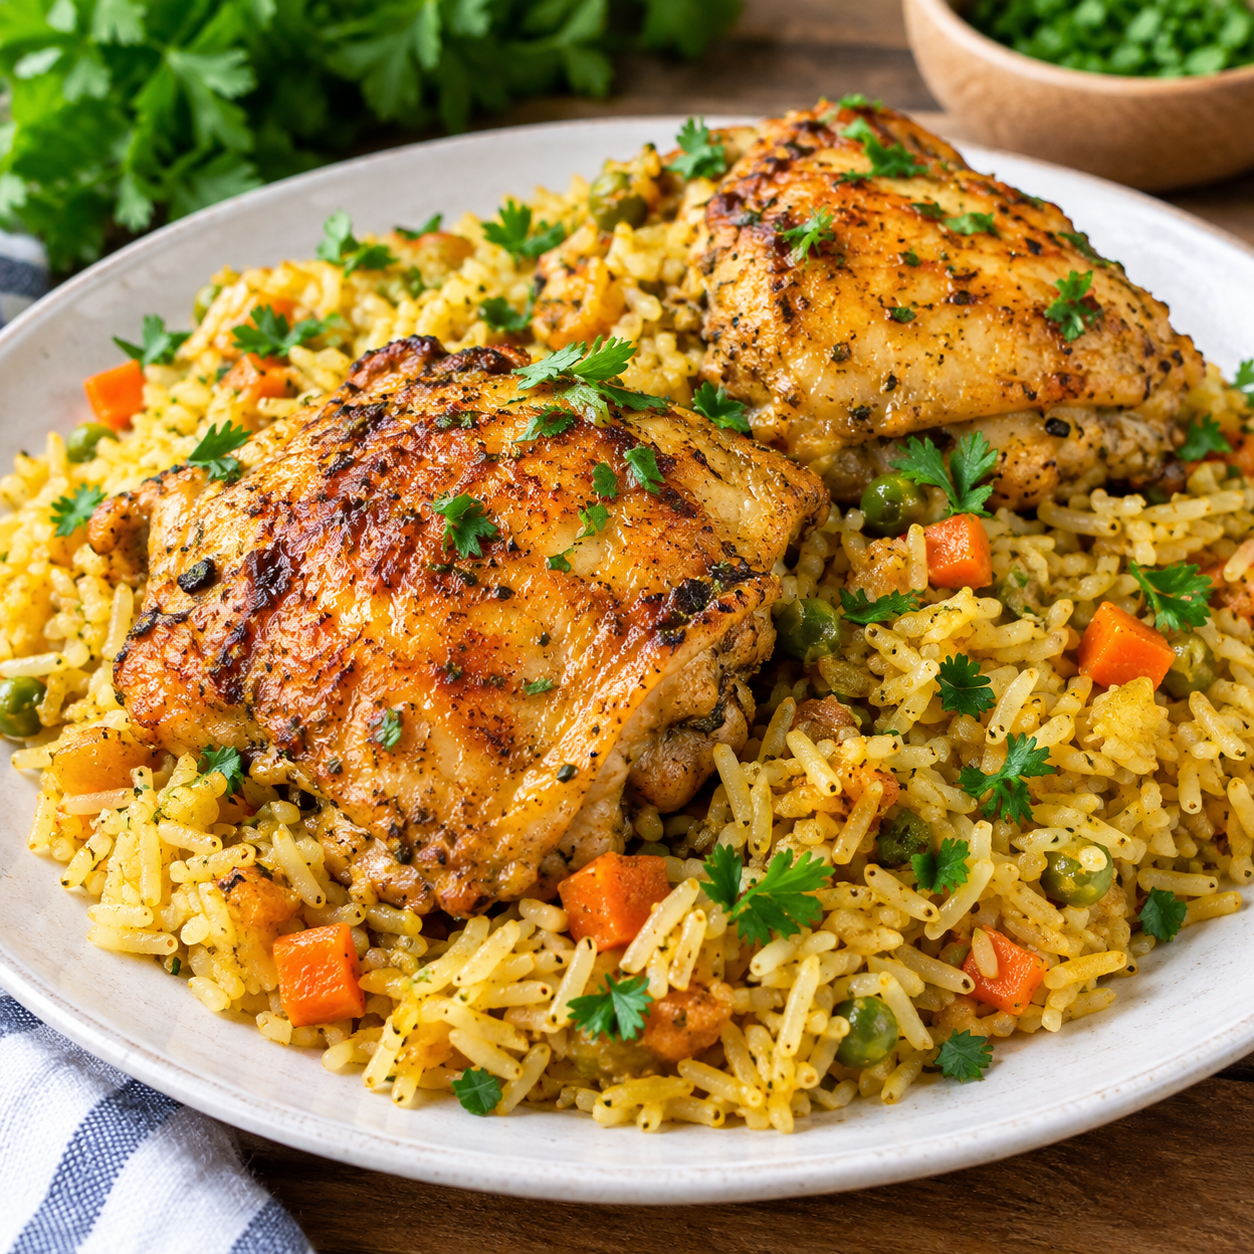
Chicken & Rice – Easy, Cozy & Delicious One-Pan Dinner
One-Pan Chicken and Rice is the undisputed king of weeknight dinners. It is a masterclass in foundational cooking techniques—searing, sautéing, toasting, and braising—all happening in a single skillet.
When executed correctly, the rice doesn’t just boil; it absorbs the rendered chicken fat, the caramelized pan drippings (fond), and the rich broth, becoming intensely flavorful. Meanwhile, the chicken finishes cooking gently on a bed of steaming grains, ensuring it remains juicy while the skin stays crispy.
This guide will walk you through the ultimate technique for building deep, layered flavors in a single pan without ending up with mushy rice or dry meat.
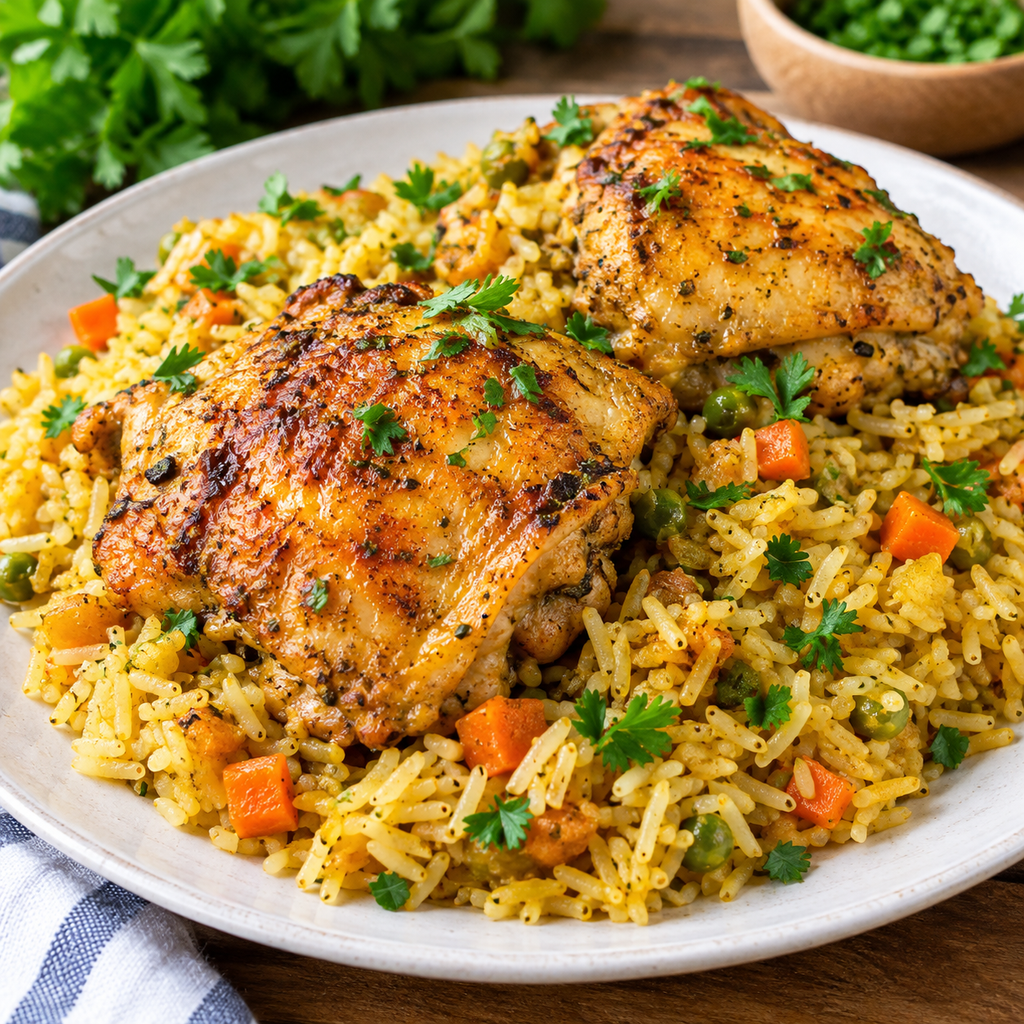
1. The Magic of the One-Pan Method
The secret to this dish is the sequence of ingredients hitting the heat. By cooking everything in stages in the same skillet, you create a chain reaction of flavor. The chicken renders its fat, which is then used to sauté the aromatics. The aromatics flavor the oil, which is then used to toast the dry rice. Finally, the broth deglazes the pan, lifting all those browned bits into the liquid that the rice will ultimately absorb.
2. The Master Ingredient List
To generate the perfect texture, you must use the right cuts of meat and the right type of grain.
The Protein
- 4-6 Bone-in, Skin-on Chicken Thighs: This is non-negotiable for the best result. Chicken breasts dry out too quickly during the simmering phase, and skinless cuts won’t render the fat needed to flavor the rice.
- Seasoning: 1 tsp kosher salt, ½ tsp black pepper, 1 tsp garlic powder, and 1 tsp paprika (sweet or smoked).
The Aromatics & Rice
- 1 cup Long-Grain White Rice: Jasmine or standard long-grain white rice works best. Avoid short-grain (too sticky) or Arborio (meant for risotto) unless you are heavily modifying the liquid ratios.
- 1 medium Yellow Onion: Finely diced.
- 3 cloves Garlic: Minced.
- 1 tbsp Olive Oil or Butter: Just to help start the searing process.
The Braising Liquid
- 2 cups Low-Sodium Chicken Broth: Using low-sodium allows you to control the salt level as the liquid reduces.
- 1 tbsp Lemon Juice: A hit of acid at the end brightens the rich, savory flavors.
- Fresh Parsley: Chopped, for garnish.
3. Preparation and Assembly
This method requires a heavy-bottomed skillet with a tight-fitting lid. A 10-inch to 12-inch cast-iron skillet or an enameled Dutch oven is perfect.
1.Render and Sear the Chicken :Don’t rush the sear.
Pat the chicken thighs completely dry with paper towels (moisture is the enemy of crispy skin). Season both sides generously with salt, pepper, garlic powder, and paprika. Heat the olive oil in your skillet over medium-high heat. Place the chicken skin-side down and let it cook undisturbed for 6-8 minutes until the skin is deep golden brown and crispy. Flip and cook for 2 more minutes. Remove the chicken to a plate. (It will not be fully cooked yet).
2.Sauté the Aromatics :
Leave about 2 tablespoons of the rendered chicken fat in the pan (drain any excess if your chicken was particularly fatty). Lower the heat to medium. Add the diced onion and cook until softened and translucent, about 4 minutes. Add the minced garlic and cook for 30 seconds until fragrant.
3.Toast the Rice :Crucial for texture.
Pour the dry, uncooked rice directly into the skillet with the onions and garlic. Stir continuously for 2-3 minutes. You want the rice grains to become slightly translucent at the edges and lightly toasted. This creates a barrier that prevents the rice from turning into mush while simmering.
4.Deglaze and Bring to a Simmer :
Pour in the chicken broth. Use a wooden spoon to scrape up all the browned bits (the fond) stuck to the bottom of the pan—this is pure flavor. Bring the liquid to a gentle boil.
5.Nestle and Braise :
Place the partially cooked chicken thighs back into the skillet, resting them on top of the rice, skin-side up. Make sure the crispy skin remains above the liquid line. Reduce the heat to low, cover the skillet with a tight-fitting lid, and simmer for 20 minutes.
6.Rest and Fluff :
Remove the skillet from the heat, but do not open the lid. Let it sit undisturbed for 10 minutes. This resting period allows the steam to finish cooking the rice gently and lets the chicken juices redistribute. Finally, remove the lid, take out the chicken, fluff the rice with a fork, and stir in the lemon juice and fresh parsley.
4. Global Flavor Profiles
Because the base technique (sear, sauté, toast, braise) is universal, you can easily swap the spices and aromatics to take this dish in entirely different directions.
| Profile | Spice Rub for Chicken | Additions to the Rice |
| Mediterranean | Oregano, garlic powder, lemon zest | Stir in ½ cup chopped Kalamata olives, halved cherry tomatoes, and a handful of spinach before simmering. |
| Mexican-Inspired | Cumin, chili powder, oregano | Swap ½ cup of broth for tomato sauce. Add diced jalapeños and a drained can of black beans to the rice. |
| Middle Eastern | Cumin, coriander, turmeric, cinnamon | Add ¼ cup golden raisins and toasted slivered almonds to the rice. Garnish with fresh mint instead of parsley. |
| Creamy Mushroom | Thyme, garlic powder, onion powder | Sauté 8 oz sliced cremini mushrooms with the onions. Stir in ¼ cup heavy cream just before serving. |
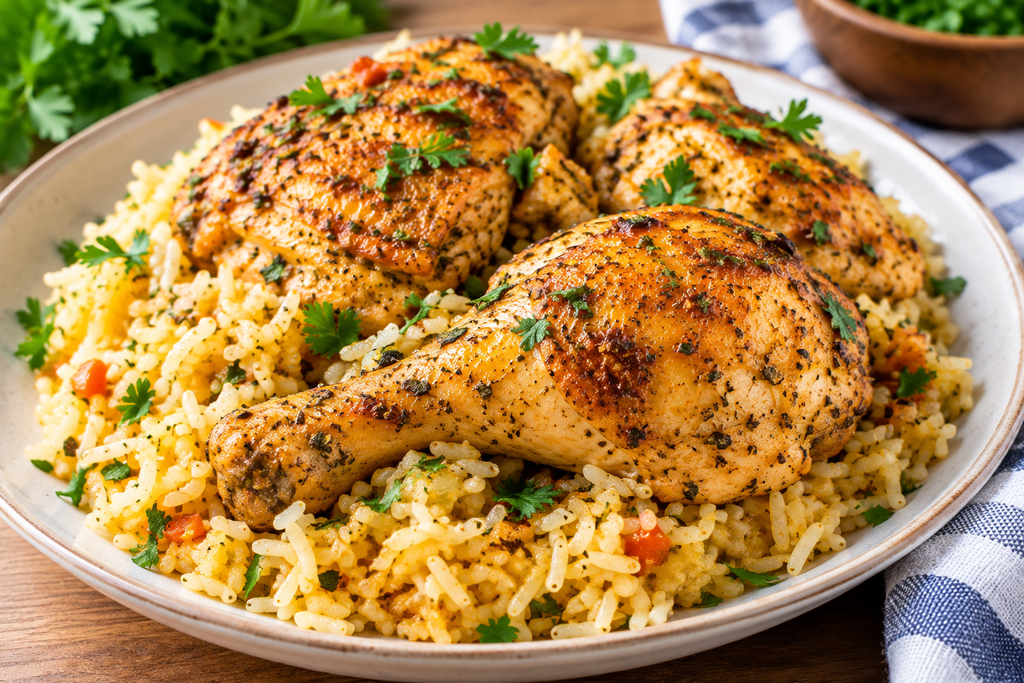
5. Pro-Tips for Perfect Rice
- Do Not Peek: The biggest mistake people make is lifting the lid while the rice is simmering. This releases the trapped steam needed to cook the grains evenly, resulting in crunchy, undercooked rice.
- Wash the Rice? For this specific recipe, you can rinse the rice to remove excess surface starch, but be sure to drain it exceptionally well. Wet rice won’t toast properly in the chicken fat. Many chefs skip washing for this specific method to ensure a better toast.
- The Crust (Socarrat): If you like a crispy bottom layer of rice (similar to a Spanish paella), turn the heat up to medium-high for the final 2 minutes of the simmering time before you take it off the heat to rest. Listen for a distinct crackling sound.