
Chocolate Chip Scones: The Ultimate Recipe for Tender, Flaky Pastries
There is a widespread misconception that scones are inherently dry, heavy, and crumbly. If your only experience with a chocolate chip scone comes from a glass display case at a commercial coffee shop, it is easy to understand why you might feel that way. Those mass-produced pastries often sit for hours, losing their moisture and relying entirely on a hot cup of coffee to make them palatable.
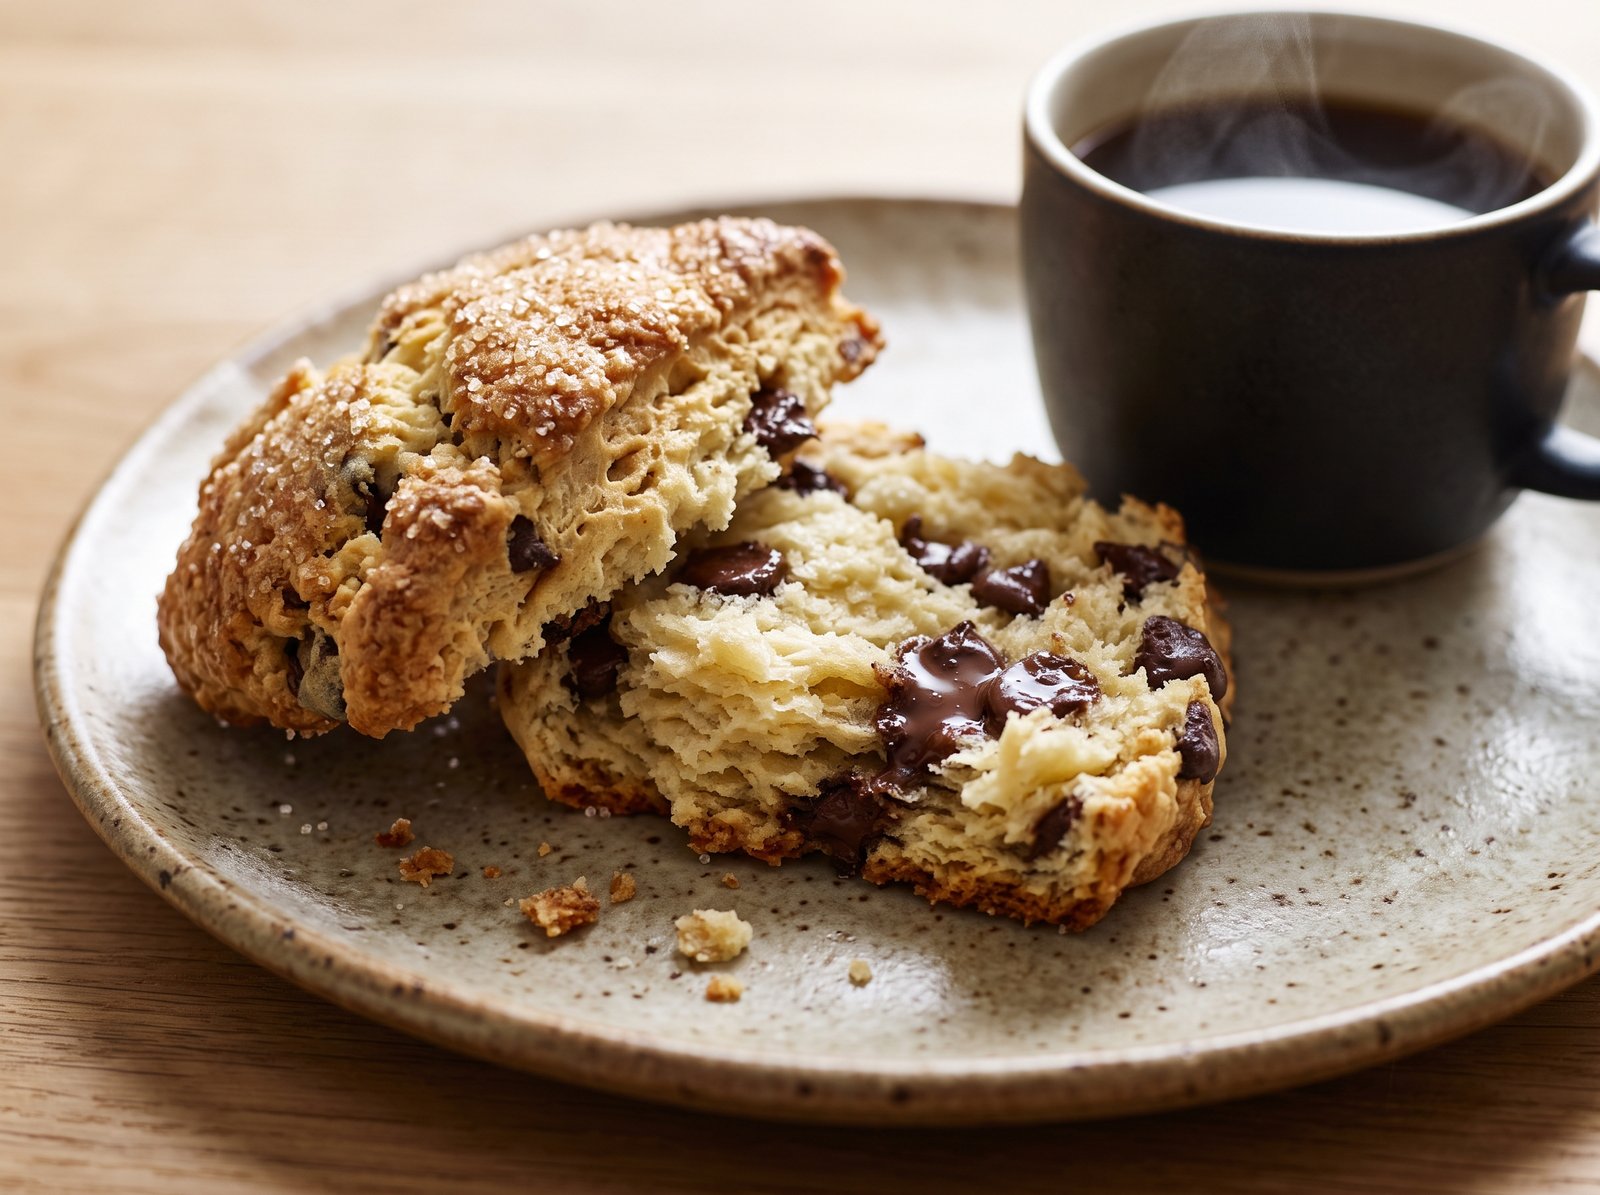
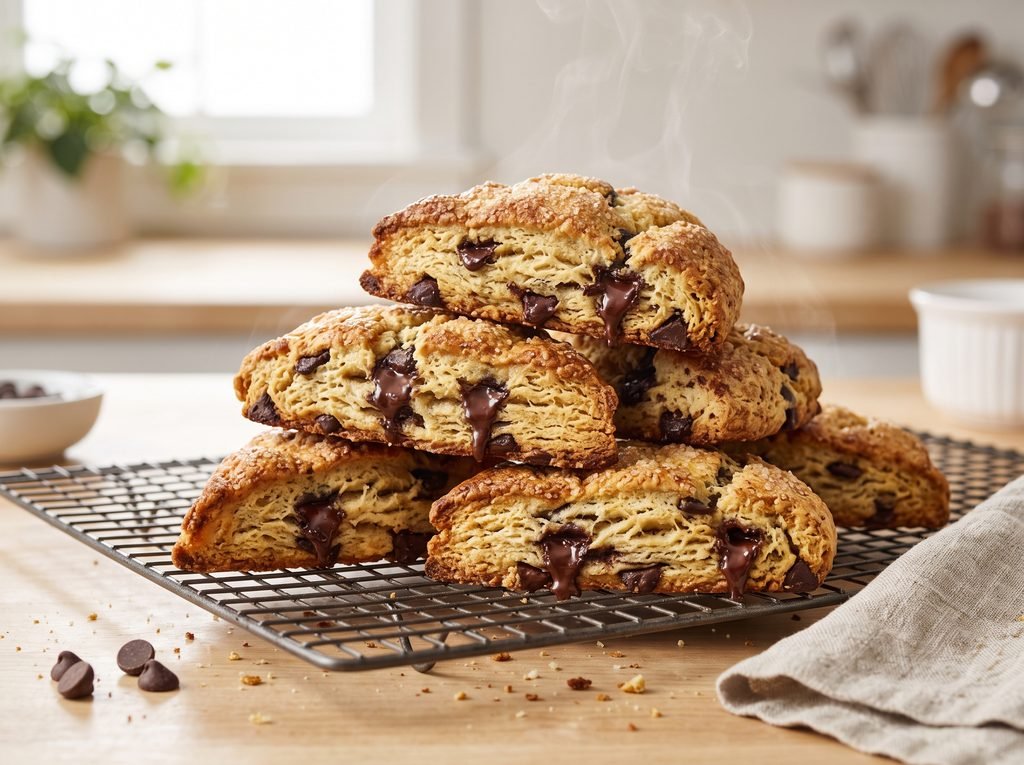
However, a warm, freshly baked homemade chocolate chip scone is an entirely different experience. Imagine a pastry with a crisp, golden-brown, sugar-crusted exterior that gives way to an impossibly tender, soft, and buttery center. Every bite is studded with pockets of melted, gooey semi-sweet chocolate. When made correctly, these pastries are not just a vehicle for butter and jam; they are a decadent, standalone treat that strikes the perfect balance between a buttery biscuit and a slice of rich pound cake.
The best part of baking these at home is how remarkably fast the process is. You do not need to wait for butter to soften, yeast to rise, or dough to proof. With a few simple pantry staples, a mixing bowl, and about thirty minutes from start to finish, you can pull a tray of bakery-quality pastries out of your own oven.
What Are Chocolate Chip Scones?
To understand what makes a spectacular scone, it is helpful to look at its origins. Traditional British scones are mildly sweet, relatively plain, and baked in tall, round shapes. They are designed to be split open and slathered with clotted cream and fruit preserves.
American-style scones, on the other hand, have evolved into a richer, sweeter, and more heavily adorned pastry. The chocolate chip scone is perhaps the most beloved variation of this American style. Instead of being cut into rounds, the dough is typically patted into a large disc and sliced into generous wedges. This wedge shape is not just aesthetically pleasing; it prevents you from having to gather and reroll dough scraps, a process that often overworks the gluten and leads to tough pastries.
By incorporating heavy cream and high-quality chocolate chips directly into the dough, this variation transforms the humble scone into a luxurious breakfast, an elegant afternoon snack, or even a comforting dessert.
Why You’ll Love This Recipe
Finding a reliable, foolproof baking recipe is like finding a gold mine. Here are just a few reasons why this specific method will become your new go-to standard:
- No Fancy Equipment Needed: You do not need a stand mixer, a food processor, or even a pastry blender to achieve perfectly flaky layers. A standard box grater and your hands are the best tools for the job.
- Incredibly Fast: Because this dough relies on chemical leavening (baking powder) rather than biological leavening (yeast), the dough comes together in under fifteen minutes.
- Perfectly Balanced Sweetness: Many commercial scones are cloyingly sweet. This recipe uses just enough sugar to tenderize the dough and complement the chocolate, without crossing the line into tasting like a cookie.
- Freezer-Friendly: These are the ultimate make-ahead breakfast. You can freeze the unbaked wedges and bake them directly from the freezer whenever a craving strikes.
- Adaptable Base: Once you master this foundational dough, you can easily swap out the chocolate chips for nuts, dried fruit, or other flavored morsels.
The Secret to Flaky Layers: Understanding the Science
Before diving into the ingredients, it is crucial to understand the one cardinal rule of making incredible scones: keep everything cold.
The flakiness in a pastry comes from tiny, distinct pieces of solid fat (butter) coated in flour. When you put the dough into a hot oven, the water content inside those solid butter pieces rapidly evaporates, turning into steam. That steam pushes upward, separating the flour into delicate, airy layers before the structure sets.
If your butter is too warm while you are mixing the dough, it will simply blend and smear into the flour. Instead of steam-filled layers, you will end up with a dense, cake-like texture. For this reason, utilizing frozen butter and cold heavy cream is the single most important step in the entire process.
Ingredients
This recipe requires only a handful of fundamental baking ingredients. Because the list is so short, the quality of each component truly matters.
- 2 cups All-Purpose Flour: Standard all-purpose flour provides the perfect amount of protein to give the scones structure without making them tough. Spoon the flour into your measuring cup and level it off with a knife, or weigh it (250 grams) for the most accurate results.
- 1/3 cup Granulated Sugar: White sugar provides a clean, subtle sweetness and helps the exterior brown beautifully in the oven.
- 1 tablespoon Baking Powder: This might seem like a large amount, but it is entirely necessary. Scone dough is heavy with butter and cream, and it needs a robust lift to rise tall and light. Ensure your baking powder is fresh.
- 1/2 teaspoon Fine Sea Salt: Salt is an essential flavor enhancer. It balances the sweetness of the sugar and the richness of the chocolate.
- 1/2 cup (1 stick / 4 ounces) Unsalted Butter: The butter must be frozen solid. Unsalted butter allows you to control the exact sodium level of the dough.
- 1 cup Semi-Sweet Chocolate Chips: Semi-sweet chocolate provides a wonderful dark contrast to the sweet cream dough. You can use standard chips, mini chips, or even a chopped chocolate bar.
- 3/4 cup Heavy Cream: Heavy cream is the secret to a rich, tender crumb. Its high fat content coats the flour proteins, preventing gluten formation and ensuring a soft interior. You will need an extra tablespoon or two to brush on top of the scones before baking.
- 1 teaspoon Pure Vanilla Extract: Vanilla adds a lovely background aroma and flavor profile that pairs perfectly with the chocolate.
- Coarse Sugar (Optional): Sprinkling coarse turbinado or sanding sugar over the tops before baking adds a satisfying, bakery-style crunch.
How to Make Chocolate Chip Scones
Follow these clear, step-by-step instructions. Remember, a light touch is your best friend when handling this dough.
Prep Time: 15 minutes Cook Time: 15–18 minutes Total Time: 33 minutes Servings: 8 scones
1. Prepare Your Baking Station
Preheat your oven to 400°F (200°C). Line a large, heavy-duty baking sheet with parchment paper or a silicone baking mat. Having your pan ready means the cold dough will not have to sit on the counter waiting.
2. Whisk the Dry Ingredients
In a large mixing bowl, combine the 2 cups of all-purpose flour, 1/3 cup of granulated sugar, 1 tablespoon of baking powder, and 1/2 teaspoon of fine sea salt. Whisk vigorously for about thirty seconds to ensure the baking powder is evenly distributed.
3. Grate the Frozen Butter
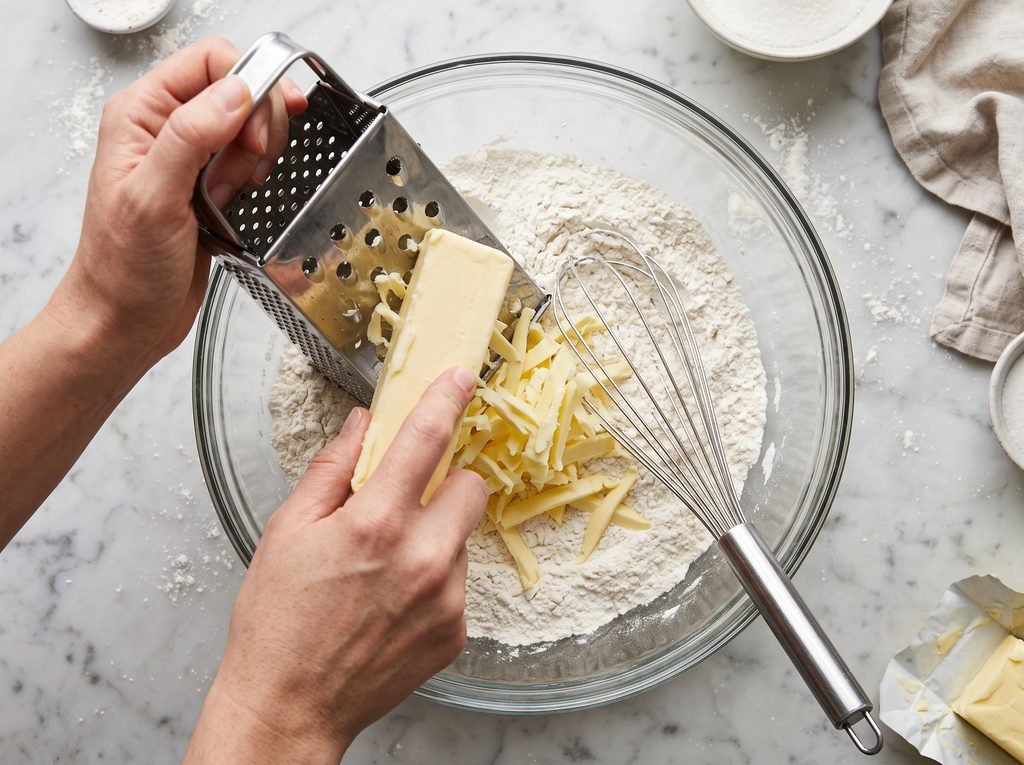
Remove your stick of butter from the freezer. Using the large holes of a standard metal box grater, grate the entire stick of butter directly into the bowl of dry ingredients.
4. Toss the Butter and Flour
Using your fingertips, gently toss the grated butter ribbons into the flour mixture until all the butter pieces are separated and coated. The mixture should look like coarse, crumbly sand. Do not squeeze or knead the butter into the flour; you want those distinct pieces of fat to remain intact.
5. Add the Chocolate Chips
Pour the 1 cup of semi-sweet chocolate chips into the flour and butter mixture. Toss briefly to combine so the chips are coated in flour, which helps prevent them from sinking to the bottom during baking.
6. Combine Wet Ingredients and Mix
Make a small well in the center of the dry ingredients. Pour in the 3/4 cup of cold heavy cream and the 1 teaspoon of vanilla extract. Using a rubber spatula or a wooden spoon, gently fold the mixture together. Stop mixing as soon as the liquid is absorbed and a shaggy, rough dough begins to form. There will likely be some dry flour flakes remaining at the bottom of the bowl—do not worry, they will hydrate as you shape the dough.
7. Shape the Dough
Turn the shaggy dough and any loose flour out onto a clean, lightly floured work surface. With lightly floured hands, gently press and gather the dough together, folding it over itself once or twice just until it forms a cohesive mass. Press the dough down into a flat, even disc that is roughly 8 inches in diameter and about 1 inch thick.
8. Cut into Wedges
Using a sharp chef’s knife or a metal bench scraper, cut the dough disc in half, then into quarters, and finally into eighths, creating 8 equal triangular wedges. When cutting, press straight down and pull straight up. Avoid dragging or sawing the knife, as this pinches the edges of the dough together and prevents the scones from rising to their full potential.
9. Prepare for Baking
Transfer the 8 wedges to your prepared baking sheet, leaving about two inches of space between each one to allow for spreading and air circulation. Dip a pastry brush into a little extra heavy cream and lightly brush the top of each wedge. Sprinkle generously with coarse sugar, if using.
10. Bake
Place the baking sheet on the middle rack of your preheated 400°F (200°C) oven. Bake for 15 to 18 minutes. The scones are ready when they have puffed up significantly and the edges and tops are a light, golden brown.
11. Cool and Serve
Remove the baking sheet from the oven and allow the scones to cool on the pan for 5 minutes. This brief resting period helps them set. Transfer them to a wire cooling rack. They are best enjoyed warm, while the chocolate chips are still melted and gooey.
Helpful Tips for the Best Results
Achieving bakery-level perfection is all about mastering a few simple techniques. Keep these tips in mind:
- The Box Grater Method is Mandatory: While you can use a pastry blender to cut cold butter into cubes, grating frozen butter is vastly superior. It creates perfectly uniform ribbons of fat that distribute evenly through the flour with almost no effort, guaranteeing a flaky texture every time.
- Chill the Shaped Dough: If your kitchen is warm, or if you feel the dough took a while to come together, place the entire baking sheet of cut wedges into the refrigerator for 15 minutes before baking. Re-chilling the butter right before it hits the hot oven results in a much higher rise.
- Do Not Overwork the Gluten: Scones are a “quick bread.” The more you handle the dough, the more gluten develops, leading to a tough, chewy texture. Mix and shape the dough only until it just holds together. A slightly shaggy dough makes the best scones.
- Measure Flour Correctly: Adding too much flour is the number one cause of dry scones. Never scoop your measuring cup directly into the flour bag, which packs it down. Fluff the flour first, spoon it gently into the cup, and sweep off the excess.
Variations and Substitutions
This recipe is incredibly versatile. By making a few simple tweaks to the master dough, you can create a wide array of gourmet treats.
- Mini Chocolate Chips vs. Chopped Chocolate: Standard chips hold their shape perfectly when baked. For a more sophisticated texture, try using a chopped bar of high-quality dark chocolate. The tiny shards will melt into the dough, while the larger chunks create delicious, gooey pockets. Mini chips ensure chocolate in every single bite.
- Espresso Chocolate Scones: Add 1 tablespoon of instant espresso powder to the dry ingredients before adding the wet ingredients. The coffee flavor beautifully enhances the depth of the chocolate.
- Orange Dark Chocolate: Add the freshly grated zest of one large orange to the dry ingredients, and swap the semi-sweet chips for bittersweet dark chocolate chips. The citrus oils release a beautiful aroma that pairs perfectly with dark cocoa.
- Toasted Pecan and Chocolate: Reduce the chocolate chips to 1/2 cup and add 1/2 cup of roughly chopped, toasted pecans or walnuts for a delightful crunch.
- Heavy Cream Substitutes: If you do not have heavy cream, buttermilk is the best alternative. It provides a wonderful tang that reacts well with the baking powder. You can also use whole milk, though the scones will be slightly less rich and tender due to the lower fat content.
What to Serve With It
While a warm chocolate chip scone is magnificent on its own, pairing it with the right accompaniments can elevate it into a complete sensory experience.
- Beverages: The classic pairing is a hot cup of coffee, a creamy latte, or a robust black tea like Earl Grey or English Breakfast. The bitterness of the coffee or tea perfectly cuts through the sweet richness of the chocolate. For a decadent treat, serve them alongside cold glasses of whole milk.
- Spreads: Because these scones already contain chocolate, they do not require heavy jams. A simple smear of high-quality salted butter melting into the warm crumb is heavenly. Clotted cream or mascarpone cheese also pairs wonderfully.
- A Simple Vanilla Glaze: If you want an extra touch of sweetness, whisk together 1 cup of powdered sugar, 1 tablespoon of milk or cream, and a splash of vanilla extract. Drizzle this glaze over the scones once they have completely cooled.
Storage and Reheating
Scones are undeniably at their absolute peak of perfection within a few hours of baking. However, with proper storage techniques, you can enjoy them for days, or even months, later.
Room Temperature Storage
Allow the baked scones to cool completely. Storing warm pastries will trap steam inside your container, rendering the crisp exteriors soggy. Once entirely cool, place them in an airtight container lined with a dry paper towel. They will stay fresh at room temperature for up to 2 days.
Freezing Unbaked Dough (Highly Recommended)
Freezing unbaked dough is the ultimate baker’s secret. Prepare the recipe exactly as written, stopping after you have cut the dough into 8 wedges. Place the unbaked wedges on a parchment-lined plate or baking sheet and freeze for 1 hour until solid. Then, transfer the frozen wedges to a heavy-duty, zip-top freezer bag. They will keep for up to 3 months. When you are ready for a fresh scone, place the frozen wedges on a baking sheet, brush with heavy cream, and bake at 400°F (200°C). Do not thaw them first. Simply add 2 to 4 extra minutes to the baking time.
Reheating Baked Scones
To recapture that freshly baked, crispy exterior, reheat leftover scones in a 350°F (175°C) oven or toaster oven for 5 to 7 minutes until warmed through. You can use a microwave for 15 to 20 seconds if you are in a rush, but be aware that microwaving will make the exterior completely soft.
Frequently Asked Questions
Why did my scones spread out and go flat? Flat scones are usually caused by warm butter or expired baking powder. If the butter melts before the dough goes into the oven, the structure collapses. Alternatively, if your baking powder is old, it will not provide the necessary lift. Always test your baking powder by dropping a spoonful into hot water; if it bubbles vigorously, it is active.
Can I use a food processor to make scone dough? Yes, you can. Pulse the dry ingredients to combine, then drop in cold, cubed butter and pulse 5 or 6 times until the butter resembles pea-sized crumbles. Transfer the mixture to a bowl before folding in the chocolate chips and heavy cream by hand. Do not add the wet ingredients to the food processor, or you risk overmixing the dough into a tough paste.
Why are my scones tough and chewy? Toughness in baking is almost always a result of overworking the gluten. Once the wet ingredients hit the dry flour, mix only until the dough just holds together. Kneading the dough like sandwich bread will yield a dense, chewy pastry.
Should I use salted or unsalted butter? Unsalted butter is highly recommended in baking because salt levels vary drastically between different brands of salted butter. Using unsalted butter and adding your own measured sea salt ensures perfectly seasoned dough every time. If you only have salted butter, omit the 1/2 teaspoon of salt called for in the recipe.
Can I make the dough the night before? Yes. You can make the dough, cut it into wedges, and place them on a baking sheet. Cover the sheet tightly with plastic wrap and leave it in the refrigerator overnight. The next morning, brush with cream and bake directly from the fridge.
Can I drop the dough onto the pan instead of cutting it? Yes. This is called a “drop scone.” Instead of shaping the dough into a disc, you can use a large cookie scoop or two spoons to drop rustic mounds of dough directly onto the baking sheet. Drop scones will have more crispy, jagged edges, though they may not rise quite as high as cut wedges.
Final Thoughts
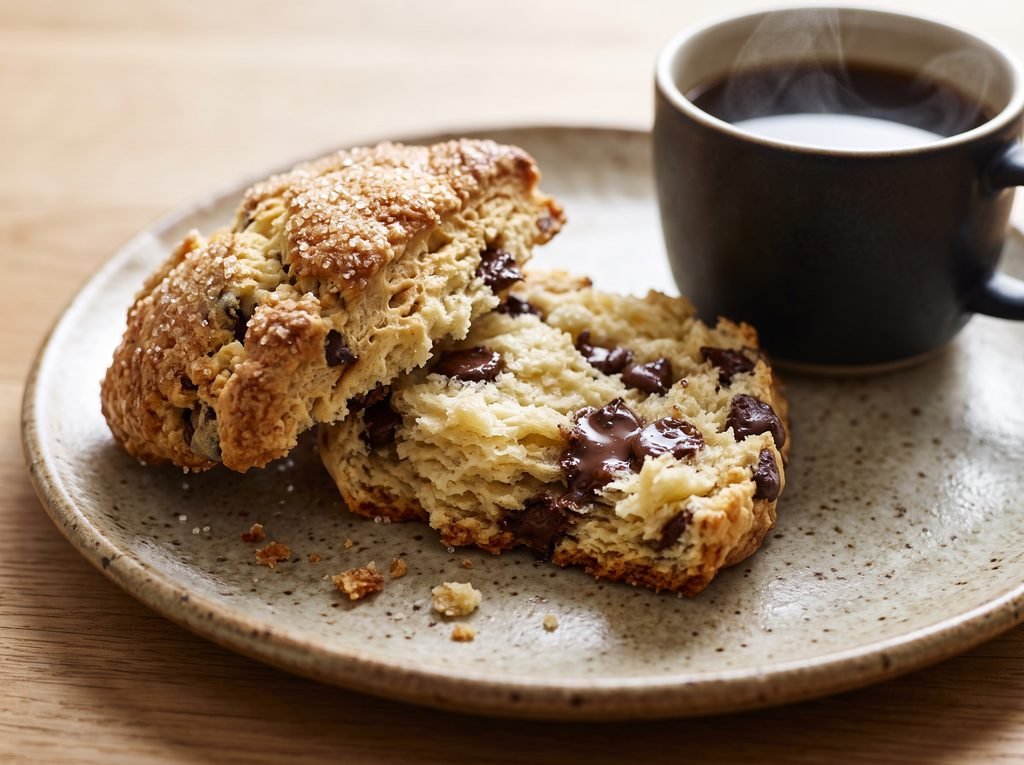
Mastering the chocolate chip scone is a milestone that will forever change your weekend breakfasts. By simply keeping your butter frozen, employing the box grater method, and treating the dough with a gentle hand, you can bypass the dry, disappointing pastries found in commercial coffee chains and create something truly spectacular in your own kitchen. Whether you are baking a fresh batch for a lazy Sunday morning family gathering, or keeping a stash of frozen dough in the freezer for sudden chocolate cravings, this recipe offers the perfect blend of convenience and indulgence. Gather your ingredients, preheat your oven, and prepare to enjoy the flaky, buttery, chocolate-filled rewards.