
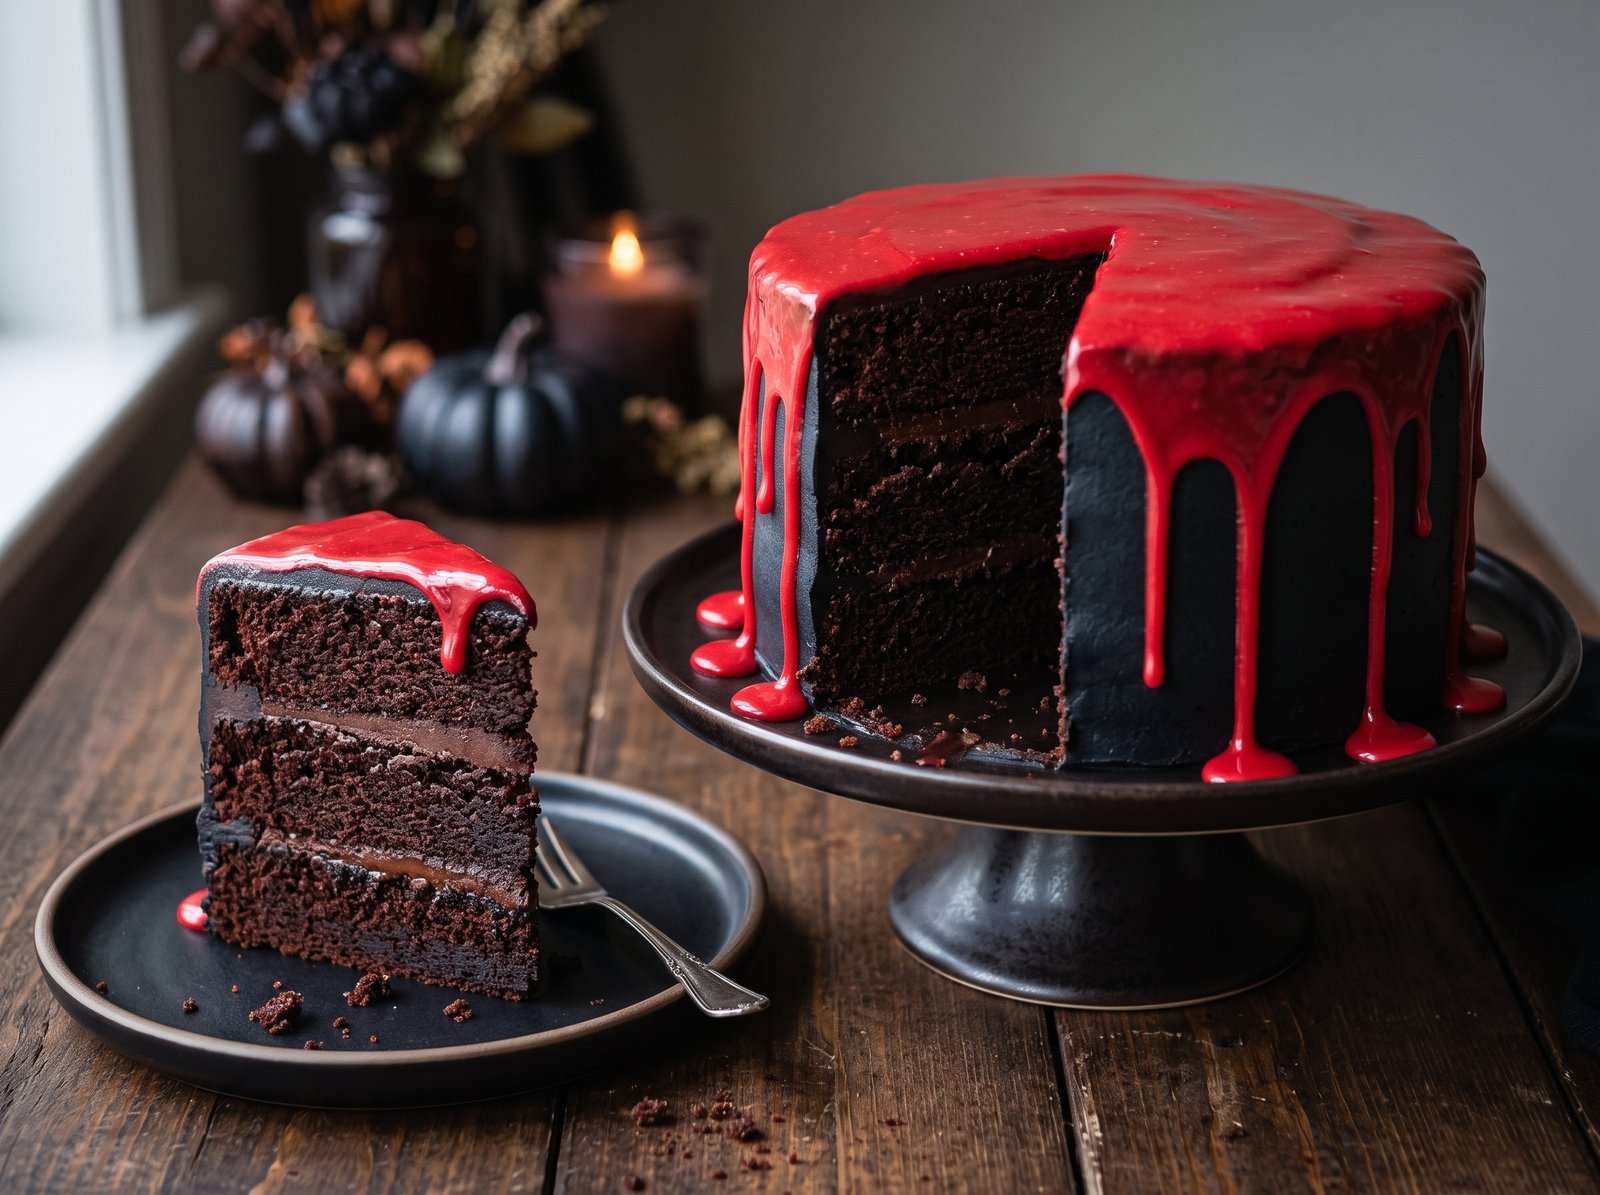
Spooktacular Halloween Cake Ideas: The Ultimate Guide to Spooky, Stunning Centerpieces
When October rolls around and the air finally gets that crisp, unmistakable autumn chill, baking takes on a whole new personality. We trade our bright summer fruit tarts and light lemon sponges for deep, warm spices, rich chocolates, and designs that lean into the theatrical. Whether you are throwing a sophisticated gothic dinner party, hosting a neighborhood costume bash, or simply want to surprise your family with a festive weekend treat, a show-stopping dessert is the ultimate centerpiece.
While cupcakes and cookies are fantastic for grab-and-go snacking, a towering, beautifully decorated cake commands the room. It sits on the dessert table like a work of art, sparking conversation and building anticipation until the moment it is sliced. But if you have ever browsed the internet for Halloween cake ideas, you know it can be overwhelming. Some designs look like they require an engineering degree, while others rely so heavily on thick, inedible fondant that they simply do not taste good.
This comprehensive guide is designed to change that. We are going to explore the absolute best, most impressive Halloween cake ideas that you can realistically achieve in your own home kitchen. Better yet, we are starting with a master recipe: an incredibly moist, foolproof Dark Midnight Chocolate Cake paired with a true-black cocoa buttercream. This master recipe serves as the perfect blank canvas for five distinct, spectacular decorating ideas—ranging from a gory “bleeding” drip cake to an elegant, sophisticated floral masterpiece. Get your piping bags ready; it is time to bake something wicked.
What Makes a Perfect Halloween Cake?
A truly spectacular Halloween cake balances three essential elements: striking visual contrast, structural stability, and incredible flavor.
First, the visual contrast. The best spooky cakes utilize dark, moody backgrounds—think midnight black, deep violet, or rich chocolate brown—offset by pops of neon green, vibrant orange, or stark white. This contrast makes your decorations pop and immediately sets a festive tone.
Second is structural stability. Because Halloween cakes often involve heavy decorations like candy, heavy chocolate drips, or elaborate spun sugar, you need a cake crumb that is tender but sturdy. A featherlight chiffon cake might collapse under the weight of a chocolate graveyard, so an oil-based chocolate cake or a dense, buttery pound cake is a much better choice.
Finally, the flavor must live up to the visual hype. The decorations draw people in, but the taste is what they will remember. Relying on high-quality vanilla extract, Dutch-process cocoa powder, and a hint of espresso will ensure your cake tastes like it came from a high-end bakery.
The Ultimate Master Recipe: Midnight Chocolate Cake
Before we dive into the decorating ideas, you need a reliable foundation. This master recipe yields a deeply chocolatey, incredibly moist three-layer 8-inch cake. The accompanying black buttercream utilizes black cocoa powder—the same ingredient that gives Oreo cookies their distinct flavor and dark color. Using black cocoa means you do not have to dump an entire bottle of black food dye into your frosting, saving your guests from the dreaded stained-teeth effect.
Recipe Details
- Prep Time: 35 minutes
- Cook Time: 35 minutes
- Cooling Time: 2 hours
- Decorating Time: 1 hour
- Total Time: 4 hours 10 minutes
- Servings: 12 to 16 slices
Ingredients for the Chocolate Cake
- 2 1/2 cups all-purpose flour: Spooned and leveled.
- 2 1/2 cups granulated sugar: To balance the bitterness of the cocoa.
- 1 cup Dutch-process cocoa powder: Sifted. Do not use standard natural cocoa powder; Dutch-process is darker and smoother.
- 2 teaspoons baking soda: For the perfect rise.
- 1 teaspoon baking powder: For additional lift.
- 1 teaspoon kosher salt: To enhance the chocolate flavor.
- 3 large eggs: Must be at room temperature.
- 1 cup buttermilk: Room temperature. The acidity creates a tender crumb.
- 3/4 cup vegetable oil: Keeps the cake moist for days.
- 1 tablespoon pure vanilla extract: For depth of flavor.
- 1 cup hot, freshly brewed black coffee: Blooms the cocoa powder to intensify the chocolate flavor. You will not taste the coffee.
Ingredients for the Black Cocoa Buttercream
- 2 cups (4 sticks / 16 ounces) unsalted butter: Softened to room temperature.
- 5 cups powdered sugar (confectioners’ sugar): Sifted to prevent lumps.
- 3/4 cup black cocoa powder: Sifted. This is a heavily alkalized cocoa powder found online or in specialty baking stores.
- 1/3 cup heavy whipping cream: Room temperature.
- 1 tablespoon pure vanilla extract: Or clear vanilla if preferred.
- 1/2 teaspoon kosher salt: Essential to cut the sweetness.
- Black gel food coloring: Just a few drops to deepen the final hue.
How to Make the Master Cake
Step 1: Prep Your Pans Preheat your oven to 350°F (175°C). Grease three 8-inch round cake pans with butter or non-stick baking spray, line the bottoms with parchment paper rounds, and lightly grease the parchment. This guarantees your cakes will slide right out.
Step 2: Whisk the Dry Ingredients In a large mixing bowl, whisk together the all-purpose flour, granulated sugar, sifted Dutch-process cocoa powder, baking soda, baking powder, and kosher salt until well combined and uniform in color.
Step 3: Combine the Wet Ingredients In a separate medium bowl, whisk the room-temperature eggs, buttermilk, vegetable oil, and vanilla extract until completely smooth.
Step 4: Combine Wet and Dry Pour the wet mixture into the dry ingredients. Use a whisk or a rubber spatula to gently fold them together just until moistened. The batter will be thick.
Step 5: Bloom with Hot Coffee Carefully pour the hot coffee into the batter. Whisk gently, starting from the center and working your way outwards, until the batter is completely smooth and thin.
Step 6: Bake the Layers Divide the batter evenly among the three prepared cake pans (about 2 cups of batter per pan). Bake on the center rack for 30 to 35 minutes, or until a toothpick inserted into the center comes out clean or with just a few moist crumbs.
Step 7: Cool Completely Let the cakes cool in their pans for 15 minutes before running a butter knife around the edges and inverting them onto wire cooling racks. Allow them to cool completely to room temperature before frosting.
Step 8: Make the Black Buttercream In the bowl of a stand mixer fitted with the paddle attachment, beat the softened butter on medium-high speed for 5 minutes until pale and creamy. Turn the mixer to low and gradually add the sifted powdered sugar and sifted black cocoa powder. Once incorporated, add the heavy cream, vanilla, and salt. Turn the speed back up to medium-high and whip for 4 minutes until incredibly light and fluffy. Add 2 to 3 drops of black gel food coloring to achieve a true midnight hue, and whip for 1 more minute.
Step 9: Assemble and Crumb Coat Place one cake layer on a serving platter or cake stand. Spread an even layer of black buttercream over the top. Add the second layer, more buttercream, and finally the third layer top-side down (for a flat top). Spread a very thin layer of frosting all over the top and sides of the cake. This is called the “crumb coat.” Chill the cake in the refrigerator for 30 minutes to lock in the crumbs.
Step 10: Final Frosting Remove the chilled cake from the fridge and apply a final, thicker, smooth layer of black buttercream. Now, you have the perfect dark canvas for your Halloween decorations!
Top 5 Show-Stopping Halloween Cake Ideas
Now that you have your beautifully smooth, midnight-black cake, it is time to turn it into a Halloween masterpiece. Choose one of these five spectacular themes to fit your party’s vibe.
Idea 1: The “Bleeding” Red Velvet Drip Cake
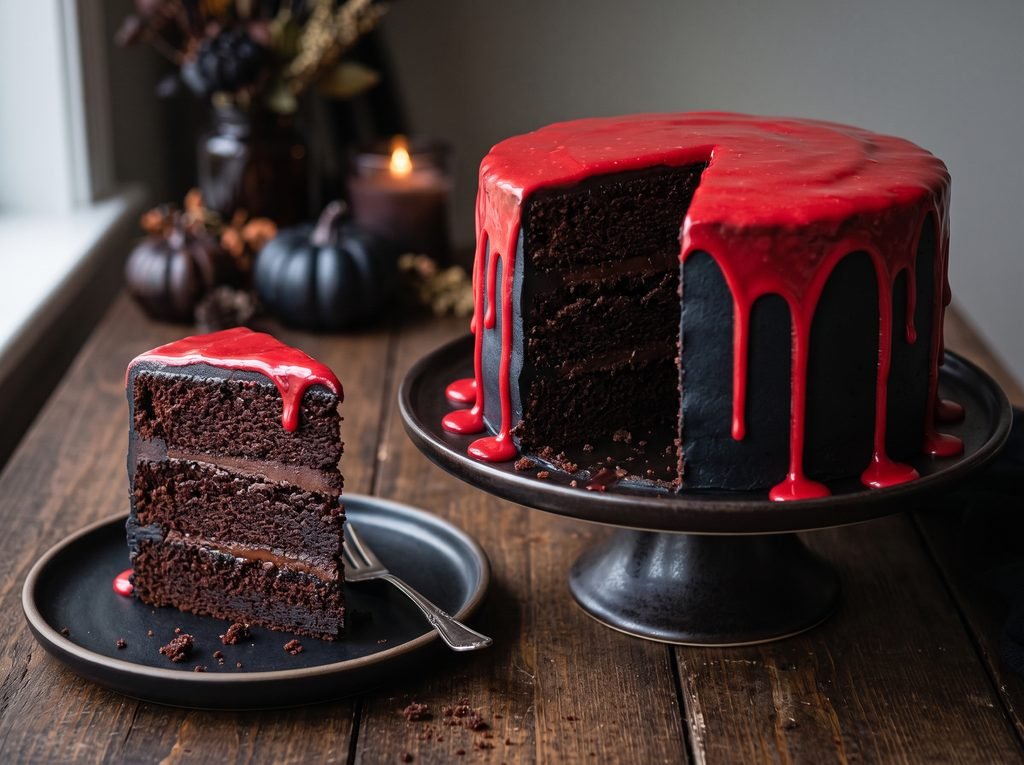
The drip cake is a classic bakery technique that looks incredibly professional but is surprisingly easy to execute at home. For Halloween, we swap the traditional chocolate ganache for a bright, gory “blood” drip that runs down the sides of the dark black cake.
How to Execute It: To make edible fake blood that actually tastes delicious, you will create a white chocolate water ganache. Finely chop 4 ounces of high-quality white chocolate and place it in a bowl. In a small saucepan, bring 3 tablespoons of water and 2 tablespoons of light corn syrup to a gentle simmer. Pour the hot liquid over the white chocolate, let it sit for two minutes, and then whisk until completely smooth. Stir in a generous amount of vibrant red gel food coloring and one drop of brown gel food coloring (to give it a realistic, oxidized red hue).
The Secret Technique: The secret to a perfect drip is temperature control. Your frosted cake must be deeply chilled—leave it in the fridge for at least an hour. The ganache should be slightly warm, but not hot. Transfer the red ganache to a plastic squeeze bottle. Squeeze small drops right at the top edge of the chilled cake, letting them run down the sides. The cold cake will stop the drip halfway down, creating a dramatic, suspended effect. Fill in the top of the cake with the remaining red ganache.
Idea 2: The Stretchy Marshmallow Spiderweb Cake
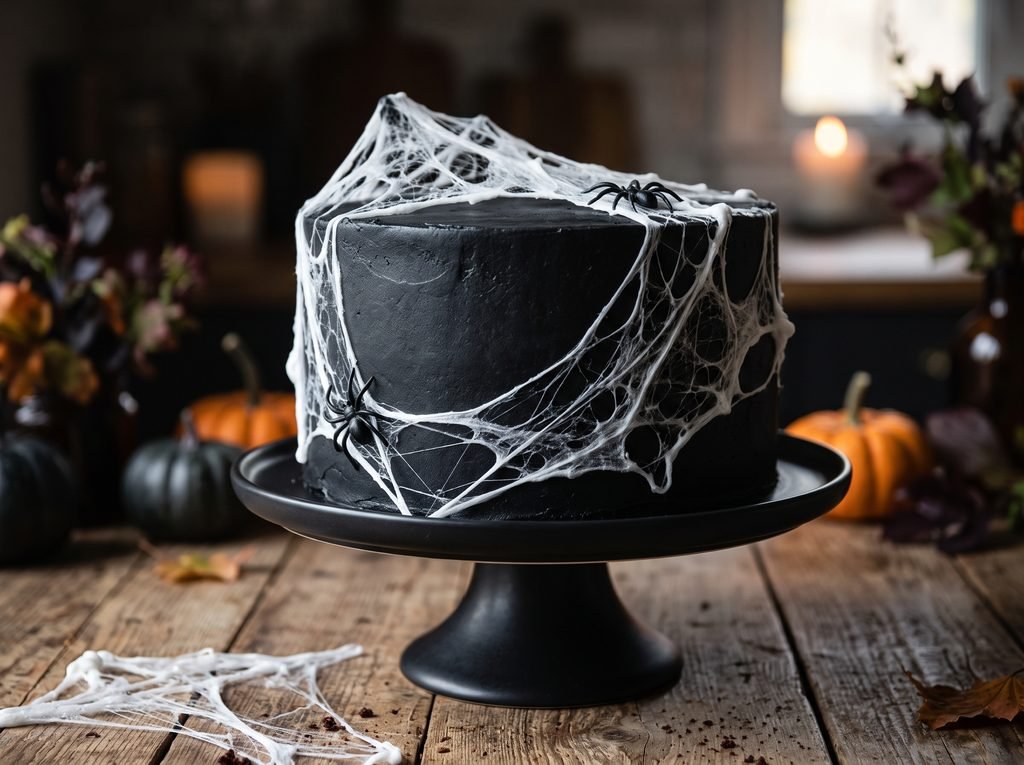
This is currently one of the most popular Halloween cake ideas because it relies entirely on texture, creating a highly realistic, spooky cobweb effect that drapes across the entire dessert.
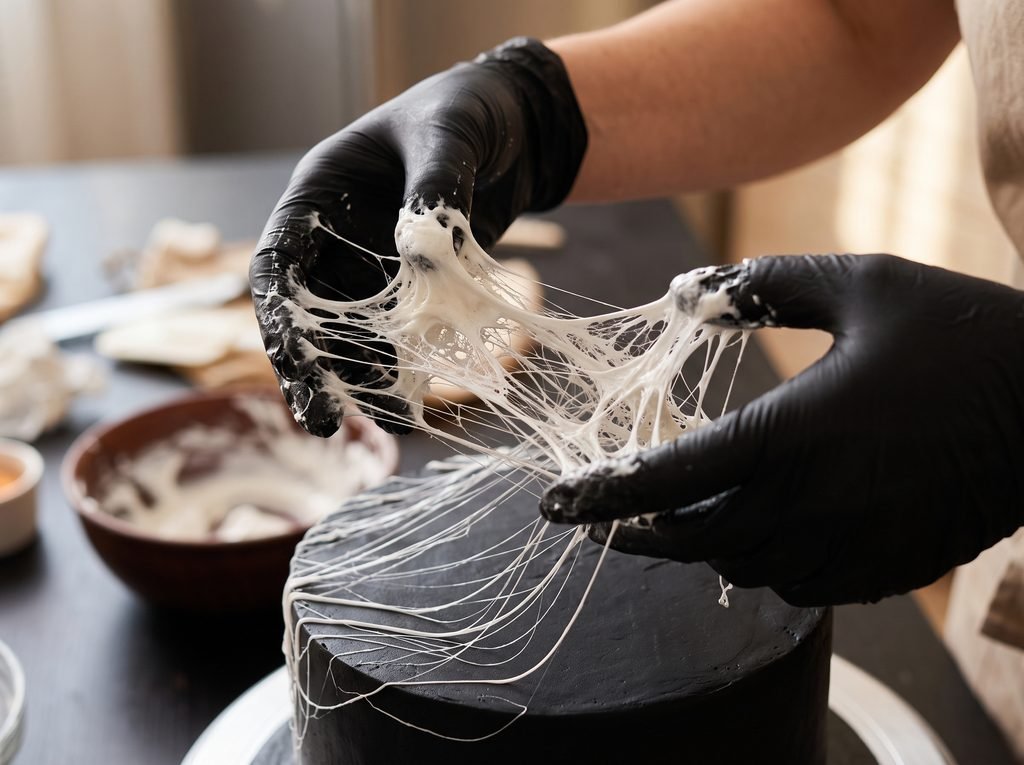
How to Execute It: You will need one bag of standard white marshmallows. Place about two cups of marshmallows into a microwave-safe bowl and microwave them for 30 to 45 seconds, just until they puff up and melt. Stir them vigorously with a spatula until smooth.
The Secret Technique: Let the melted marshmallows cool for about 2 to 3 minutes. If they are too hot, you will burn your fingers and melt the buttercream on your cake. Once they are cool enough to handle but still sticky, dip your fingers (wear food-safe gloves if you prefer) into the bowl. Pull your hands apart to stretch the marshmallow into thin, wispy, web-like strands. Drape these sticky strands directly over the top and down the sides of your cold, frosted black cake. Repeat this process, stretching the webs in different directions, until the cake is covered. Finish by placing a few plastic (and thoroughly washed) toy spiders onto the webs.
Idea 3: The Creepy Graveyard Dirt Cake
If you are baking with children or want a playful, nostalgic cake, the Graveyard theme is a massive crowd-pleaser. It transforms your cake into a spooky midnight cemetery.
How to Execute It: Instead of striving for perfectly smooth frosting on your final coat, use the back of a spoon to create rough, textured swirls in the black buttercream to mimic uneven ground. Next, take about 15 chocolate sandwich cookies (like Oreos) and pulse them in a food processor, or crush them in a zip-top bag with a rolling pin, until they resemble potting soil.
The Secret Technique: Sprinkle the crushed “dirt” generously over the top of the cake and press some around the bottom border. For the tombstones, purchase oval-shaped cookies (like Milano cookies). Use a black edible food marker to write “RIP” or spooky dates on the top half of the cookies. Push the bottom half of the cookies deeply into the top of the cake so they stand upright. Scatter a few candy pumpkins, gummy worms wriggling out of the dirt, and bone-shaped sprinkles around the tombstones to complete the diorama.
Idea 4: The Neon Monster Eye Cake
For a less scary and more vibrant approach, the Monster Eye cake uses wild textures and bright colors to create a friendly, furry creature. For this idea, you will swap the black cocoa buttercream for standard vanilla buttercream, dyed in neon shades.
How to Execute It: Divide your master batch of vanilla buttercream into two or three bowls. Dye them bright, radioactive colors—neon green, electric purple, and vibrant orange work best.
The Secret Technique: You will need a piping bag fitted with a “grass tip” or “multi-opening tip” (like Wilton #233). Fill the bag with your brightly colored frosting. Starting at the bottom of your crumb-coated cake, pipe short, quick bursts of frosting, pulling straight out to create a “furry” texture. Work your way all around and up the sides until the entire cake looks like a shaggy monster. Finally, take varying sizes of candy eyeballs (you can find these in the baking aisle) and press them randomly all over the front and top of the cake in clusters.
Idea 5: The Elegant Gothic Romance Cake
Not all Halloween parties are about gore and monsters. If you are hosting a sophisticated adults-only dinner party, an elegant, moody gothic cake is the perfect finale. This cake looks like it belongs in a Victorian haunted mansion.
How to Execute It: Stick with the incredibly smooth black cocoa buttercream base. To elevate it, you will incorporate metallic gold and dark, fresh florals.
The Secret Technique: Purchase a few sheets of edible 24-karat gold leaf (available online or at specialty baking stores). Using a clean, dry pair of tweezers or a soft, dry makeup brush, gently tear off small pieces of the gold leaf and press them randomly onto the sides of the black cake. The contrast between the matte black frosting and the shining gold is stunning. Next, prepare fresh, dark flowers—deep burgundy dahlias, black magic roses, or dark purple calla lilies. Wrap the stems tightly in floral tape so the plant sap does not touch the cake, and arrange them in an elegant, sweeping crescent moon shape across the top and down one side of the cake.
Helpful Tips for the Best Baking Results
To ensure your cake turns out exactly like the pictures, keep these professional baking tips in mind:
- Bake Flat Layers: Domed cakes are the enemy of a sturdy, stacked dessert. To get perfectly flat layers, invest in “bake-even strips.” These are fabric strips that you soak in water and wrap around your cake pans before baking. They keep the edges of the pan cool, allowing the center of the cake to rise at the same rate as the edges, resulting in a perfectly flat top.
- The Power of the Crumb Coat: Never skip the crumb coat (Step 9). Trying to frost a dark chocolate cake without sealing in the crumbs first will result in annoying brown specks ruining your smooth final layer of frosting.
- Temperature is Everything: Never apply frosting to a cake that is even slightly warm. The butter in the frosting will melt instantly, causing your layers to slide off each other. Let your cakes cool to room temperature, and ideally, chill them in the fridge for 30 minutes before assembling.
- Gel vs. Liquid Coloring: Always use gel food coloring when decorating cakes. Liquid food coloring from the grocery store adds too much moisture, which will ruin the consistency of your buttercream and make it runny. Gel colors are highly concentrated, giving you vibrant hues with just a tiny drop.
Storage and Make-Ahead Instructions
Baking and decorating a masterpiece in one day can be exhausting. Thankfully, cakes are incredibly resilient and perfect for making ahead of time.
Making the Layers in Advance: You can bake the cake layers up to a month in advance. Let them cool completely, then wrap each layer individually in two layers of plastic wrap and one layer of aluminum foil. Place them in the freezer. When you are ready to assemble, do not thaw them completely! Stacking and frosting slightly frozen cake layers is actually much easier because they are firmer and produce fewer crumbs.
Storing the Decorated Cake: Because this recipe uses a butter-based frosting, the decorated cake can safely sit at room temperature for up to two days. However, if your kitchen is very warm, or if you used the white chocolate ganache drip, it is best to store the cake in the refrigerator.
Place the cake in a tall cake box or carefully cover any exposed slices with plastic wrap to prevent the cake from drying out. If you refrigerate the cake, you must bring it out to sit at room temperature for at least 2 to 3 hours before serving. Buttercream becomes rock-hard in the fridge, and eating cold cake dulls the rich chocolate flavor.
Frequently Asked Questions
How do I get true black frosting without it tasting bitter? The secret is black cocoa powder. By replacing a portion of your powdered sugar with black cocoa, you establish a dark brown/black base naturally. This means you only need a drop or two of black gel food coloring to push it to a midnight black, completely avoiding the bitter, chemical taste that comes from using a whole bottle of food dye.
Will black frosting stain my teeth? If you make black frosting using only vanilla buttercream and a massive amount of black dye, yes, it will temporarily stain mouths and teeth. However, using the black cocoa powder method drastically reduces the amount of dye needed, making it much safer for your guests’ smiles.
Can I use a store-bought cake mix for these designs? Absolutely. While the scratch recipe provided is phenomenal, you can absolutely save time by using a boxed chocolate cake mix. To make a box mix taste homemade, swap the water called for on the box with hot coffee, swap the oil for melted butter, and swap the water for whole milk or buttermilk.
How do I make my cake layers perfectly even? Use a kitchen scale. Place your empty cake pan on the scale, zero it out, and pour your batter in until it reaches a specific weight. Repeat for the other pans to ensure each layer has the exact same amount of batter, resulting in perfectly even layers.
When should I apply the marshmallow spiderwebs? Apply the marshmallow webs on the very day you plan to serve the cake. While the cake itself can be made ahead of time, marshmallows are pure sugar and will begin to slowly melt or dissolve if they sit in the humidity of a refrigerator overnight.
Can I freeze the leftover cake? Yes. Cut the leftover cake into individual slices. Place the slices on a baking sheet in the freezer for one hour until the frosting is hard. Then, wrap each slice tightly in plastic wrap and place them in a freezer-safe zip-top bag for up to 2 months. Thaw individual slices at room temperature when the craving strikes.
Final Thoughts
Creating a jaw-dropping Halloween cake does not require a culinary degree or years of pastry experience. It all comes down to having a sturdy, delicious base recipe, understanding a few simple techniques like temperature control, and having the courage to get a little messy.
Whether you decide to stretch sticky marshmallow cobwebs across a dark chocolate canvas, pipe neon monster fur, or delicately place edible gold leaf next to black roses, your cake is guaranteed to be the highlight of the evening. Embrace the spooky imperfections—if your red ganache drip runs a little farther than intended, or your graveyard tombstones sit slightly crooked, it only adds to the spooky, festive charm. Happy Halloween, and happy baking!