
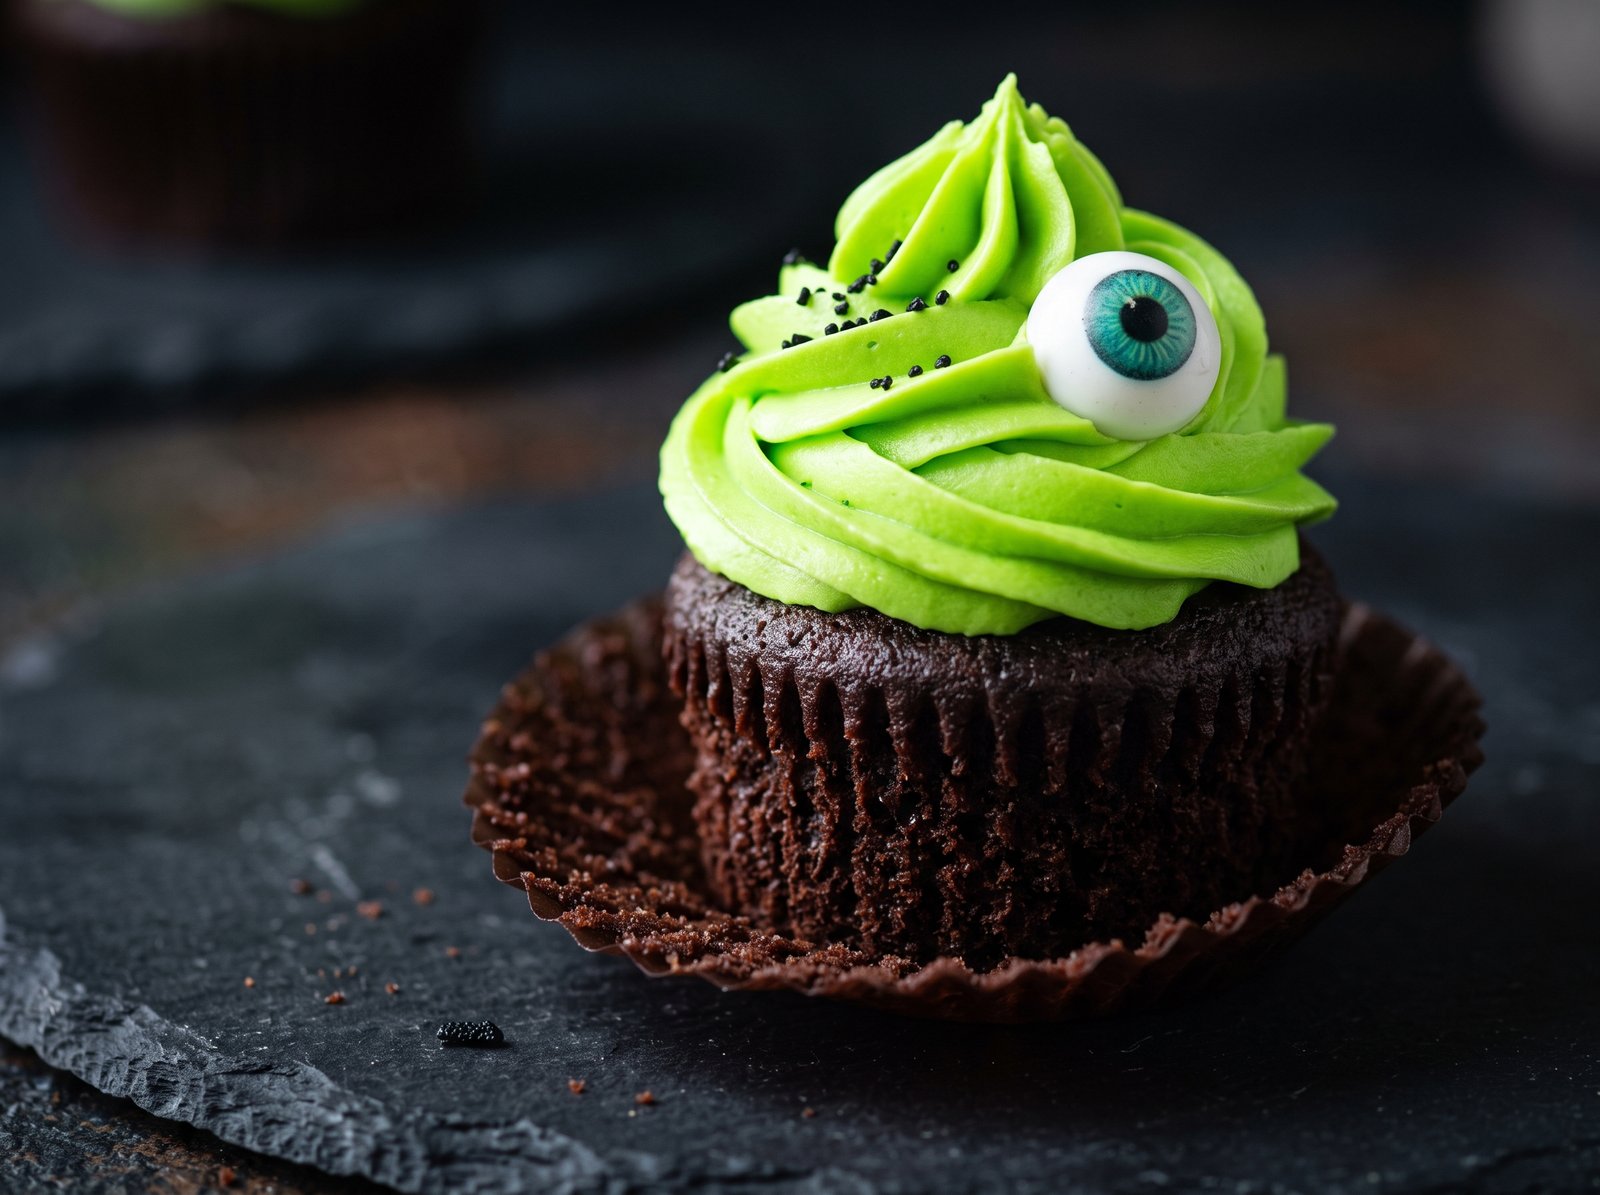
The Ultimate Halloween Cupcakes: Dark Chocolate with Vibrant Vanilla Buttercream
October brings a familiar chill to the air, fading daylight, and the undeniable urge to fill the house with the scent of freshly baked goods. When it comes to spooky season, few treats capture the imagination—and the appetite—quite like a batch of freshly baked Halloween cupcakes. Whether you are hosting an extravagant monster mash for your friends, bringing a treat to a school harvest festival, or simply enjoying a cozy autumn evening watching your favorite scary movies, these cupcakes are the ultimate crowd-pleaser.
There is a distinct joy in peeling back the paper liner of a perfectly domed, incredibly moist chocolate cupcake topped with a mountain of festive frosting. But let’s be honest: not all holiday baked goods are created equal. Too often, we sacrifice flavor for appearance, ending up with dry, crumbly cakes masked by overly sweet, artificially flavored store-bought frosting.
This recipe changes everything. We are ditching the boxed mixes and creating a deeply rich, intensely dark chocolate cupcake that requires no fancy equipment to whip up. Paired with a smooth, stable, and easily tintable American buttercream, these Halloween cupcakes are designed to be a delicious, towering canvas for your favorite spooky decorations. Get ready to bake the most requested treat of the season.
What Are Halloween Cupcakes?
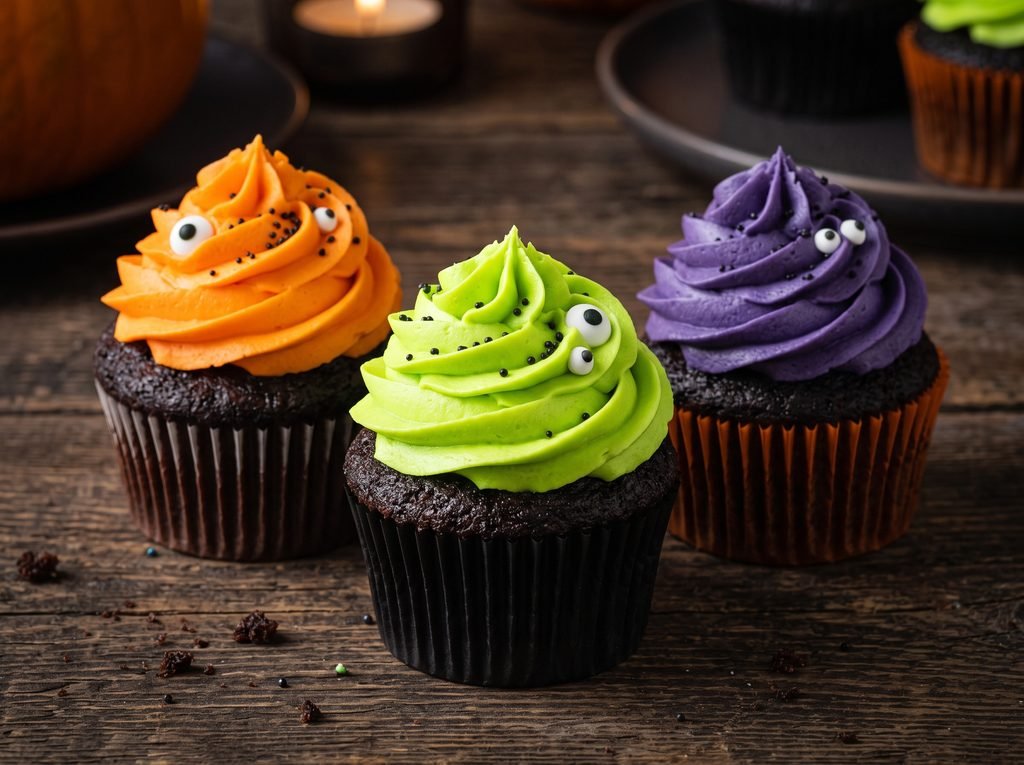
At their foundation, Halloween cupcakes are portable, single-serving cakes that have been transformed through color, flavor, and decoration to celebrate the spooky season. While you can certainly use a vanilla or pumpkin base, the quintessential Halloween cupcake utilizes a dark, almost midnight-black chocolate cake. This dark base creates a striking visual contrast against brightly colored neon green, vivid purple, or vibrant orange frosting.
Beyond the color palette, Halloween cupcakes are defined by their decorations. They serve as a blank canvas for edible creativity. From intricate royal icing spiderwebs and piped buttercream brains to simple but effective candy monster eyes and crushed cookie “dirt,” these treats allow bakers of all skill levels to get festive. A proper Halloween cupcake must have a sturdy enough crumb to support generous swirls of frosting and various candy toppings, while remaining tender and moist on the inside.
Why You’ll Love This Recipe
Finding a reliable cupcake recipe that yields consistent results every single time can be a challenge. Here is why this dark chocolate and vanilla buttercream pairing will become your permanent go-to for October baking:
- Incredibly Moist Crumb: Thanks to the combination of vegetable oil and buttermilk, these cupcakes stay soft and moist for days. Unlike butter-based cakes which can dry out quickly, oil coats the flour proteins and prevents gluten formation, ensuring a tender bite.
- Deep, Dark Chocolate Flavor: The addition of hot water (or hot coffee) at the very end of the batter-making process “blooms” the cocoa powder, releasing an intense, authentic chocolate flavor that box mixes simply cannot replicate.
- No Mixer Required for the Batter: You only need two bowls and a whisk to bring this cupcake batter together, making clean-up a breeze.
- Foolproof, Stable Frosting: The accompanying vanilla buttercream recipe is specifically formulated to hold its shape. Whether you are piping intricate rosettes or spooky ghosts, this frosting won’t wilt at room temperature.
- Endlessly Customizable: Once you master the base cake and frosting, you can change the colors and garnishes year after year to create entirely new spooky designs.
Recipe Details
- Prep Time: 25 minutes
- Cook Time: 18 minutes
- Decorating Time: 30 minutes
- Total Time: 1 hour 13 minutes
- Servings: 14 to 16 cupcakes
Ingredients
To achieve the best texture, flavor, and lift, it is vital to use the right ingredients. Ensure your cold ingredients (like eggs and buttermilk) are brought to room temperature before you begin.
For the Dark Chocolate Cupcakes:
- 1 1/2 cups (190g) all-purpose flour: Spooned and leveled. Using too much flour will result in dense, dry cupcakes.
- 1 1/2 cups (300g) granulated sugar: Provides moisture and the perfect level of sweetness to balance the bitter cocoa.
- 3/4 cup (65g) Dutch-process cocoa powder: This is crucial. Dutch-process cocoa has been treated with an alkalizing agent to lower its acidity, resulting in a smoother, darker, and more robust chocolate flavor than standard natural cocoa powder.
- 1 1/2 teaspoons baking soda: The primary leavening agent that helps the cupcakes rise beautifully.
- 1/2 teaspoon baking powder: Provides a little extra lift.
- 3/4 teaspoon kosher salt: Essential for enhancing the chocolate flavor and cutting the sweetness.
- 2 large eggs: Must be at room temperature to incorporate smoothly into the batter.
- 3/4 cup buttermilk: Room temperature. The acidity in buttermilk reacts with the baking soda for a fluffy texture, while adding a subtle tang that deepens the chocolate flavor.
- 1/2 cup vegetable oil (or canola oil): Oil guarantees a moist crumb that stays soft even if stored in the refrigerator.
- 1 tablespoon pure vanilla extract: Elevates all the other flavors in the cake.
- 3/4 cup hot water (or hot freshly brewed black coffee): Adding boiling liquid at the end dissolves the cocoa powder, blooming it to release its maximum flavor potential. Coffee enhances chocolate flavor without making the cake taste like coffee.
For the Vanilla Buttercream Frosting:
- 1 1/2 cups (3 sticks / 12 ounces) unsalted butter: Softened to room temperature. It should yield slightly when pressed but not be greasy or melting.
- 4 1/2 cups (540g) powdered sugar (confectioners’ sugar): Sifted to ensure your frosting is silky smooth and won’t clog your piping tips.
- 1/4 cup heavy whipping cream: Room temperature. This makes the frosting incredibly light, fluffy, and spreadable.
- 1 tablespoon pure vanilla extract: Use clear vanilla extract if you want a pure white base, though standard brown vanilla is fine if you plan to dye the frosting dark colors.
- 1/4 teaspoon kosher salt: Crucial for cutting the intense sweetness of American buttercream.
- Gel food coloring: Vivid colors like neon green, deep purple, vibrant orange, or black. Gel colors are highly concentrated and won’t thin out your frosting like liquid grocery-store drops.
How to Make Halloween Cupcakes
Follow these instructions closely. The method of mixing dry and wet ingredients separately before combining them ensures you do not overwork the gluten in the flour.
Step 1: Prep Your Equipment
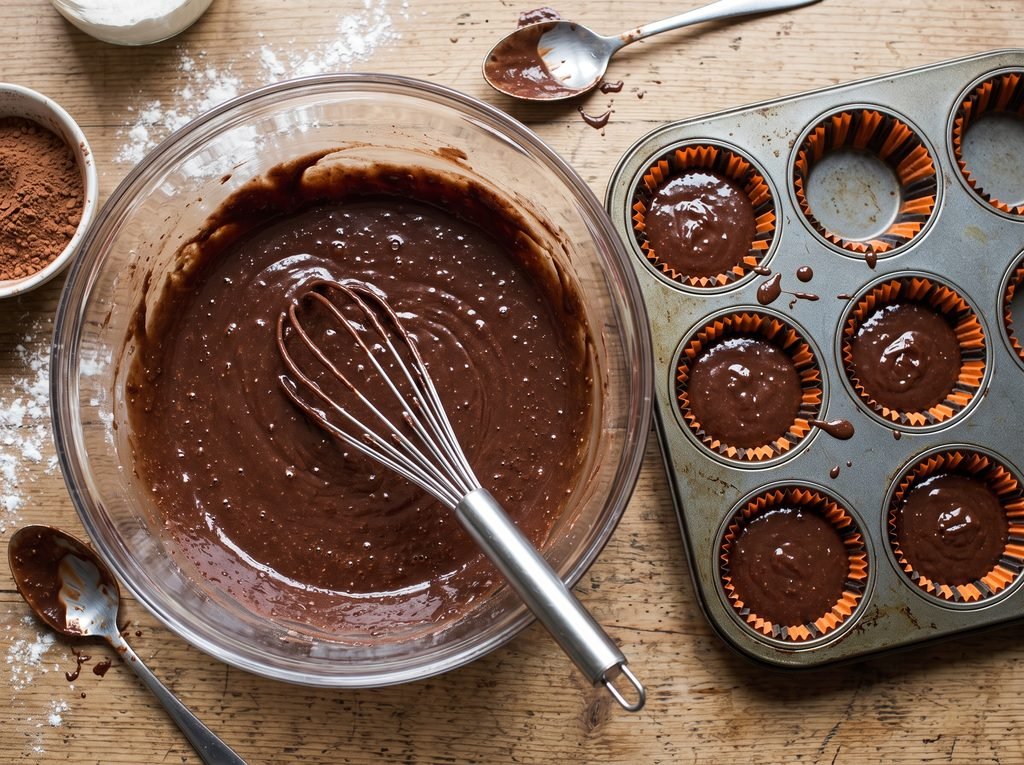
Preheat your oven to 350°F (175°C). Line a standard 12-count muffin pan with festive Halloween cupcake liners. Since this recipe makes 14 to 16 cupcakes, prepare a second pan with the remaining liners.
Step 2: Whisk the Dry Ingredients
In a large mixing bowl, sift together the all-purpose flour, granulated sugar, Dutch-process cocoa powder, baking soda, baking powder, and kosher salt. Sifting is highly recommended here to remove any stubborn lumps in the cocoa powder. Whisk well to ensure all the leavening agents are evenly distributed.
Step 3: Combine the Wet Ingredients
In a separate medium bowl, whisk together the room-temperature eggs, buttermilk, vegetable oil, and vanilla extract until completely smooth and cohesive.
Step 4: Combine Wet and Dry
Pour the wet ingredient mixture into the center of the large bowl containing the dry ingredients. Using a whisk or a rubber spatula, gently fold the mixture together just until you no longer see streaks of dry flour. The batter will be very thick at this stage. Do not overmix.
Step 5: Bloom the Cocoa with Hot Liquid
Carefully pour the hot water (or hot coffee) into the thick batter. Whisk gently and slowly at first to avoid splashing. As the hot liquid incorporates, the batter will thin out significantly. Keep whisking until the batter is completely smooth and glossy. It will look surprisingly thin—this is exactly how it should be!
Step 6: Fill the Cupcake Liners
Using a large cookie scoop or a liquid measuring cup, pour the batter into the prepared cupcake liners, filling each one only halfway full. Do not overfill the liners, or the batter will spill over the edges as it bakes, creating flat, messy tops instead of perfect domes.
Step 7: Bake
Bake the cupcakes on the center rack of your preheated oven for 18 to 21 minutes. To check for doneness, insert a toothpick into the center of the middle cupcake; it should come out clean or with just a few moist crumbs attached. The tops should spring back gently when lightly touched.
Step 8: Cool Completely
Allow the cupcakes to cool in the pan for 5 minutes before carefully transferring them to a wire cooling rack. They must cool completely to room temperature (about 1 hour) before you even think about adding frosting, otherwise, the butter in the frosting will melt into a sad puddle.
Step 9: Make the Buttercream
While the cupcakes cool, prepare your frosting. In the bowl of a stand mixer fitted with the paddle attachment (or using a hand mixer and a large bowl), beat the softened butter on medium-high speed for about 5 minutes until it is very pale, creamy, and light.
Step 10: Add Sugar and Cream
Turn the mixer to the lowest speed. Gradually add the sifted powdered sugar about one cup at a time, allowing it to incorporate before adding more. Once all the sugar is added, pour in the heavy cream, vanilla extract, and salt.
Step 11: Whip to Fluffy Perfection
Increase the mixer speed to medium-high and whip the frosting for another 3 to 5 minutes until it is incredibly fluffy and light. If the frosting seems too stiff, add an extra tablespoon of heavy cream.
Step 12: Color and Decorate
Divide the frosting into separate bowls depending on how many colors you want to create. Dip a toothpick into your gel food coloring and swirl it into the frosting, mixing well with a spoon until the color is uniform. Transfer the colored frosting into piping bags fitted with your favorite decorating tips (a large open star tip like the 1M is a classic choice) and pipe generous swirls onto the cooled cupcakes. Top with Halloween sprinkles, candy eyes, or gummy worms!
Helpful Tips for the Best Results
Baking is a science, and cupcakes can be surprisingly temperamental. Use these expert tips to guarantee bakery-quality results in your own kitchen:
- Do Not Overfill the Liners: This is the most common cupcake mistake. Because this batter is thin and relies on baking soda and buttermilk for a powerful lift, filling the liners more than half full will cause them to overflow and sink in the middle.
- The Power of Dutch-Process Cocoa: If you want a genuinely dark, spooky-looking chocolate cupcake, you must use Dutch-process cocoa. Standard natural cocoa powder (like standard Hershey’s) is lighter in color and will result in a pale brown cupcake. Additionally, because Dutch cocoa is alkalized, it reacts differently with the leavening agents, giving a softer crumb.
- Taming Air Bubbles in Frosting: After whipping your buttercream on high speed, it will likely be full of air bubbles. To get incredibly smooth frosting for perfectly neat piping, take a wooden spoon or a sturdy silicone spatula and vigorously stir the frosting by hand, pressing it against the sides of the bowl for about two minutes. This knocks out the large air pockets.
- How to Get True Black Frosting: Getting pitch-black frosting is notoriously difficult; it often looks grey or stains everyone’s teeth. The secret? Start with chocolate buttercream. Replace 1/2 cup of the powdered sugar in the frosting recipe with 1/2 cup of dark cocoa powder. Once you have a brown base, you will only need a few drops of black gel food coloring to achieve a deep, midnight black. Furthermore, food coloring deepens as it sits. Make black frosting a day in advance, let it rest in the fridge, and watch the color intensify.
Variations and Substitutions
One of the greatest things about Halloween cupcakes is how endlessly adaptable they are. Here are a few fun ways to customize the flavor and the look of this recipe:
Flavor Variations:
- Pumpkin Spice Cupcakes: Swap the chocolate batter for a pumpkin base by substituting the cocoa and water for 1 cup of pure pumpkin puree, omitting the hot liquid, and adding 2 teaspoons of pumpkin pie spice.
- Bloody Red Velvet: Use a red velvet cupcake base and core out the center of the cooled cupcakes using an apple corer. Fill the center with a vibrant red cherry or strawberry jam before frosting, so the cupcakes “bleed” when bitten into!
- Cream Cheese Frosting: If American buttercream is too sweet for your taste, a tangy cream cheese frosting is a phenomenal pairing with dark chocolate. Just be aware that cream cheese frosting is softer and may not hold incredibly intricate piped designs as sharply as buttercream.
Fun Decorating Ideas:
- Mummy Cupcakes: Use a flat basket-weave piping tip to pipe overlapping, flat ribbons of white buttercream across the top of the cupcake to look like mummy bandages. Leave a small gap and place two candy eyeballs peeking out from the “wraps.”
- Monster Brains: Tint your buttercream a fleshy pink or vibrant neon green. Using a medium round piping tip, pipe two parallel lines down the center of the cupcake to form the brain’s hemispheres, then pipe squiggly, continuous lines on either side to mimic the folds of a brain.
- Graveyard Dirt: Frost the cupcake smoothly with chocolate or black buttercream. Crush chocolate sandwich cookies (like Oreos) in a food processor until they resemble potting soil. Roll the frosted top of the cupcake in the crumbs. Stick a Milano cookie vertically into the frosting to act as a tombstone, and use a food-safe edible marker to write “RIP” on the cookie.
What to Serve With It
A platter of vibrant Halloween cupcakes is the undisputed star of any dessert table, but they are incredibly rich and sweet. When planning a party menu, it is important to balance out that sugar.
- Savory Snacks: To counteract the sweetness of the buttercream, set up a snack table featuring salty items. Soft pretzel bites with mustard, bowls of buttered popcorn sprinkled with parmesan, or a spooky charcuterie board with cured meats and sharp cheeses will keep your guests coming back for more.
- Autumn Beverages: Serve these rich chocolate treats alongside warm, spiced apple cider, hot chocolate with homemade marshmallows, or a robust, dark roast coffee for the adults.
- Dry Ice Punch: For the ultimate Halloween party centerpiece, serve a bowl of fruity, tart cranberry and ginger ale punch. Safely place a larger bowl beneath the punch bowl filled with a little warm water and dry ice chunks to create a spectacular, spooky fog that rolls across the table. (Never put dry ice directly into drinks that will be consumed).
Storage and Reheating
Because these cupcakes are made with oil rather than butter, they retain their moisture exceptionally well over several days.
Storing Unfrosted Cupcakes: Allow the baked cupcakes to cool completely. Place them in an airtight container at room temperature for up to 3 days. Do not refrigerate unfrosted cupcakes, as the cold air will dry out the crumb prematurely.
Storing Frosted Cupcakes: Once frosted, the cupcakes can sit in an airtight container at room temperature for up to 2 days, provided your house is not excessively hot or humid. If you need to store them longer, place them in an airtight container in the refrigerator for up to 5 days. Before eating, pull them out and let them sit at room temperature for 1 hour so the cake and buttercream can soften; cold buttercream has a waxy texture.
Freezing: These cupcakes freeze beautifully. To freeze unfrosted cupcakes, wrap each one individually in plastic wrap, then place them in a zip-top freezer bag for up to 3 months. Thaw at room temperature. To freeze frosted cupcakes, place the decorated cupcakes uncovered in the freezer for 1 hour until the frosting is rock hard. Then, individually wrap them in plastic wrap and store them in a freezer bag. To thaw, remove the plastic wrap while they are still frozen to avoid smudging the frosting, and let them come to room temperature on the counter.
Frequently Asked Questions
Why did my Halloween cupcakes sink in the middle? Sinking cupcakes are usually caused by one of three things: overfilling the cupcake liners, opening the oven door too early during baking (which lets out the hot air and collapses the rising structure), or expired leavening agents. Make sure your baking soda and baking powder are fresh, and only fill liners halfway.
Can I make these cupcakes gluten-free? Yes. You can substitute the all-purpose flour for a high-quality, 1-to-1 gluten-free baking blend that contains xanthan gum. Because gluten-free flours absorb liquid differently, you may need to let the batter rest for 10 minutes before filling the liners to ensure a tender crumb.
I don’t have buttermilk. What can I use instead? You can easily make a buttermilk substitute at home. Measure 1 tablespoon of white vinegar or fresh lemon juice into a liquid measuring cup. Add enough whole milk to reach the 3/4 cup mark. Stir and let it sit for 5 to 10 minutes until it slightly curdles and thickens, then use it as directed in the recipe.
How far in advance can I make these for a party? For the freshest taste, bake the cupcakes and make the frosting up to 2 days in advance. You can store the unfrosted cupcakes at room temperature and the frosting in the fridge. On the day of the party, let the frosting come to room temperature, re-whip it in your mixer for a few minutes until fluffy, and decorate!
Will the gel food coloring stain my guests’ mouths? Dark and vibrant colors, particularly black, dark blue, and deep purple, will temporarily tint the tongue and teeth. If you want to avoid this, use dark chocolate buttercream for the bulk of your frosting, and only use brightly dyed vanilla buttercream for small accent details.
Do I need special piping tips to make them look good? Not necessarily. While a large 1M star tip makes beautiful, classic bakery swirls, you can achieve a great look by simply snipping the corner off a large zip-top bag and piping a smooth, round mound of frosting. You can also use an offset spatula to spread the frosting smoothly, then dip the top into a bowl of Halloween sprinkles for a polished, easy finish.
Why is my buttercream too runny to pipe? If your buttercream is runny, the butter was likely too warm when you started, or your kitchen is too hot. Place the entire bowl of frosting into the refrigerator for 15 to 20 minutes to firm up the butter, then whip it again. If it is still too soft, gradually add more sifted powdered sugar until it reaches a stiff, pipeable consistency.
Final Thoughts
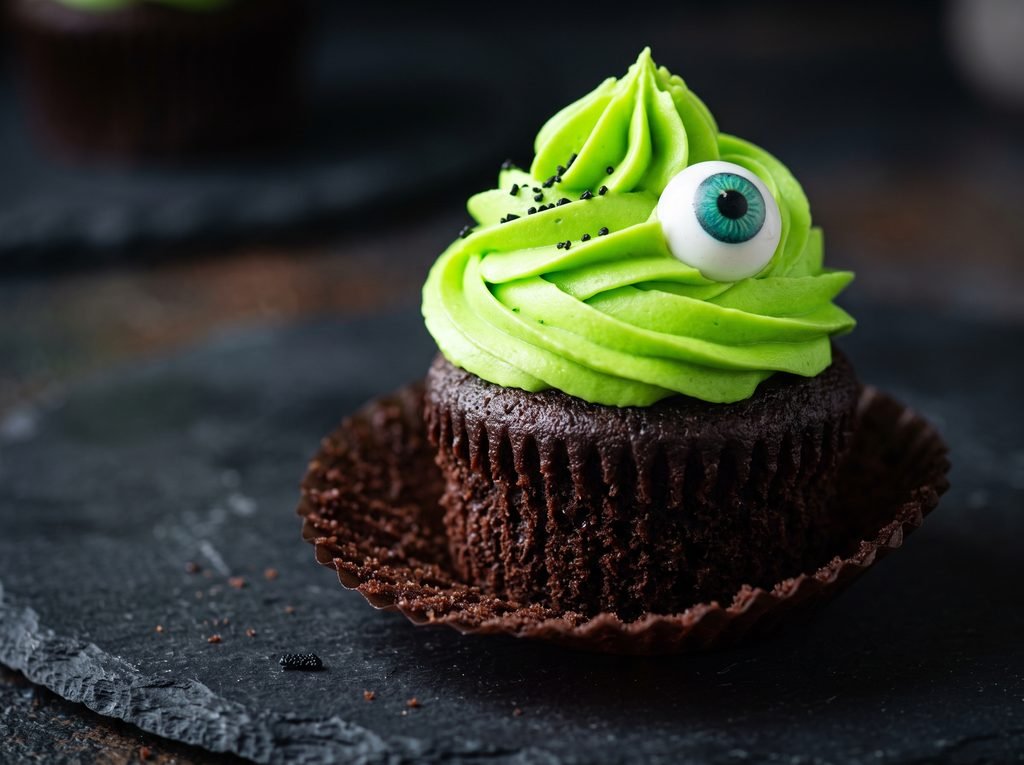
Baking Halloween cupcakes should be a stress-free, imaginative experience. Armed with this incredibly moist dark chocolate cake recipe and a foolproof vanilla buttercream, you no longer have to worry about dry crumbs or melting frosting. This recipe provides the perfect, reliable foundation so you can focus your energy on the fun part: the decorating!
Whether you go all out with intricate piping techniques to create mummies and monsters, or keep it beautifully simple with a swirl of orange frosting and a sprinkle of black sanding sugar, these cupcakes are guaranteed to impress. Gather your favorite festive baking liners, put on a spooky soundtrack, and enjoy the process of bringing a little bit of delicious magic to your Halloween celebrations this year. Happy baking!