
Easy Halloween Treats: 3 Spooky, Fun, and Delicious Recipes to Try This October
When the crisp autumn breeze rolls in and porches fill up with carved pumpkins, the excitement of October takes over. Between picking out the perfect costumes, navigating haunted houses, and planning school classroom parties, the holiday season can get incredibly busy. But one of the best parts of the season is heading into the kitchen to create festive, seasonal snacks. If you are looking for maximum festive impact without spending all day covered in flour and food coloring, you need a solid lineup of easy Halloween treats.
Creating spooky snacks does not require a degree in pastry arts or hours of complicated decorating. The absolute best seasonal recipes take everyday, accessible ingredients and transform them with a few clever, low-stress techniques. Whether you are hosting a large neighborhood monster mash, putting together an after-school snack board for your kids, or just looking to add a little festive magic to a weekend movie marathon, simple recipes are the secret to enjoying the holiday without the stress.
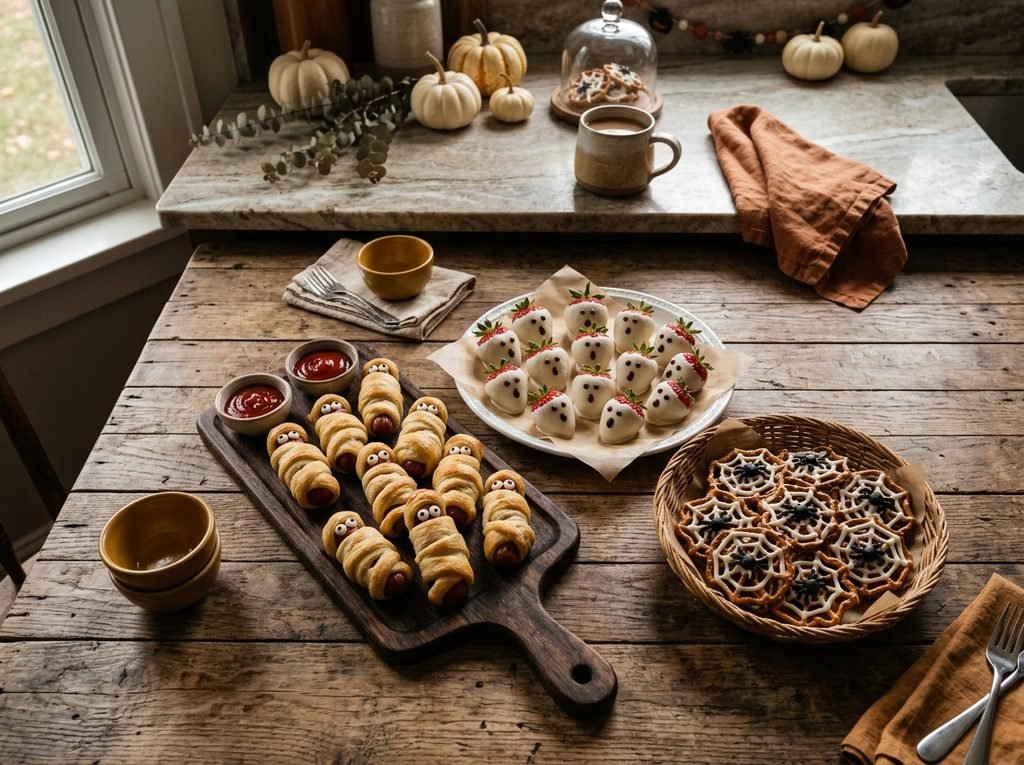
This comprehensive guide features a trio of incredibly easy Halloween treats that cover all the flavor bases: savory Mummy Hot Dogs, fresh and sweet White Chocolate Strawberry Ghosts, and perfectly crunchy, sweet-and-salty Chocolate Pretzel Spiderwebs. These three recipes are practically foolproof, delightfully spooky, and guaranteed to be the star of your snack table.
What Are Easy Halloween Treats?
At their core, easy Halloween treats are fun, themed snacks that rely on clever assembly rather than complex cooking techniques from scratch. They take beloved, familiar flavors—like buttery crescent dough, fresh fruit, and salty pretzels—and give them a slightly ghoulish, seasonal makeover.
While the internet is filled with towering, intricately carved cakes and highly detailed fondant sculptures, those projects can be incredibly time-consuming and often require specialized equipment. Easy treats, on the other hand, embrace a rustic, playful charm. They utilize standard pantry staples and supermarket shortcuts to achieve a festive look in a fraction of the time.
A great Halloween treat menu should offer variety. Relying entirely on heavy chocolate and pure sugar can leave everyone feeling sluggish before the trick-or-treating even begins. By incorporating savory options and fresh fruit alongside the candy, you create a balanced spread that guests of all ages will genuinely enjoy eating, rather than just photographing.
Why You’ll Love These Easy Halloween Recipes
There are countless reasons to add these three specific treats to your October culinary rotation. Here is why this trio works so perfectly for any autumn gathering:
- Incredible Visual Appeal: Despite taking very little time to make, these treats look fantastic. The stark white chocolate against the bright red strawberries, and the intricate look of the pretzel webs, make your dessert table look professionally catered.
- Highly Interactive for Kids: If you want to get your children involved in the kitchen, these recipes are perfect. Wrapping dough around hot dogs, dipping strawberries, and arranging pretzel sticks are all safe, fun, hands-on activities for little helpers.
- Minimal Ingredients Required: You will not need to hunt down obscure baking supplies. Everything required for these three recipes can be found in a standard American grocery store.
- Quick Preparation: None of these recipes require long resting times, complex rising periods, or hours in the oven. They can be whipped up quickly, making them ideal for last-minute party prep.
- Customizable and Forgiving: If your mummy bandages are a little uneven, or your spiderweb is slightly lopsided, it actually adds to the rustic, spooky charm of the treats! There is no pressure for perfection.
Treat 1: Savory Mummy Hot Dogs
Every Halloween party needs a hearty, savory anchor to offset the sugar rush, and Mummy Hot Dogs are a timeless classic. They are incredibly satisfying, visually adorable, and take only a few minutes to assemble.
Prep Time: 15 minutes Cook Time: 15 minutes Total Time: 30 minutes Servings: 10 mummies
Ingredients for Mummy Hot Dogs
- 10 standard hot dogs: Choose your favorite brand. All-beef, turkey, or even plant-based sausages all work perfectly for this recipe.
- 1 (8-ounce) can refrigerated crescent roll dough: This creates the buttery, flaky “bandages.” Store-bought crescent dough is easy to work with and bakes up beautifully.
- Cooking spray: Just a light mist to ensure the mummies do not stick to the baking sheet.
- 20 edible candy eyes: These small sugar eyes bring the mummies to life. They can be found in the baking aisle of most grocery stores.
- Yellow mustard or ketchup: You will only need a tiny dab of this to act as the edible “glue” to attach the candy eyes.
How to Make Mummy Hot Dogs
- Preheat the Oven: Preheat your oven to 375°F (190°C). Line a large, rimmed baking sheet with parchment paper and lightly coat it with cooking spray.
- Dry the Hot Dogs: Remove the hot dogs from their packaging and use paper towels to thoroughly pat them completely dry. This is a critical step to ensure the dough adheres properly.
- Prepare the Dough: Unroll the canned crescent dough onto a clean cutting board. Pinch the diagonal perforations together with your fingers to seal them, creating one large, solid rectangle of dough.
- Slice the Bandages: Using a pizza cutter or a sharp knife, slice the dough rectangle lengthwise into long, thin strips, about ¼-inch to ½-inch wide.
- Wrap the Mummies: Take a hot dog and begin wrapping the dough strips around it, mimicking mummy bandages. Crisscross the dough, overlap it in some places, and leave a small, open “window” near the top where the face will go. Use 2 to 3 strips per hot dog.
- Bake to Golden Brown: Place the wrapped hot dogs onto the prepared baking sheet, leaving about an inch of space between each one. Bake for 12 to 15 minutes, or until the crescent dough is puffed and a deep golden brown.
- Attach the Eyes: Remove the baking sheet from the oven and allow the mummies to cool for about 5 minutes. Dip a toothpick into a tiny amount of mustard or ketchup, dab it onto the back of the candy eyes, and gently press two eyes into the open “face” space on each mummy.
Helpful Tips for the Best Results
- Keep the Dough Cold: Crescent roll dough becomes very sticky and difficult to stretch if it gets too warm. Keep the can in the refrigerator until the exact moment you are ready to unroll and cut it.
- The Importance of Drying: If your hot dogs are damp with packaged juices, the steam created in the oven will cause the crescent dough to expand, slip, and unwrap itself during baking. A dry surface gives the dough something to grip.
- Wait to Add the Eyes: Never put the candy eyes on the hot dogs before they go into the oven. The high heat will melt the sugar, resulting in a burnt, runny mess. Always apply them after baking.
Variations and Substitutions
- Cheese-Stuffed Mummies: For an extra layer of flavor, cut a deep slit down the center of each hot dog (without cutting all the way through) and stuff it with a thin strip of cheddar or pepper jack cheese before wrapping it in the dough.
- Gluten-Free Option: Swap the canned crescent dough for a gluten-free pie crust or gluten-free puff pastry, sliced into thin strips. Adjust the baking time according to the pastry package directions.
- Mini Mummies: Use cocktail-sized smokies instead of full-sized hot dogs for bite-sized appetizers. Cut the dough strips slightly thinner and reduce the baking time to about 10 to 12 minutes.
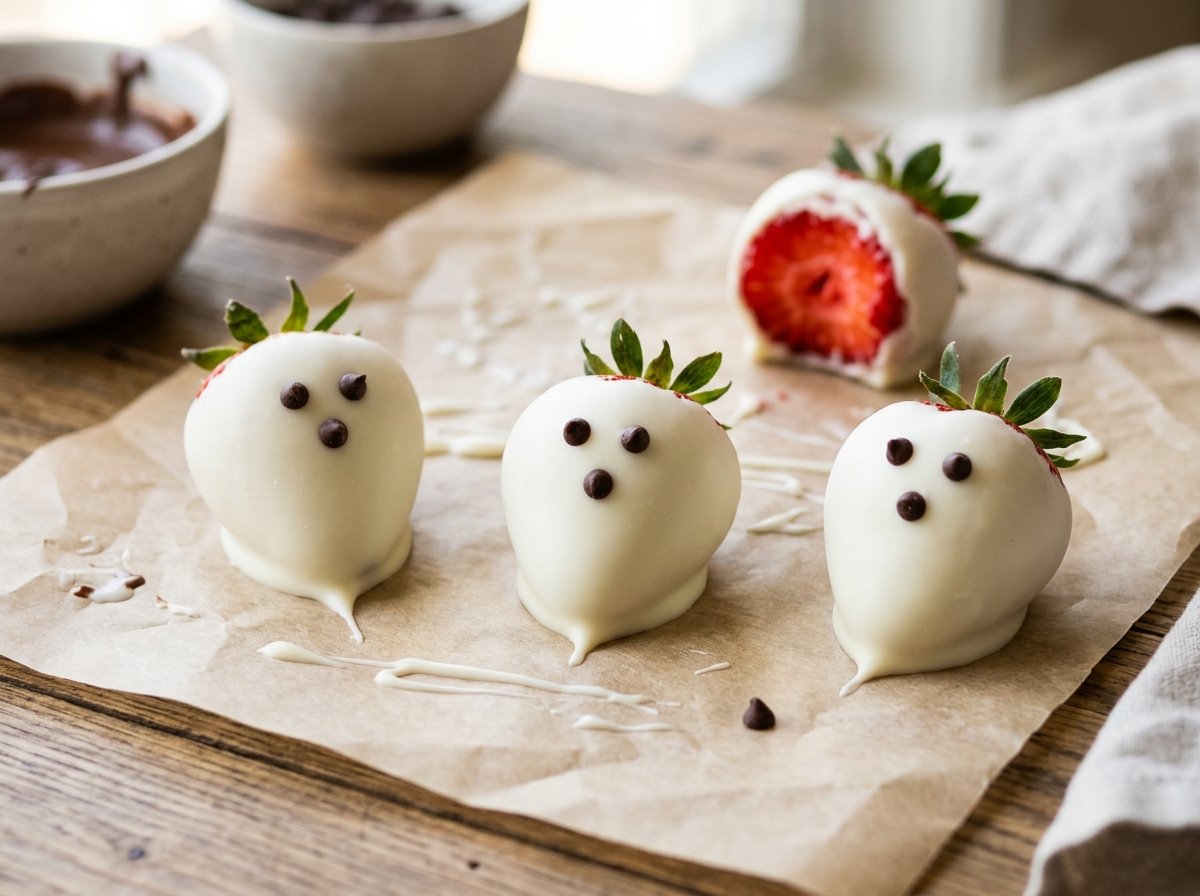
Treat 2: White Chocolate Strawberry Ghosts
When the dessert table is heavy with chocolate bars, caramel, and baked goods, fresh fruit is a highly welcome addition. These Strawberry Ghosts are crisp, juicy, and perfectly sweet. The bright red interior popping out from the white chocolate shell is visually stunning.
Prep Time: 20 minutes Cook Time: 0 minutes (Requires 15 minutes of chilling time) Total Time: 35 minutes Servings: 16 ghosts
Ingredients for Strawberry Ghosts
- 16 large, fresh strawberries: Look for berries that are bright red, firm, and roughly uniform in size. Leave the green leafy tops (the calyx) attached, as they provide a helpful “handle” for dipping.
- 1 ½ cups (12 ounces) white chocolate melting wafers: Also known as candy melts or almond bark. These are specifically formulated to melt smoothly and harden beautifully without needing to be tempered like standard baking chips.
- ¼ cup mini semi-sweet chocolate chips: These will be used to create the ghostly eyes and howling mouths.
How to Make White Chocolate Strawberry Ghosts
- Wash and Dry the Berries: Gently wash the strawberries under cold water. Transfer them to a clean kitchen towel and pat them entirely dry. Let them sit on the towel for 10 minutes to air-dry completely.
- Prepare the Station: Line a large baking sheet with parchment paper or a silicone baking mat.
- Melt the White Chocolate: Place the white chocolate melting wafers into a microwave-safe bowl. Microwave on 50% power in 30-second increments. Stir vigorously after each increment. Repeat until the chocolate is completely melted and silky smooth.
- Dip the Strawberries: Holding a strawberry by its green leafy top, dip it straight down into the melted white chocolate, ensuring it is coated on all sides.
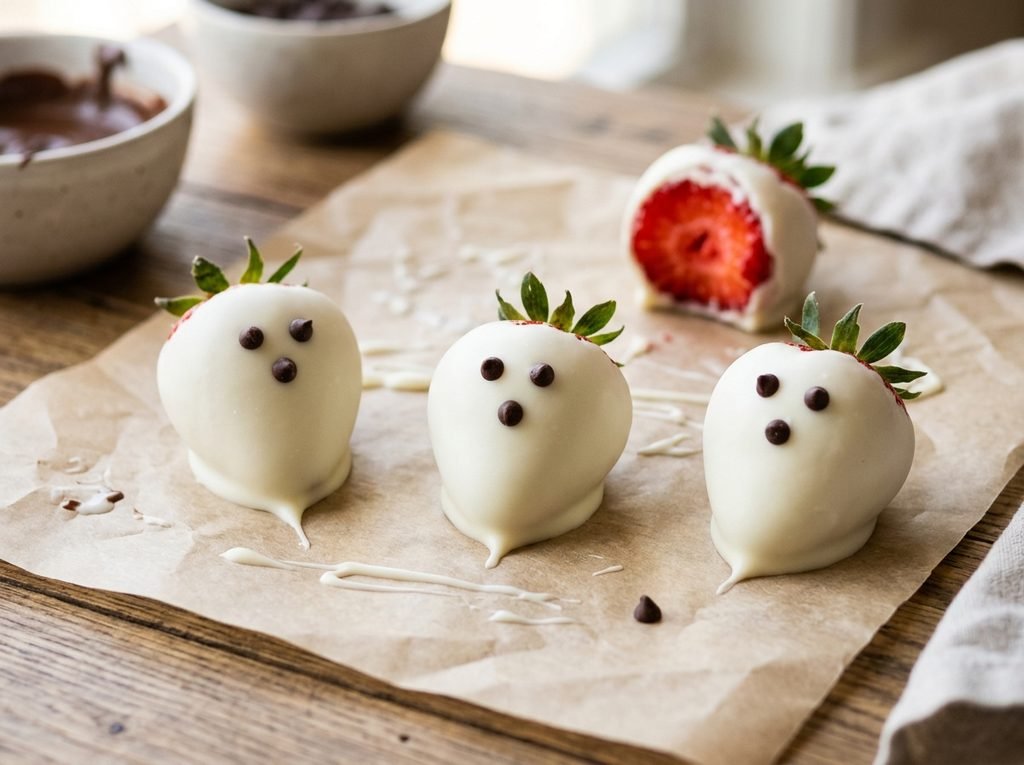
- Create the Ghost Tail: As you lift the strawberry out of the chocolate, let the excess drip off the bottom. Gently scrape the back of the strawberry lightly against the edge of the bowl, then place it onto the parchment paper. Allow a little pool of chocolate to form at the base to look like the ghost’s flowing tail.
- Add the Faces: Before the white chocolate sets and hardens, carefully place two mini chocolate chips (pointy side down) onto the upper half of the strawberry for the eyes. Place a third mini chocolate chip, or a regular-sized chocolate chip, slightly below them for an open, howling mouth.
- Chill and Set: Place the baking sheet into the refrigerator for 10 to 15 minutes to allow the chocolate shell to harden completely before serving.
Helpful Tips for the Best Results
- Zero Moisture is the Rule: Water is the ultimate enemy of melted chocolate. If there is even a single drop of water left on your strawberries, or in your melting bowl, the white chocolate will seize, turning into a grainy, unusable paste. Dry the fruit meticulously.
- Work in Small Batches: Depending on the temperature of your kitchen, the white chocolate on the strawberries may begin to set very quickly. Dip three or four strawberries, then immediately attach their chocolate chip faces before moving on to dip the next batch.
- Microwave Cautiously: White chocolate burns much faster than milk or dark chocolate. Never microwave it on full power, and always stir it when it looks only halfway melted; the residual heat of the bowl will usually finish melting the rest.
Variations and Substitutions
- Piped Faces: If you do not have mini chocolate chips, you can melt a small amount of dark chocolate, place it into a zip-top bag, snip a tiny corner off, and pipe the eyes and mouths onto the hardened white chocolate ghosts.
- Dairy-Free Option: Use vegan white chocolate chips and add a ½ teaspoon of refined coconut oil during the melting process to help thin them out for a smoother dip.
- Orange Pumpkins: You can add a few drops of oil-based orange food coloring to the melted white chocolate (do not use water-based food coloring, or it will seize) to create orange “pumpkins” instead of white ghosts.
Treat 3: Sweet & Salty Pretzel Spiderwebs
These pretzel spiderwebs are incredibly satisfying to eat. They offer the perfect crunch and balance out sweet chocolate with a hit of savory salt. Best of all, they look like intricate little works of art, but only require a simple piping technique.
Prep Time: 20 minutes Cook Time: 0 minutes (Requires 10 minutes of chilling time) Total Time: 30 minutes Servings: 12 spiderwebs
Ingredients for Pretzel Spiderwebs
- 1 (10-ounce) bag of pretzel sticks: You specifically need the straight sticks, not the traditional twisted pretzel shapes or the thick pretzel rods.
- 1 ½ cups (12 ounces) white chocolate melting wafers: Again, melting wafers or candy melts provide the easiest texture for piping and setting.
- 12 decorative candy spiders: Many craft stores and supermarkets sell small icing decorations or plastic spider rings (if using plastic, remind guests to remove them before eating!). Alternatively, you can use chocolate chips to create your own.
How to Make Sweet & Salty Pretzel Spiderwebs
- Prepare the Canvas: Line a large baking sheet with parchment paper.
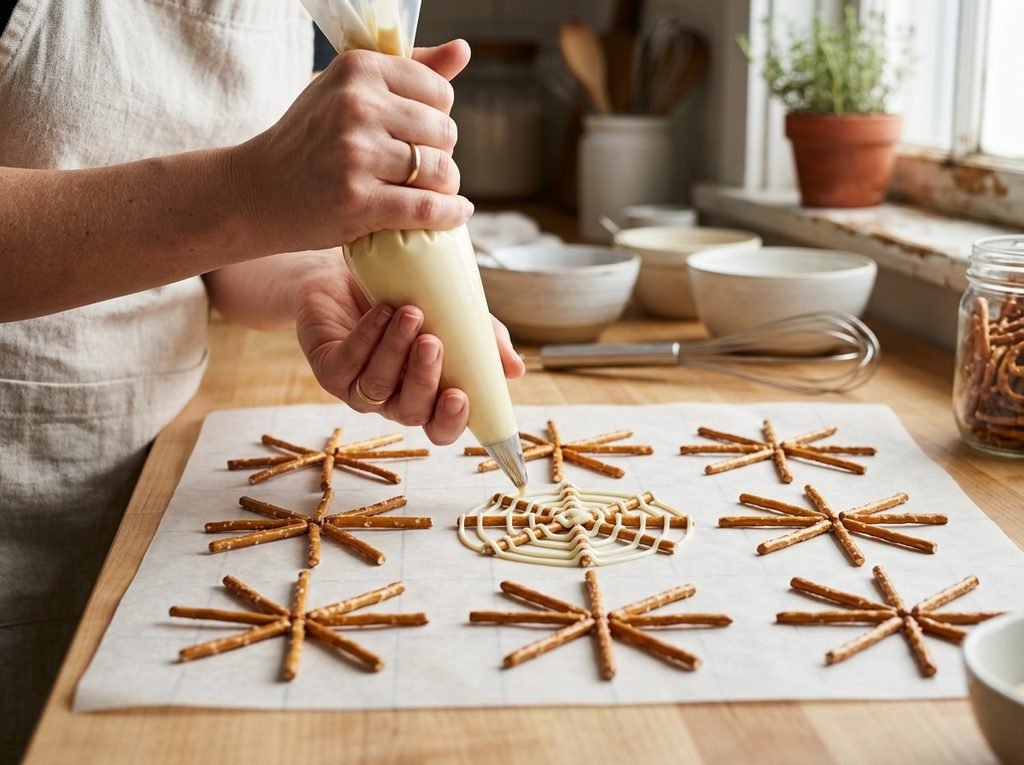
- Arrange the Pretzels: For each spiderweb, arrange 8 pretzel sticks in a starburst pattern on the parchment paper. They should all meet in the center, radiating outward like the spokes of a wagon wheel. Set up 12 of these starburst arrangements on your baking sheet.
- Melt the Chocolate: Place the white chocolate melting wafers in a microwave-safe bowl. Microwave on 50% power in 30-second bursts, stirring in between, until completely smooth.
- Prepare the Piping Bag: Transfer the melted white chocolate into a disposable piping bag, or a sturdy gallon-sized zip-top plastic bag. Snip a very small piece off the tip or corner of the bag.
- Glue the Center: Squeeze a generous dollop (about a dime-sized amount) of melted white chocolate directly into the center of the pretzel starburst to act as the “glue” that holds all the sticks together.
- Pipe the Web: Starting from the center dollop, pipe the white chocolate in concentric circles, working your way outward toward the edges of the pretzel sticks. You can make the circles neat, or intentionally wavy and rustic to look like a realistic, windswept web.
- Add the Spider: While the white chocolate is still wet, gently press a decorative candy spider onto the web.
- Chill to Set: Place the entire baking sheet in the refrigerator for about 10 minutes. Once the chocolate is completely firm, the spiderwebs will lift cleanly and easily right off the parchment paper.
Helpful Tips for the Best Results
- Control the Flow: When snipping the tip of your piping bag, start incredibly small. It is much easier to pipe delicate, thin web lines with a tiny hole. You can always cut the hole slightly larger if the chocolate isn’t flowing well, but you cannot make it smaller.
- Keep it Warm: If you are making a large batch and the chocolate in your piping bag begins to harden, you can place the tightly sealed bag in a bowl of warm (not hot) water for a few minutes to soften it back up. Dry the outside of the bag thoroughly before resuming.
- Handle with Care: These treats are sturdy once set, but they are still delicate at the edges. When lifting them off the parchment paper, slide a thin spatula underneath the solid center to support the weight of the pretzels.
Variations and Substitutions
- Dark Chocolate Webs: Swap the white chocolate for semi-sweet or dark chocolate melting wafers for a moodier, midnight-colored spiderweb.
- Create Your Own Spiders: If you cannot find candy spiders, place a regular-sized brown M&M on the wet web to act as the spider’s body. Once the web has set, use melted dark chocolate to pipe eight little legs coming out from the M&M.
- Gluten-Free Option: Simply swap the standard pretzel sticks for your favorite brand of gluten-free pretzel sticks. The recipe works exactly the same.
What to Serve With Easy Halloween Treats
If you are setting up a full spread for a Halloween gathering, these three treats cover your savory, fresh, and crunchy bases beautifully. To round out the table, consider adding a few complementary items:
- Warm Apple Cider: Keep a slow cooker full of spiced apple cider on the counter. The warm cinnamon and clove flavors pair perfectly with the chocolate treats and make the whole house smell like autumn.
- A Simple Savory Dip: Serve a bowl of warm queso or a cool spinach dip with a side of blue corn tortilla chips. The dark blue chips add a moody, seasonal aesthetic to the table without any extra effort.
- Pumpkin Flavors: Balance the chocolate and savory hot dogs with a pumpkin element, such as a plate of soft pumpkin snickerdoodle cookies or a bowl of roasted, salted pumpkin seeds.
Storage and Reheating
If you end up with leftovers from your Halloween party, storing them correctly will ensure they taste just as good the next day.
Mummy Hot Dogs: Allow any leftover mummies to cool completely to room temperature. Store them in an airtight container in the refrigerator for up to 3 days. To reheat them, avoid the microwave, which will turn the flaky crescent dough soggy and tough. Instead, place them in an air fryer at 350°F (175°C) for 3 to 5 minutes, or in a standard oven at 350°F for about 8 minutes until the dough is hot and crispy again.
Strawberry Ghosts: Because they contain fresh fruit, these are best enjoyed on the same day they are made. However, you can store them in a single layer in an airtight container in the refrigerator for up to 2 days. The strawberries will eventually release moisture as they sit, which may cause the white chocolate shell to soften or bead with condensation. Do not freeze them, as the strawberries will turn to mush when thawed.
Pretzel Spiderwebs: These have the longest shelf life. Store them in an airtight container at room temperature for up to one week. Keep them in a cool, dry place away from direct sunlight or the stove, so the chocolate does not soften. If your kitchen is particularly warm, you can store them in the refrigerator.
Frequently Asked Questions
Can I make these easy Halloween treats the night before the party? The Pretzel Spiderwebs can absolutely be made a day or two in advance and kept in an airtight container at room temperature. The Strawberry Ghosts are best made on the day of the party so the fruit remains perfectly crisp. You can slice the crescent dough for the Mummy Hot Dogs the night before and store it in the fridge, but bake them fresh before serving for the best texture.
How do I melt chocolate without it burning or getting clumpy? The key is gentle, indirect heat. If using a microwave, use 50% power and stir every 30 seconds. The chocolate will hold its shape even when melted, so stirring is essential to distribute the heat. Alternatively, you can use a double boiler on the stove over simmering (not boiling) water.
What are some healthy Halloween treats for a school party? The Strawberry Ghosts in this guide are a wonderful, fruit-forward option. You can also create “pumpkins” by peeling mandarin oranges and sticking a small piece of celery in the top as a stem. Banana halves with mini chocolate chip eyes make excellent, healthy “ghosts” as well.
I can’t find candy eyes for the Mummy Hot Dogs. What else can I use? If candy eyeballs are sold out, you can simply use small dots of yellow mustard to create glowing eyes. You can also slice a black olive into tiny pieces and use a microscopic dab of ketchup to stick them onto the hot dog face.
Why did my crescent dough unwrap while baking the mummies? This happens if the hot dogs were too wet before wrapping. The moisture turns to steam in the oven, lifting the dough off the meat. Always pat your hot dogs completely dry with a paper towel before wrapping them.
Can I freeze any of these treats? It is not recommended. Freezing and thawing will turn the hot dog pastry soggy, destroy the texture of the fresh strawberries, and cause the pretzels to become stale and chewy due to the moisture changes. All of these treats are best enjoyed fresh.
Final Thoughts
Celebrating Halloween does not have to mean exhausting yourself in the kitchen or spending a fortune on specialty baking equipment. With a little creativity and some reliable grocery store staples, you can pull together a festive, visually stunning snack spread in under an hour. These Mummy Hot Dogs, Strawberry Ghosts, and Pretzel Spiderwebs offer something for everyone—from savory and comforting, to fresh and fruity, to sweet and crunchy. Gather your ingredients, invite your family into the kitchen to help assemble the fun shapes, and enjoy the deliciously spooky process of bringing these easy Halloween treats to life. Happy snacking!