
Best Homemade Brown Sugar Cinnamon Pop Tarts Recipe
There is a powerful nostalgia attached to tearing open a silver foil wrapper and dropping a frosted, rectangular pastry into the toaster. For decades, the brown sugar cinnamon toaster pastry has reigned supreme as the ultimate childhood breakfast treat. It offered a comforting, warm, spiced sweetness that felt like a hug on a busy weekday morning. However, revisiting that boxed convenience food as an adult often results in a distinct sense of disappointment. The crusts are frequently dry and chalky, the fillings are shockingly thin, and the flavors lean heavily on artificial sweetness rather than genuine spice and butter.
But what if you could capture the exact flavor profile you remember and elevate it to the level of a fine bakery pastry? That is the magic of this homemade brown sugar pop tarts recipe. By swapping out mass-produced, shelf-stable dough for a shatteringly crisp, all-butter pie crust, and trading artificial flavorings for dark brown sugar, real butter, and warm cinnamon, you create a breakfast pastry that is nothing short of spectacular.
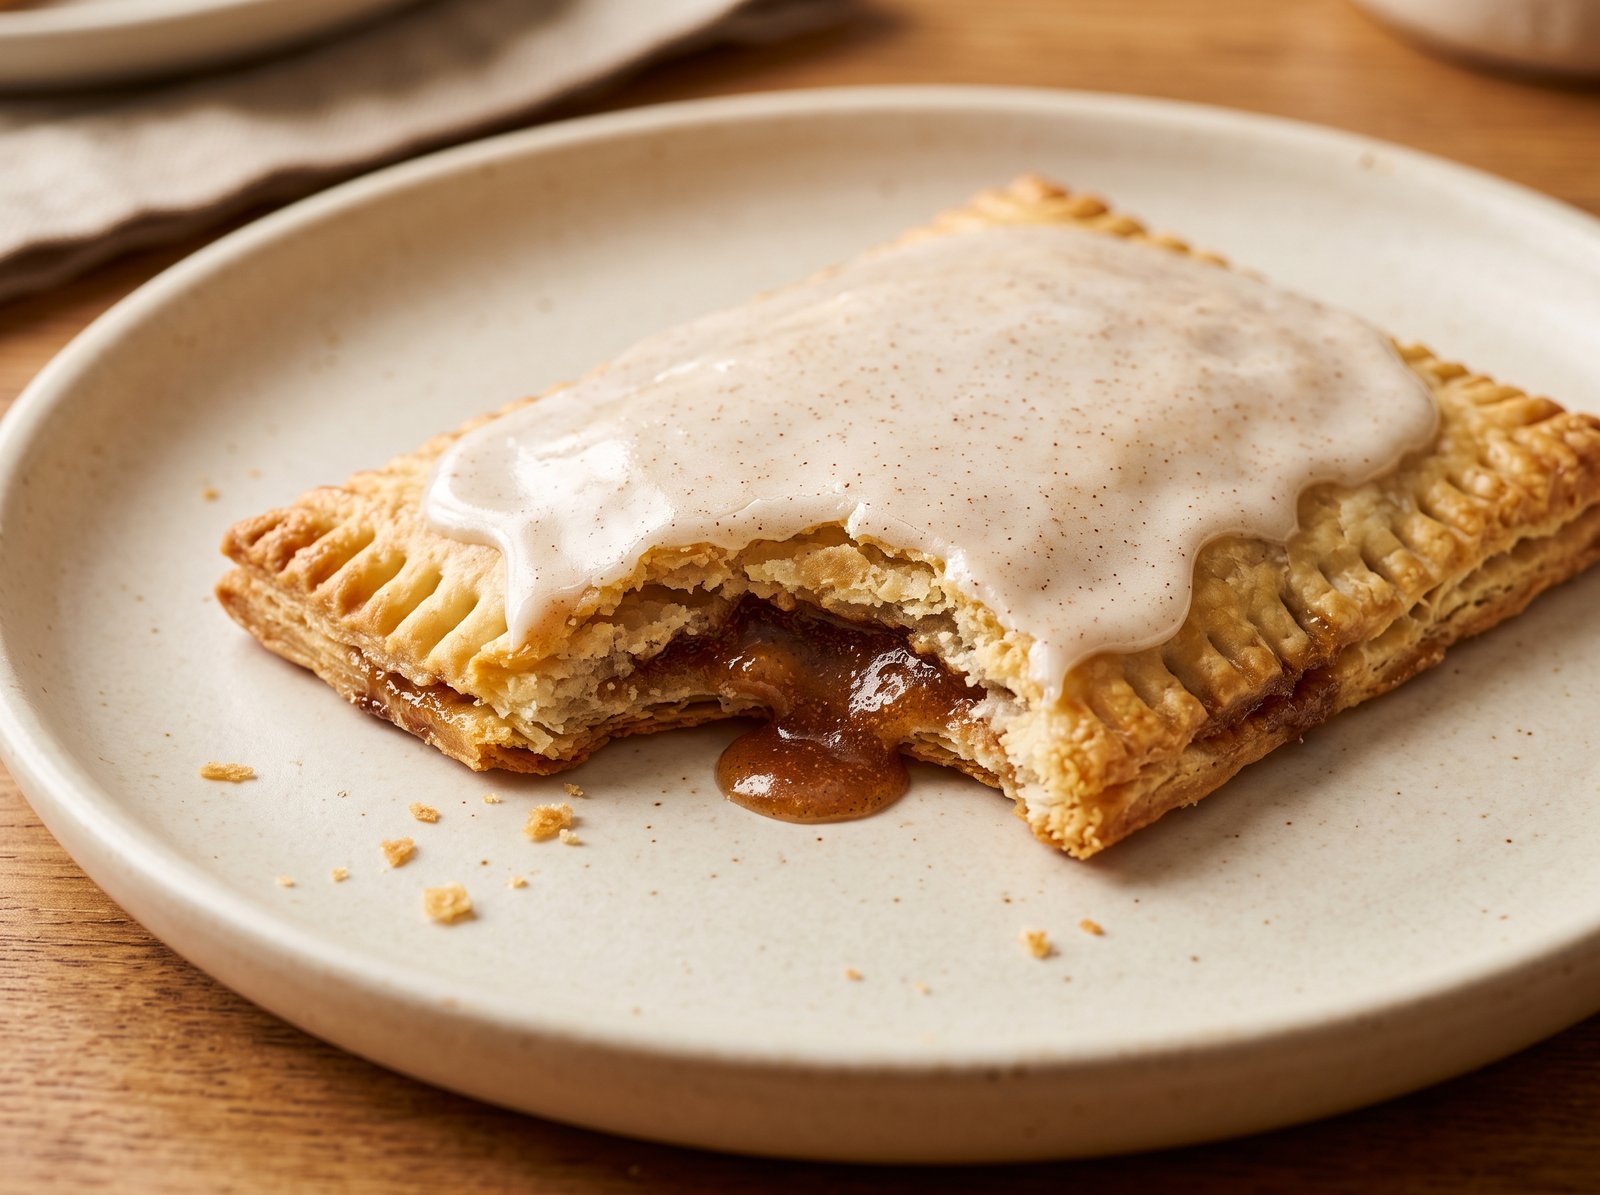
These toaster pastries feature a delicate, flaky exterior that gives way to a gooey, caramel-like, spiced center, all topped off with a signature hard-setting cinnamon glaze. They are the perfect weekend baking project, a phenomenal holiday morning treat, and a guaranteed way to impress anyone who holds fond memories of the classic original.
What Are Brown Sugar Cinnamon Pop Tarts?
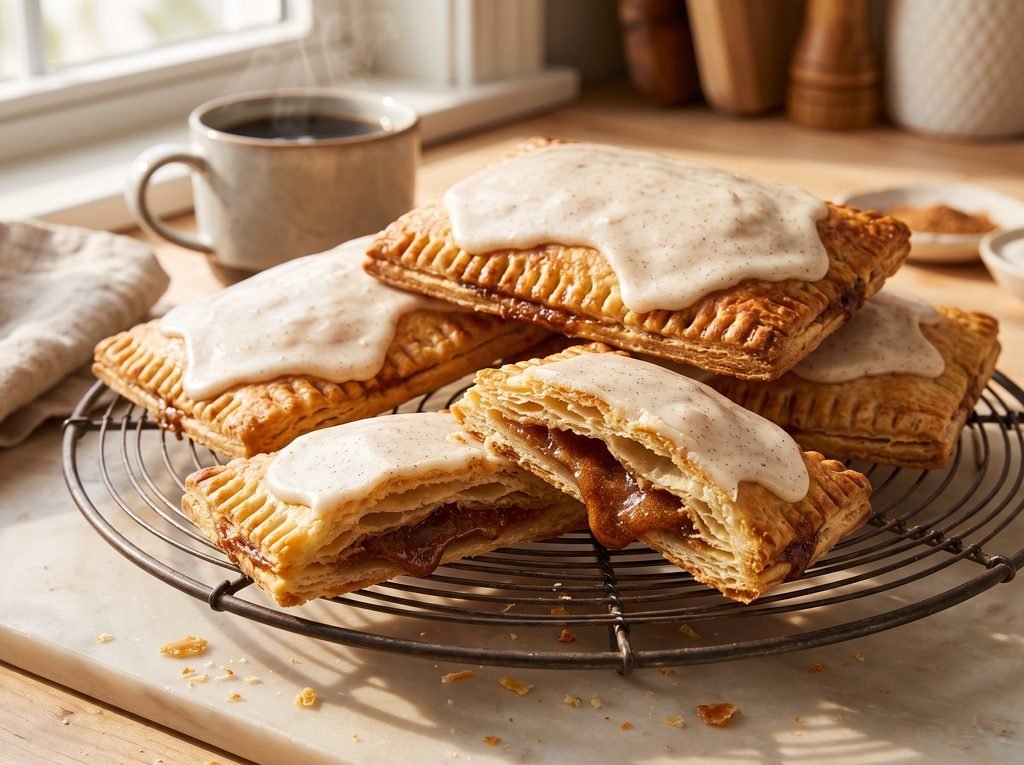
In essence, a homemade pop tart is a miniature, rectangular hand pie. Unlike a traditional fruit pie, which uses a deep dish and a liquid-heavy filling, toaster pastries are designed to be portable, flat, and structurally sound.
The brown sugar cinnamon variety is arguably the most iconic flavor. It consists of three essential layers:
- The Pastry: An unsweetened or very lightly sweetened all-butter crust that provides a crisp, flaky vessel.
- The Filling: A thick paste made from brown sugar, cinnamon, a touch of butter, and a binder (like flour) that melts into a gooey, molten syrup in the oven without leaking out of the sides.
- The Icing: A confectioner’s sugar glaze infused with vanilla and cinnamon that hardens as it dries, providing that recognizable snap when you bite into it.
Because you are making them from scratch in your own kitchen, these pastries are noticeably richer, deeply flavored, and infinitely more satisfying than anything extruded from a factory machine.
Why You’ll Love This Recipe
Baking hand pies from scratch requires a bit of time and patience, but the payoff is tremendous. Here is why this recipe is destined to become a favorite in your baking rotation:
- Unrivaled Flakiness: The all-butter crust puffs up in the hot oven, creating distinct, buttery layers that practically melt in your mouth.
- Deep, Rich Flavor: By utilizing dark brown sugar (which contains a higher molasses content than light brown sugar) and high-quality cinnamon, the filling tastes like a decadent, warm cinnamon roll.
- No Artificial Ingredients: You can pronounce every single ingredient in this recipe. There is no high-fructose corn syrup, no artificial preservatives, and no synthetic dough conditioners.
- The Perfect Icing: The icing is specifically formulated to set up firm and hard, mimicking the classic toaster pastry texture, which means they are stackable and easy to store once dry.
- Freezer-Friendly Convenience: Perhaps the greatest benefit is that these pastries can be assembled and frozen raw. You can do the work on a Sunday afternoon and bake off fresh pastries on a random Tuesday morning in under 30 minutes.
The Anatomy of the Perfect Flaky Crust
The foundation of a truly great homemade toaster pastry is the crust. To achieve that signature bakery-style flakiness, you must understand the science of cold fat.
When cold pieces of butter are cut into flour, they remain suspended as distinct little pockets. When you place the cold dough into a 400°F (200°C) oven, the water naturally present in the butter rapidly turns to steam. That steam pushes upward, forcefully separating the layers of flour and creating the airy, delicate flakes we associate with perfect pie dough.
If your butter warms up and melts into the flour before it hits the oven, you lose that steam-powered lift. The result will be a dense, tough, cookie-like crust. To ensure success, keep your butter refrigerated until the very second you need it, use literal ice water to hydrate the dough, and do not hesitate to place your mixing bowl in the refrigerator for ten minutes if your kitchen is particularly warm.
Ingredients You Will Need
This recipe uses everyday pantry staples, but their quality and temperature make all the difference.
For the All-Butter Pastry Crust:
- All-Purpose Flour: 2 ½ cups (315g) of standard all-purpose flour. It provides the necessary structure without making the dough heavy. For the best results, use a digital kitchen scale or the “spoon and level” method to measure.
- Granulated Sugar: 1 tablespoon (12g). This tiny amount of sugar does not make the dough overly sweet; rather, it encourages beautiful golden-brown caramelization in the oven.
- Salt: 1 teaspoon of fine sea salt or kosher salt. Salt is absolutely crucial for enhancing the flavor of the butter and balancing the sweetness of the filling.
- Unsalted Butter: 1 cup (2 sticks / 226g) of unsalted butter. It must be exceptionally cold and cut into ½-inch cubes.
- Ice Water: ½ cup (120ml) of cold water with ice cubes floating in it. You will likely only use 4 to 6 tablespoons of this water, but it is best to have extra ready.
For the Brown Sugar Cinnamon Filling:
- Dark Brown Sugar: ½ cup (100g) packed. Dark brown sugar has a higher molasses content than light brown sugar, which provides a richer, deeper, more complex caramel flavor.
- Ground Cinnamon: 2 teaspoons of high-quality ground cinnamon.
- All-Purpose Flour: 1 tablespoon (8g). This is the secret ingredient! Mixing flour into the brown sugar acts as a binder, thickening the sugar as it melts in the oven and preventing it from leaking out of the pastry.
- Unsalted Butter: 1 tablespoon (14g), melted. This helps bind the dry ingredients into a spreadable paste.
- Vanilla Extract: 1 teaspoon of pure vanilla extract to round out the flavors.
For the Egg Wash:
- Egg: 1 large egg.
- Milk: 1 tablespoon of whole milk or heavy cream.
For the Hard-Setting Cinnamon Icing:
- Powdered Sugar: 1 ½ cups (180g) of sifted confectioner’s sugar.
- Ground Cinnamon: ½ teaspoon.
- Milk or Heavy Cream: 2 to 3 tablespoons.
- Vanilla Extract: ½ teaspoon.
How to Make Homemade Brown Sugar Pop Tarts
Making hand pies involves several steps, but the process is straightforward and highly rewarding. Read through the instructions completely before beginning.
Prep Time: 45 minutes Chill Time: 1 hour Cook Time: 25 minutes Total Time: 2 hours 10 minutes Servings: 8 to 9 pastries
Step 1: Cut the Butter into the Flour
In a large mixing bowl, whisk together the 2 ½ cups of all-purpose flour, 1 tablespoon of granulated sugar, and 1 teaspoon of salt. Toss the cold, cubed butter into the flour mixture, ensuring each cube is coated. Using a pastry blender, two forks, or your fingertips, cut the butter into the flour. Stop when the mixture resembles coarse, sandy meal with several larger, pea-sized chunks of butter remaining. Those visible butter chunks equal flakiness.
Step 2: Hydrate the Dough
Drizzle 4 tablespoons of the ice water over the flour and butter mixture. Gently toss the mixture with a rubber spatula or your hands. Add more ice water, exactly one tablespoon at a time, just until the dough holds together when you squeeze a handful of it tightly. The dough should look shaggy and slightly dry, not sticky or wet. Do not overmix or knead the dough, as this develops gluten and creates a tough crust.
Step 3: Shape and Chill
Turn the shaggy dough out onto a clean work surface. Divide it equally into two halves. Gently pat and press each half into a smooth, flat rectangle that is about 1 inch thick. Wrap each rectangle tightly in plastic wrap and place them in the refrigerator to chill for at least 1 hour. Chilling relaxes the gluten and ensures the butter is solid before rolling.
Step 4: Prepare the Spiced Paste
While the dough is chilling, prepare your brown sugar filling. In a small bowl, whisk together the ½ cup of dark brown sugar, 2 teaspoons of ground cinnamon, and 1 tablespoon of all-purpose flour. Pour in the 1 tablespoon of melted butter and the 1 teaspoon of vanilla extract. Stir the mixture vigorously until it forms a thick, damp, cohesive paste. Set aside.
Step 5: Roll and Measure
Preheat your oven to 400°F (200°C) and line two large baking sheets with parchment paper.
Remove one disc of chilled dough from the refrigerator. On a lightly floured surface, roll the dough out into a large rectangle that is about 1/8-inch thick. Using a sharp chef’s knife or a pizza cutter, trim the jagged edges to create a neat 9×12-inch rectangle. Cut this large rectangle into nine smaller 3×4-inch rectangles.
Transfer these 9 rectangles to one of your prepared baking sheets. These will serve as the bottom crusts of your pastries.
Repeat the exact same rolling and cutting process with the second disc of dough to create 9 more 3×4-inch rectangles. These will be your top crusts.
Step 6: Apply the Filling
In a small bowl, thoroughly beat the egg and 1 tablespoon of milk together to create an egg wash. Lightly brush this egg wash around the outer ½-inch edges of all 9 bottom rectangles on your baking sheet. This acts as the “glue” to seal the pastries.
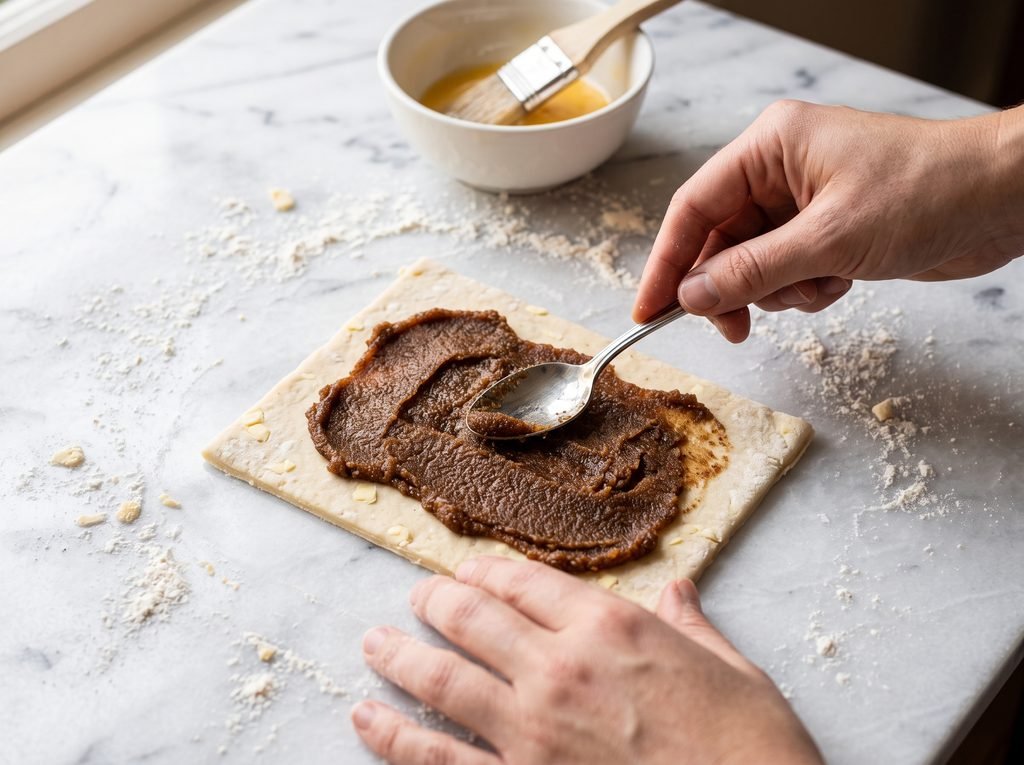
Spoon exactly 1 generous tablespoon of the brown sugar cinnamon paste into the dead center of each bottom rectangle. Gently spread the paste out with the back of the spoon, being extremely careful to leave a clean, ½-inch border of egg-washed dough all the way around the edges.
Step 7: Seal and Crimp
Carefully place the top pastry rectangles over the filling. Using your fingertips, press down firmly around the edges to seal the top and bottom doughs together. Push out any trapped air pockets as you go.
Next, dip the tines of a fork into a little bit of flour, and firmly crimp the edges of all the pastries. You want to press down hard enough to seal the dough securely, but not so hard that you cut right through the pastry.
Step 8: Vent the Pastries
This is a critical step! Take a wooden skewer or a toothpick and carefully poke 6 to 8 small holes in the top crust of each pastry. These vent holes allow steam from the filling to escape. Without these holes, the pastries will balloon up in the oven and burst at the seams.
Step 9: The Final Chill
For the absolute best results, place the entire baking sheet of assembled pastries into the refrigerator or freezer for 15 minutes before baking. This re-chills the butter that inevitably warmed up while you were handling the dough.
Step 10: Bake to Perfection
Remove the pan from the fridge. Lightly brush the tops of the pastries with the remaining egg wash, which promotes a beautiful golden-brown sheen. Bake in the preheated 400°F (200°C) oven for 22 to 26 minutes, rotating the pan halfway through. You are looking for a deep, golden-brown color on both the top and the bottom of the pastries.
Step 11: Cool Completely
Remove the baking sheet from the oven. Allow the pastries to sit on the hot pan for 5 minutes before transferring them to a wire cooling rack. You must let the pastries cool completely to room temperature before adding the icing. If the pastry is even slightly warm, the icing will melt instantly and pool on your counter.
Step 12: Icing the Pastries
In a medium bowl, whisk together the 1 ½ cups of powdered sugar, ½ teaspoon of cinnamon, ½ teaspoon of vanilla, and 2 tablespoons of milk. You want the icing to be very thick—almost like a paste—but still spreadable. If it is too stiff, add a tiny drop more milk; if it is too runny, add more powdered sugar.
Spoon about a tablespoon of the icing onto the center of each cooled pastry. Use the back of the spoon or a small offset spatula to spread it out, leaving a small border of pastry exposed around the edges. Allow the icing to sit undisturbed for about 30 to 60 minutes until it hardens completely.
Helpful Tips for the Best Results
Creating bakery-quality hand pies at home is a skill that comes down to attention to detail. Keep these professional tips in mind:
- Respect the Border: The number one reason toaster pastries leak in the oven is that the filling gets pushed into the seams. Keep your filling perfectly centered, and ensure the ½-inch border is entirely clean of sugar and butter before sealing.
- Do Not Skip the Flour in the Filling: It might seem strange to add raw flour to sugar, but it is essential. As the brown sugar melts in the oven, the flour absorbs the moisture and thickens it, ensuring the filling stays gooey rather than turning into thin, watery syrup that breaks through the crust.
- Trim for Clean Edges: If your crimped edges look uneven or messy after assembling, take a sharp pizza cutter and trim a tiny 1/16-inch sliver off all four sides of the pastry. This exposes the layers of dough and gives you exceptionally clean, sharp, bakery-style edges.
- The Power of Dark Brown Sugar: While you can use light brown sugar, dark brown sugar provides that signature depth of flavor that mimics the classic store-bought version perfectly.
Variations and Substitutions
Once you master this classic dough and filling ratio, you can easily customize the flavors to suit your preferences.
- Maple Pecan: Substitute the vanilla extract in the filling and the icing with pure maple extract. Finely chop ¼ cup of toasted pecans and fold them into the brown sugar paste before filling the pastries.
- Gluten-Free Version: You can substitute the all-purpose flour with a high-quality, 1-to-1 gluten-free baking flour blend that contains xanthan gum. Note that gluten-free dough is often more fragile, so roll it out carefully between two sheets of parchment paper to prevent tearing.
- Store-Bought Crust Shortcut: If you are incredibly short on time, you can bypass the homemade dough and use two boxes of refrigerated, store-bought pie crust. Unroll the circles, trim them into squares, cut your rectangles, and proceed with the recipe. The crust will not be as flaky or flavorful, but it is a massive time-saver.
- Spiced Apple: Add a pinch of nutmeg, a pinch of cloves, and 2 tablespoons of very finely minced, peeled apples to the brown sugar paste for an apple-pie inspired breakfast treat.
What to Serve With It
These brown sugar pop tarts are wonderfully rich, deeply sweet, and buttery, making them a standalone star for any morning routine. However, pairing them correctly enhances the experience:
- Black Coffee or Espresso: The bitter, robust notes of a strong black coffee or an Americano provide the ultimate contrast to the sweet molasses and cinnamon profile of the pastry.
- A Tall Glass of Cold Milk: You cannot go wrong with the childhood classic. Cold whole milk or unsweetened almond milk cuts the richness of the butter crust perfectly.
- Savory Breakfast Sides: If serving these for brunch, balance the sweetness with savory elements like thick-cut smoked bacon, breakfast sausage links, or softly scrambled eggs.
- Fresh Apple Slices: Sliced tart apples, like Granny Smith or Honeycrisp, pair beautifully with the cinnamon flavor profile and offer a refreshing crunch.
Storage and Reheating
Because homemade baked goods do not contain industrial preservatives, they require proper storage to maintain their incredible texture.
Room Temperature Storage: Store the fully baked, iced pastries in an airtight container at room temperature. They will stay fresh for up to 3 days. To prevent the icing from sticking, place a sheet of parchment paper or wax paper between layers. Do not refrigerate baked pastries, as the damp air in the fridge will make the crust soggy.
Freezing Unbaked Pastries (Highly Recommended): The absolute best way to manage this recipe is to freeze the unbaked pastries. Assemble the pastries completely, crimp the edges, and poke the vent holes, but do not apply the final egg wash. Place the raw pastries on a parchment-lined baking sheet and freeze until completely solid (about 2 hours). Transfer the frozen pastries to a heavy-duty freezer bag, where they will keep for up to 3 months. When you want a fresh pastry, place it on a baking sheet, brush with egg wash, and bake directly from frozen at 400°F (200°C), adding about 3 to 5 extra minutes to the baking time.
Freezing Baked Pastries: You can also freeze fully baked and iced pastries. Wrap each cooled pastry individually in plastic wrap, then place them in a freezer bag for up to 2 months. Thaw at room temperature for a few hours before eating.
Reheating Instructions: Crucial Safety Warning: Do not put homemade, frosted toaster pastries in a standard vertical pop-up toaster. The butter in the homemade crust and the royal icing can easily melt, drip onto the internal heating elements, and cause a serious fire hazard. To reheat a frosted pastry, place it in a toaster oven or a standard oven set to 300°F (150°C) for 5 to 8 minutes until the center is warm and gooey. Alternatively, microwave it on a microwave-safe plate for 10 to 15 seconds.
Frequently Asked Questions
Why did my filling leak out all over the baking sheet? Leaking is the most common issue with hand pies. It happens if the pastry is overfilled (stick to exactly 1 tablespoon), if the edges were not sealed tightly enough, or if the egg wash “glue” was compromised by rogue sugar granules on the border. Also, ensure you did not skip adding the tablespoon of flour to the filling mixture, as it is the binder that keeps the sugar from boiling out.
Can I make the dough ahead of time? Yes. You can make the pastry dough, form it into discs, wrap it tightly in plastic wrap, and keep it in the refrigerator for up to 3 days before rolling it out. You can also freeze the discs of raw dough for up to 3 months; just let them thaw overnight in the fridge before rolling.
Why is my crust tough instead of flaky? A tough crust means gluten was overdeveloped or the butter melted before baking. Ensure you are using ice-cold water, handling the dough as little as possible (do not knead it like bread), and keeping the butter ice-cold. Chilling the assembled pastries right before baking is a great insurance policy against a tough crust.
Can I omit the icing? Absolutely. If you prefer a less sweet pastry, you can leave them completely bare. The egg wash will give them a beautiful, shiny, golden-brown finish that looks wonderful on its own.
Do I really need to poke holes in the top? Yes! The vent holes are not decorative; they are functional. The brown sugar filling creates a massive amount of steam as it heats up. Without those tiny vent holes, the steam will build pressure inside the pastry until it forces its way out, bursting the seams of your carefully crimped edges.
Can I put them in a regular toaster if I don’t ice them? If the pastries are completely unfrosted, yes, you can carefully warm them in a wide-slot pop-up toaster on a low or medium setting. Monitor them closely, as the high butter content in the homemade crust makes them brown much faster than store-bought versions.
Final Thoughts
There is a profound sense of culinary satisfaction that comes from recreating a beloved childhood staple from scratch. By taking the time to master a simple all-butter pie crust and mixing a perfectly spiced brown sugar filling, you elevate a humble convenience food into a true baker’s masterpiece.
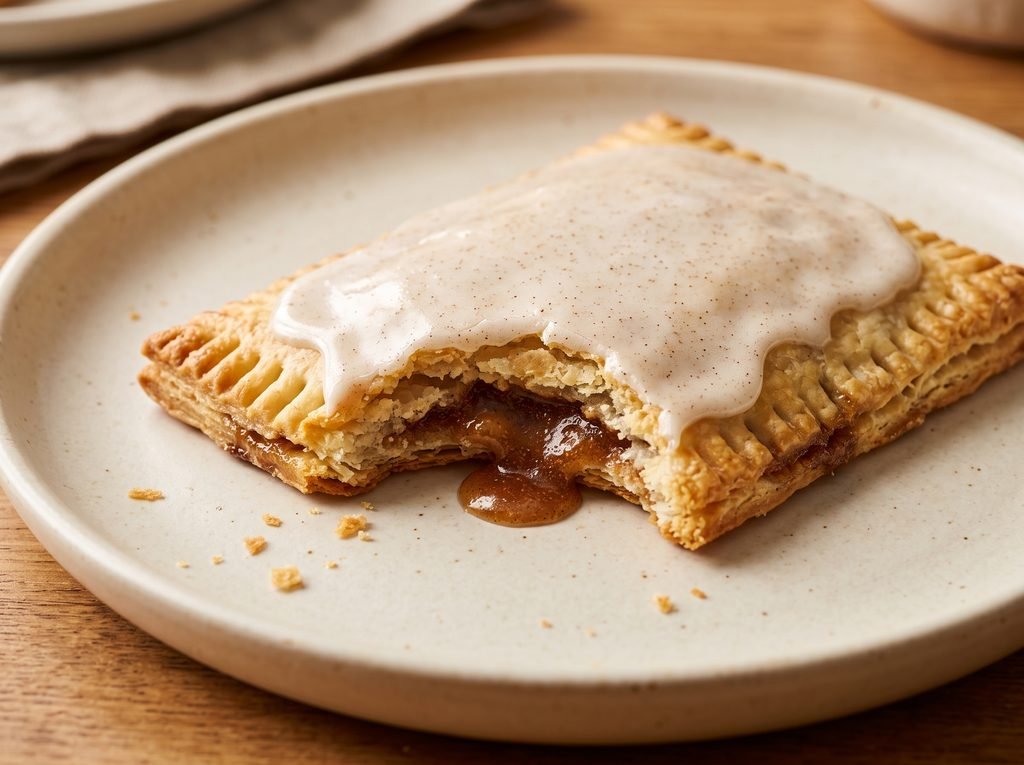
These homemade brown sugar cinnamon pop tarts offer the perfect balance of flaky, buttery pastry, gooey molasses-rich filling, and a sweet, snappy glaze. Whether you bake them fresh for a luxurious Sunday brunch or keep a stash in the freezer for chaotic weekday mornings, this recipe is guaranteed to bring a sense of warmth, nostalgia, and sheer deliciousness to your kitchen. Gather your ingredients, make sure your butter is ice-cold, and enjoy the ultimate homemade breakfast treat!