
Easy & Edible Halloween Crafts: Fun DIY Projects for the Whole Family
When the crisp October air finally rolls in and the leaves start to turn, the excitement for costumes, haunted houses, and pumpkin patches takes over. But beyond the traditional trick-or-treating, autumn is the ultimate season for getting creative. As a food writer and recipe developer, I believe the heart of the home is the kitchen, and that is exactly where the best, most memorable projects happen. Forget the messy glitter and complicated glue guns—this year, we are focusing on edible Halloween crafts that are just as fun to eat as they are to make.
Merging culinary activities with holiday crafting is a brilliant way to celebrate the spooky season. When you plan food-based Halloween crafts, you are doing double duty: entertaining your family or party guests with a hands-on activity, and creating the very snacks and desserts that will feed them. It is an interactive, sensory-rich experience that encourages creativity, fine motor skills for the kids, and plenty of laughs for the adults.
Whether you are hosting a neighborhood costume party, looking for a rainy-day weekend activity with the kids, or searching for the perfect interactive dessert station, these Halloween crafts will bring a touch of edible magic to your October. From constructing haunted cookie houses to painting marshmallow ghosts and dipping black “poison” apples, these projects are designed to be forgiving, highly entertaining, and absolutely delicious.
What Are Edible Halloween Crafts?
At their core, edible Halloween crafts are do-it-yourself art and construction projects made entirely (or mostly) out of food. Instead of using construction paper, toxic glue, and plastic googly eyes, you rely on graham crackers, royal icing, melted chocolate, and edible candy eyeballs.
These projects take the concept of holiday crafting and move it to the kitchen counter or dining room table. They range from simple assembly projects—like building edible spiders out of pretzels and berries—to more involved culinary projects, like working with hot sugar to create a glassy, terrifying candy apple. The beauty of these crafts is that the end result is a temporary, consumable piece of art, which means you won’t be stuck storing bulky crafts in your attic for the next twelve months!
Why You’ll Love Kitchen-Friendly Halloween Crafts
There are countless reasons to swap the traditional craft store haul for a trip down the baking aisle this October. Here is why you will fall in love with edible crafting:
- Zero Clutter: Traditional crafts often end up accumulating on shelves or getting thrown away after a few weeks. Edible crafts are designed to be enjoyed and eaten, leaving zero long-term clutter in your home.
- Built-In Party Entertainment: If you are hosting a Halloween gathering, setting up a crafting station (like a caramel apple bar or a cookie decorating table) acts as the main event, keeping guests occupied and engaged.
- Encourages Culinary Curiosity: Getting kids involved in food crafting teaches them basic kitchen skills, like measuring, melting, whisking, and piping, all disguised as playtime.
- Highly Forgiving: If a royal icing roof collapses or a chocolate spider web breaks, you just eat the mistake and start over. There is no pressure for perfection when the materials are made of sugar.
- Sensory Experience: Working with melted chocolate, sticky marshmallows, and crunchy pretzels provides a fantastic tactile experience that younger kids absolutely love.
Top 7 Edible Halloween Crafts and DIYs
Here are seven of my absolute favorite Halloween crafts to do in the kitchen. They range from toddler-friendly assembly to slightly more advanced projects for older kids and adults.
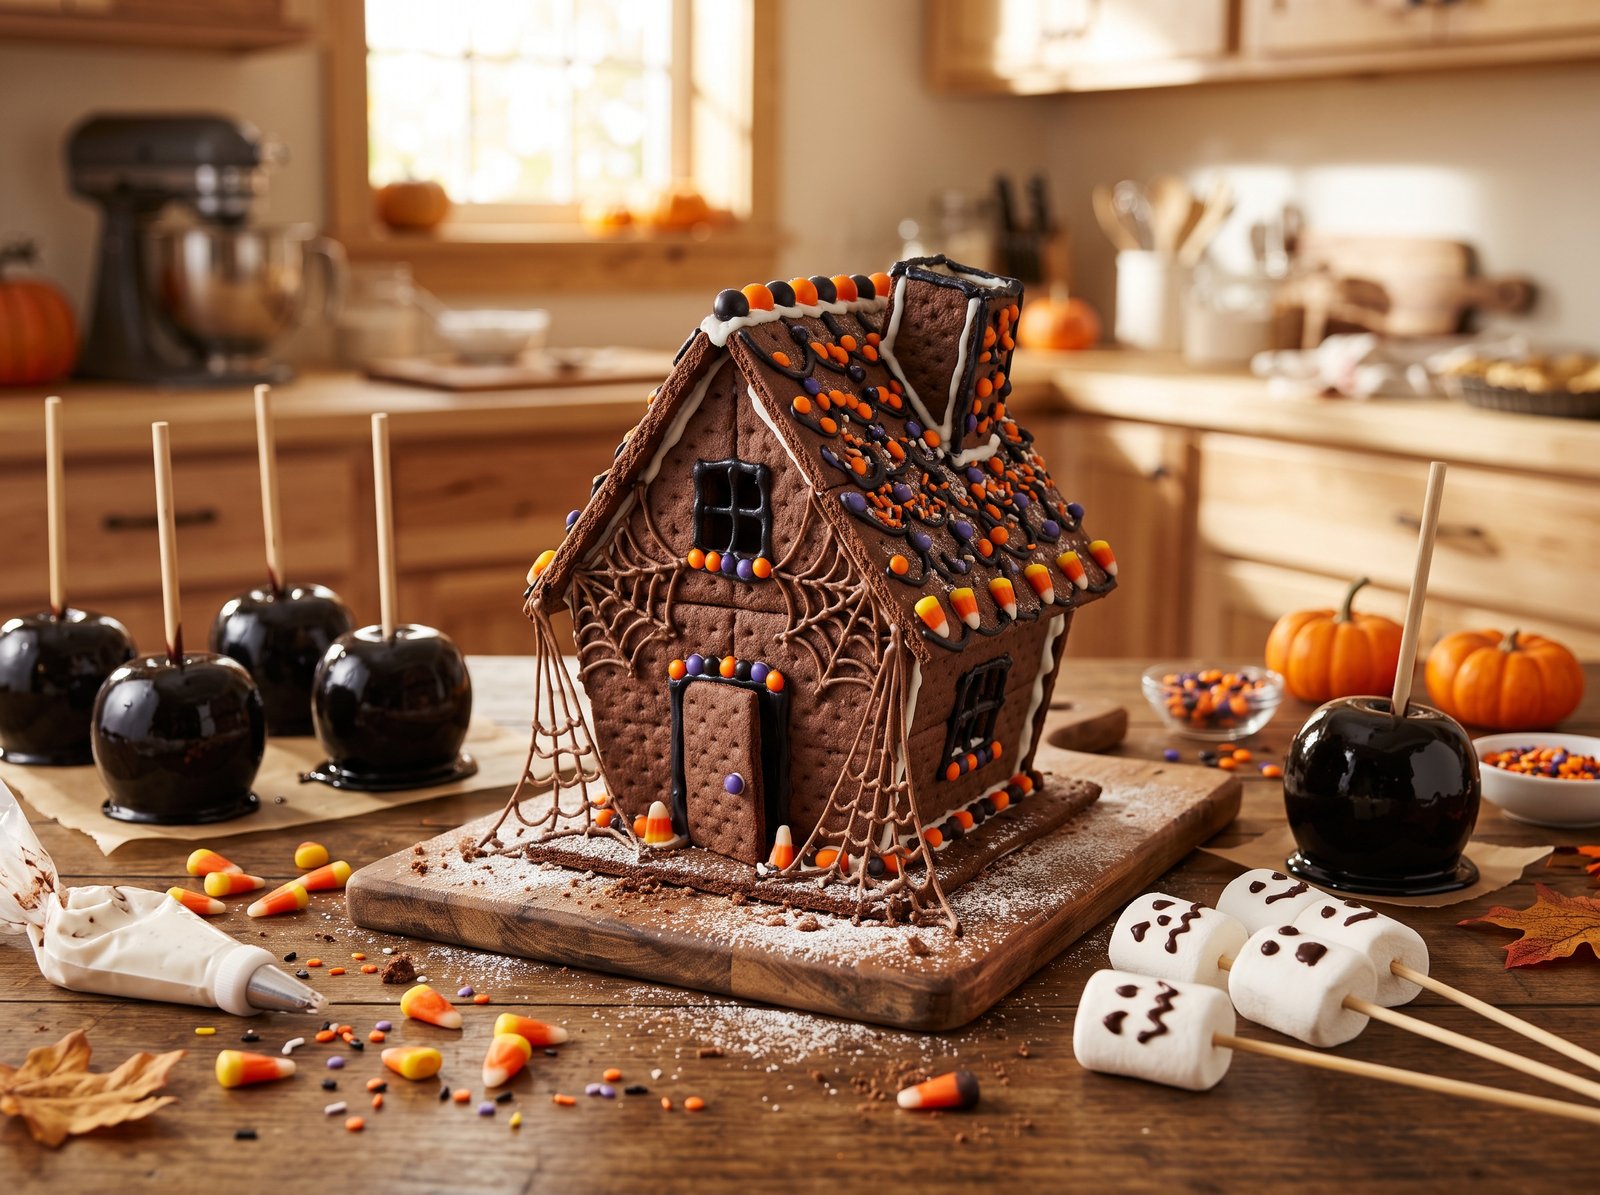
1. The Haunted Cookie House
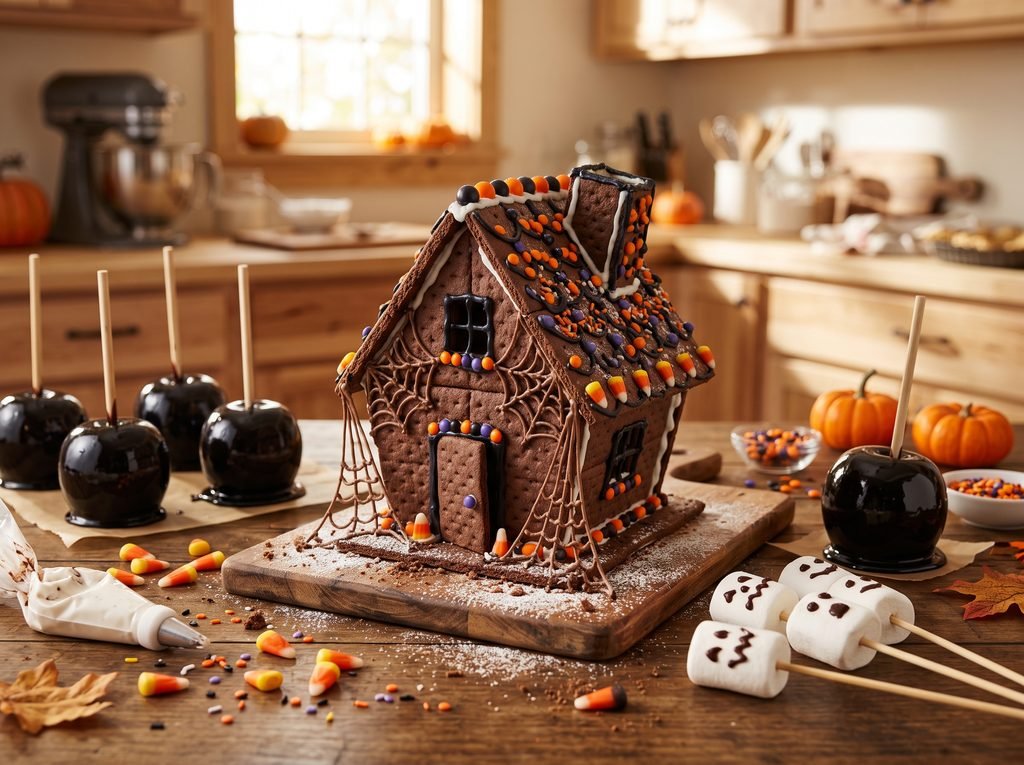
Why should gingerbread houses be reserved for December? Building a haunted house is one of the most structurally satisfying Halloween crafts you can tackle.
- The Foundation: You can buy pre-baked chocolate cookie house kits, but using chocolate graham crackers is much more budget-friendly.
- The Glue: You must use royal icing, not standard buttercream. In a stand mixer, beat 3 tablespoons of meringue powder, 4 cups of powdered sugar, and 5 tablespoons of warm water until stiff peaks form (about 5 to 7 minutes). Keep a damp paper towel over the bowl so it doesn’t dry out. Put the icing in a piping bag.
- The Decorating Craft: Once the graham cracker walls and roof are glued together and fully set (wait at least an hour), let the kids go wild. Use black licorice ropes for creepy vines, candy corn for roof tiles, black jelly beans for cobblestone paths, and green cotton candy for eerie, glowing cobwebs.
2. Marshmallow Ghost Painting
This is the perfect, low-mess craft for younger children and toddlers who want to participate in the fun without handling hot ingredients or heavy tools.
- The Supplies: You will need a bag of jumbo-sized marshmallows, wooden skewer sticks, and a pack of food-safe edible ink markers (widely available in the baking aisle or online).
- The Craft: Push a wooden skewer gently into the bottom of a jumbo marshmallow so it stands up like a lollipop. Give the kids the edible markers and let them draw spooky, silly, or terrifying ghost faces onto the marshmallows.
- Taking it Further: Once painted, these marshmallow ghosts can be used to top a batch of Halloween brownies, or they can be dunked straight into a steaming mug of hot cocoa after a chilly night of trick-or-treating.
3. DIY Spooky Caramel Apple Bar
Instead of making the apples ahead of time, turn the caramel apple process into a customizable craft station for your guests.
- The Setup: Wash and thoroughly dry crisp apples (Granny Smith or Honeycrisp are best). Insert thick wooden craft sticks into the cores.
- The Caramel: Melt 14 ounces of high-quality store-bought caramels with 2 tablespoons of heavy cream in a slow cooker set to “Warm” or “Low.” This keeps the caramel perfectly dippable for hours.
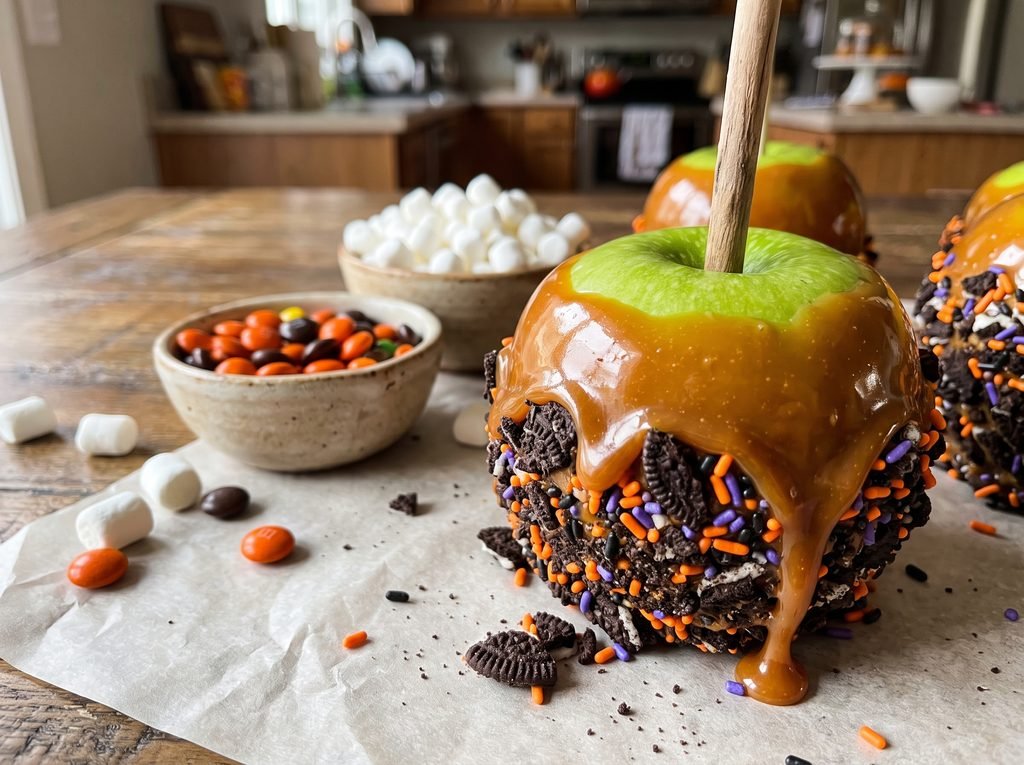
- The Crafting Elements: Set out dozens of small bowls filled with toppings: crushed chocolate sandwich cookies (for “dirt”), mini M&Ms, chopped pecans, festive Halloween sprinkles, mini marshmallows, and crushed pretzels.
- The Activity: Guests dip their own apples into the warm caramel, then roll them into the toppings of their choice to create a custom, personalized dessert craft. Place the finished apples on a parchment-lined baking sheet to set.
4. “Poison” Black Candy Apples
This is a craft strictly for adults or older teenagers, as it involves boiling sugar to the hard-crack stage. The result is a stunning, glassy, pitch-black apple that looks like it came straight out of a fairytale.
- The Ingredients: 6 Granny Smith apples (washed in hot water to remove the wax, then dried completely), 2 cups granulated sugar, 3/4 cup water, 1/2 cup light corn syrup, and 1 teaspoon of black gel food coloring.
- The Process: Insert wooden skewers into the apples. In a heavy-bottomed saucepan, combine the sugar, water, and corn syrup. Clip a candy thermometer to the side. Boil the mixture over medium-high heat until it reaches exactly 300°F (the hard-crack stage). Remove from heat immediately and carefully stir in the black gel coloring.
- The Crafting Magic: Carefully tilt the pot and twirl each apple in the bubbling black sugar to coat it completely. Place on a heavily greased baking sheet to harden. They dry into a glossy, mirror-like black finish that is spectacularly spooky.
5. Melted Chocolate Spider Webs
This is a wonderful exercise in piping and fine motor skills, resulting in delicate, edible decorations you can eat plain or use to top cupcakes.
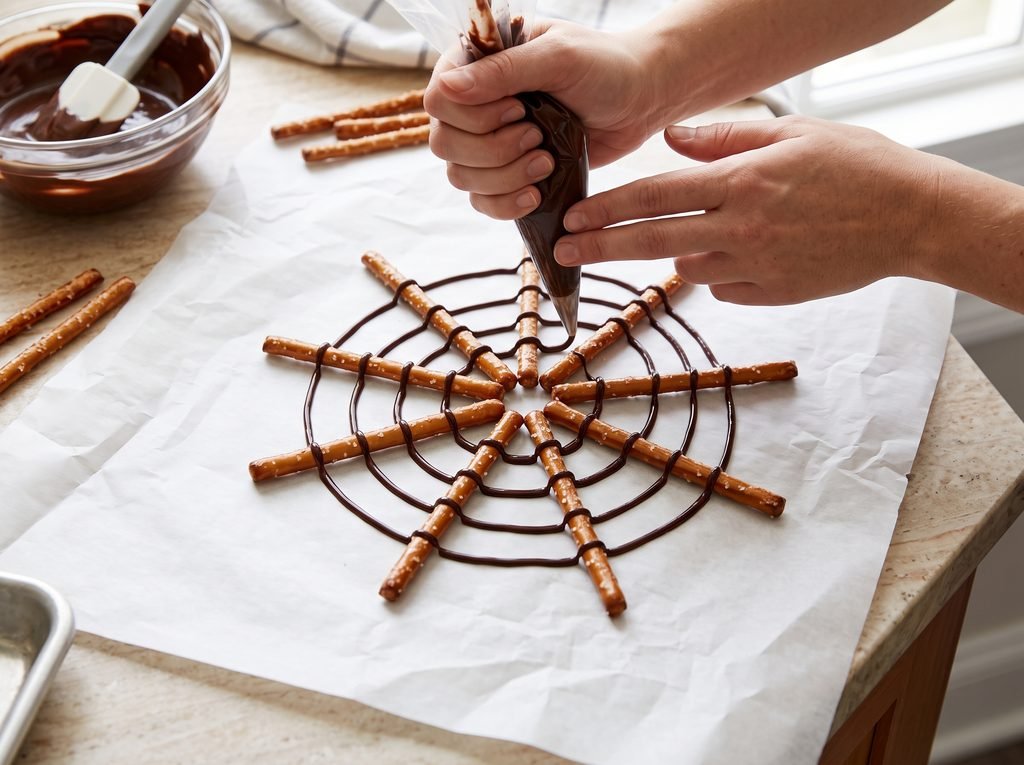
- The Setup: Lay out a large sheet of parchment paper or wax paper on your kitchen counter. Arrange thin pretzel sticks in a starburst pattern (like the spokes of a wheel), using about 6 to 8 sticks per web.
- The Chocolate: Melt 1 cup of semi-sweet chocolate chips or black candy melts in the microwave in 30-second bursts, stirring until smooth. Transfer the melted chocolate to a small piping bag or a ziplock bag with a tiny corner snipped off.
- The Craft: Starting from the center where the pretzels meet, pipe the chocolate in a continuous spiral outward, connecting the pretzel sticks to create a spider web pattern. While the chocolate is still wet, stick a plastic spider (or a spider made from a dark chocolate truffle) into the web. Let them set in the refrigerator for 20 minutes before carefully peeling them off the parchment.
6. Potion Mixing Beverage Station
Crafting doesn’t have to be limited to baked goods. Creating an interactive “potion” station is an incredible party craft that doubles as your beverage service.
- The Setup: Buy inexpensive plastic cauldrons or unique glass beakers from a craft store.
- The Ingredients: Set out carafes of vividly colored juices and sodas: cranberry juice (blood), green apple soda (goblin sweat), and lemonade. Add bowls of edible “add-ins” like gummy worms, gummy eyeballs, lychee fruit, and edible food-grade glitter (luster dust).
- The Dry Ice (Adults Only): To make the potions truly magical, adults can drop a small, 1-inch chunk of dry ice into the bottom of a punch bowl using heavy tongs. It will instantly bubble and create a thick, creeping fog. Important Safety Note: Never touch dry ice with bare skin, and ensure the dry ice has completely evaporated before anyone actually drinks the punch.
7. Edible Monster Paint Palettes (Cookie Decorating)
If you want the fun of decorating cookies without the mess of multiple piping bags and bowls of icing, create edible paint palettes.
- The Canvas: Bake a batch of large, plain sugar cookies cut into pumpkin, ghost, and bat shapes. Cover them in a smooth, flat layer of plain white royal icing and let them dry overnight until completely hard.
- The Paint Palette: Take a standard paper plate. Squeeze small, dime-sized dots of different colored gel food coloring around the edge of the plate. Add a few drops of water or clear vanilla extract to each dot to thin it out into a watercolor consistency.
- The Craft: Give each guest a food-safe, brand-new craft paintbrush, a palette, and a white iced cookie. They can dip their brushes into the food coloring and paint faces, patterns, and designs directly onto the hard royal icing canvas.
Essential Supplies for Kitchen Crafting
To ensure your edible Halloween crafts go smoothly, having the right tools on hand makes all the difference. You do not need a professional pastry kitchen, but you should pick up a few specialty items:
- Parchment Paper: This is non-negotiable. Caramel, hard sugar, and melted chocolate will stick permanently to plates and countertops. Always craft on parchment or high-quality silicone baking mats.
- Gel Food Coloring: Liquid food coloring from the grocery store adds too much water to icing and chocolate, ruining the texture. Invest in a small set of gel colors—they are incredibly vibrant and won’t thin out your royal icing.
- Candy Eyeballs: These are the holy grail of Halloween crafts. You can find them in the baking aisle. Slapping a pair of candy eyes onto an Oreo, a strawberry, or a blob of frosting instantly turns it into a monster.
- Disposable Piping Bags: While you can use ziplock bags, actual disposable piping bags are much stronger and won’t burst at the seams when you are squeezing thick royal icing or warm chocolate.
- Food-Safe Paintbrushes: Do not use brushes that have previously been used for acrylic or watercolor paints. Buy a cheap pack of craft brushes, wash them thoroughly, and dedicate them strictly to food crafting.
Tips for Hosting a Halloween Craft Party
If you are inviting friends or neighbors over specifically to tackle these Halloween crafts, a little bit of preparation will save your sanity and keep the mess contained.
Prep the Mess Zones Before anyone arrives, cover your dining table and kitchen island with disposable plastic tablecloths or a roll of brown kraft butcher paper. When the party is over, you can simply roll up the paper—sprinkles, powdered sugar, and all—and toss it directly into the trash.
Mise en Place (Everything in its Place) Do not try to bake cookies, make royal icing, or melt caramel while your guests are standing around waiting. Have all your “canvases” (blank cookies, naked apples, graham crackers) ready to go. Place all your toppings, sprinkles, and candies into small, individual bowls with small spoons before the doorbell rings.
Let Go of Perfection Edible crafting with kids is going to be messy, and the end results will likely look chaotic. A haunted house might lean to the left, and a caramel apple might have too many gummy worms on it. Embrace the spooky, imperfect nature of the holiday. The goal is making memories and having fun, not creating a bakery-perfect display piece.
Provide Take-Home Boxes If guests are making chocolate spider webs, painted cookies, or caramel apples, they will need a way to get them home without ruining their car upholstery. Buy a stack of cheap cardboard bakery boxes or bring out your large, flat Tupperware containers so everyone can safely transport their edible crafts.
Storage and Make-Ahead Instructions
Because these crafts are made of food, they have a limited shelf life compared to construction paper!
Storing Caramel and Candy Apples: Candy apples (the hard sugar ones) must be stored at room temperature in a cool, dry place. If you put them in the refrigerator, the humidity will cause the sugar coating to melt and become sticky. They are best enjoyed within 24 hours. Caramel apples, on the other hand, should be stored in the refrigerator to keep the caramel firm and the apple crisp. Let them sit at room temperature for 15 minutes before eating.
Storing Cookie Houses and Decorated Cookies: Royal icing acts as a preservative. A fully constructed, icing-covered graham cracker house will last at room temperature for weeks (though it will become quite stale to eat after about 5 days). Decorated sugar cookies can be stored in an airtight container at room temperature for up to a week.
Make-Ahead Tips: You can bake your sugar cookies and construct the bare bones of your graham cracker houses up to 3 days in advance. Royal icing can be made a week in advance and stored in the refrigerator in an airtight container (just let it come to room temperature and re-whip it before piping).
Frequently Asked Questions
Are candy eyeballs safe for people with nut allergies? While many mainstream brands of candy eyes are nut-free, you must always check the specific packaging for cross-contamination warnings. If you cannot find a certified nut-free brand, you can easily pipe your own eyes using white and black royal icing on wax paper the night before!
How do I thin out chocolate for dipping or piping? If your melted chocolate chips are too thick and seizing up, do not add water (water makes chocolate seize worse). Instead, stir in a tiny amount—about 1/2 teaspoon—of coconut oil or vegetable shortening until the chocolate is smooth and glossy.
Can I use store-bought frosting for the haunted cookie houses? Store-bought canned frosting is essentially thick buttercream. It will never harden completely. If you use it to build a house, the walls will inevitably slide and collapse. You must use royal icing for structural builds, as it dries as hard as cement.
My hard candy apples turned out sticky, not crunchy. What happened? The sugar syrup did not reach the proper temperature. You must use a calibrated candy thermometer and ensure the boiling sugar hits exactly 300°F (the hard-crack stage). If you pull it off the heat at 280°F, it will be chewy and stick to your teeth like taffy. Humidity in your kitchen can also prevent the candy from hardening properly.
Can I make the caramel apples a day in advance? Yes! In fact, giving them a few hours in the refrigerator helps the caramel set up perfectly. Just be aware that if you use pretzel or cookie toppings, they may soften slightly in the fridge overnight.
Is dry ice safe to use in drinks? Dry ice is safe to use to create fog, but it must be handled with extreme care. Never touch it with bare skin (it causes frostbite). If you put it directly into a punch bowl, you must ensure it has completely sublimated (evaporated) before anyone ladles the punch into their cup to drink. Swallowing dry ice is incredibly dangerous.
What is the best way to clean up hardened royal icing or hot sugar? Do not try to scrape it off your pots and bowls! Sugar dissolves in hot water. Simply fill your dirty bowls, piping tips, and saucepans with boiling water and let them sit for 10 minutes. The hardened icing and candy will melt away completely.
Final Thoughts
Diving into Halloween crafts doesn’t have to mean dealing with sticky craft glue, messy glitter, and projects that eventually just take up space in a closet. By moving the creative process into the kitchen, you get to celebrate the spooky season in a way that is interactive, delicious, and deeply rewarding.
Whether you are piping intricate chocolate spider webs, laughing over lopsided marshmallow ghosts, or marveling at the glossy finish of a black candy apple, edible crafts bring people together. They engage the senses and provide a fantastic creative outlet for kids and adults alike. So grab some parchment paper, break out the candy eyeballs, and let your kitchen become the ultimate haunted crafting studio this October.