
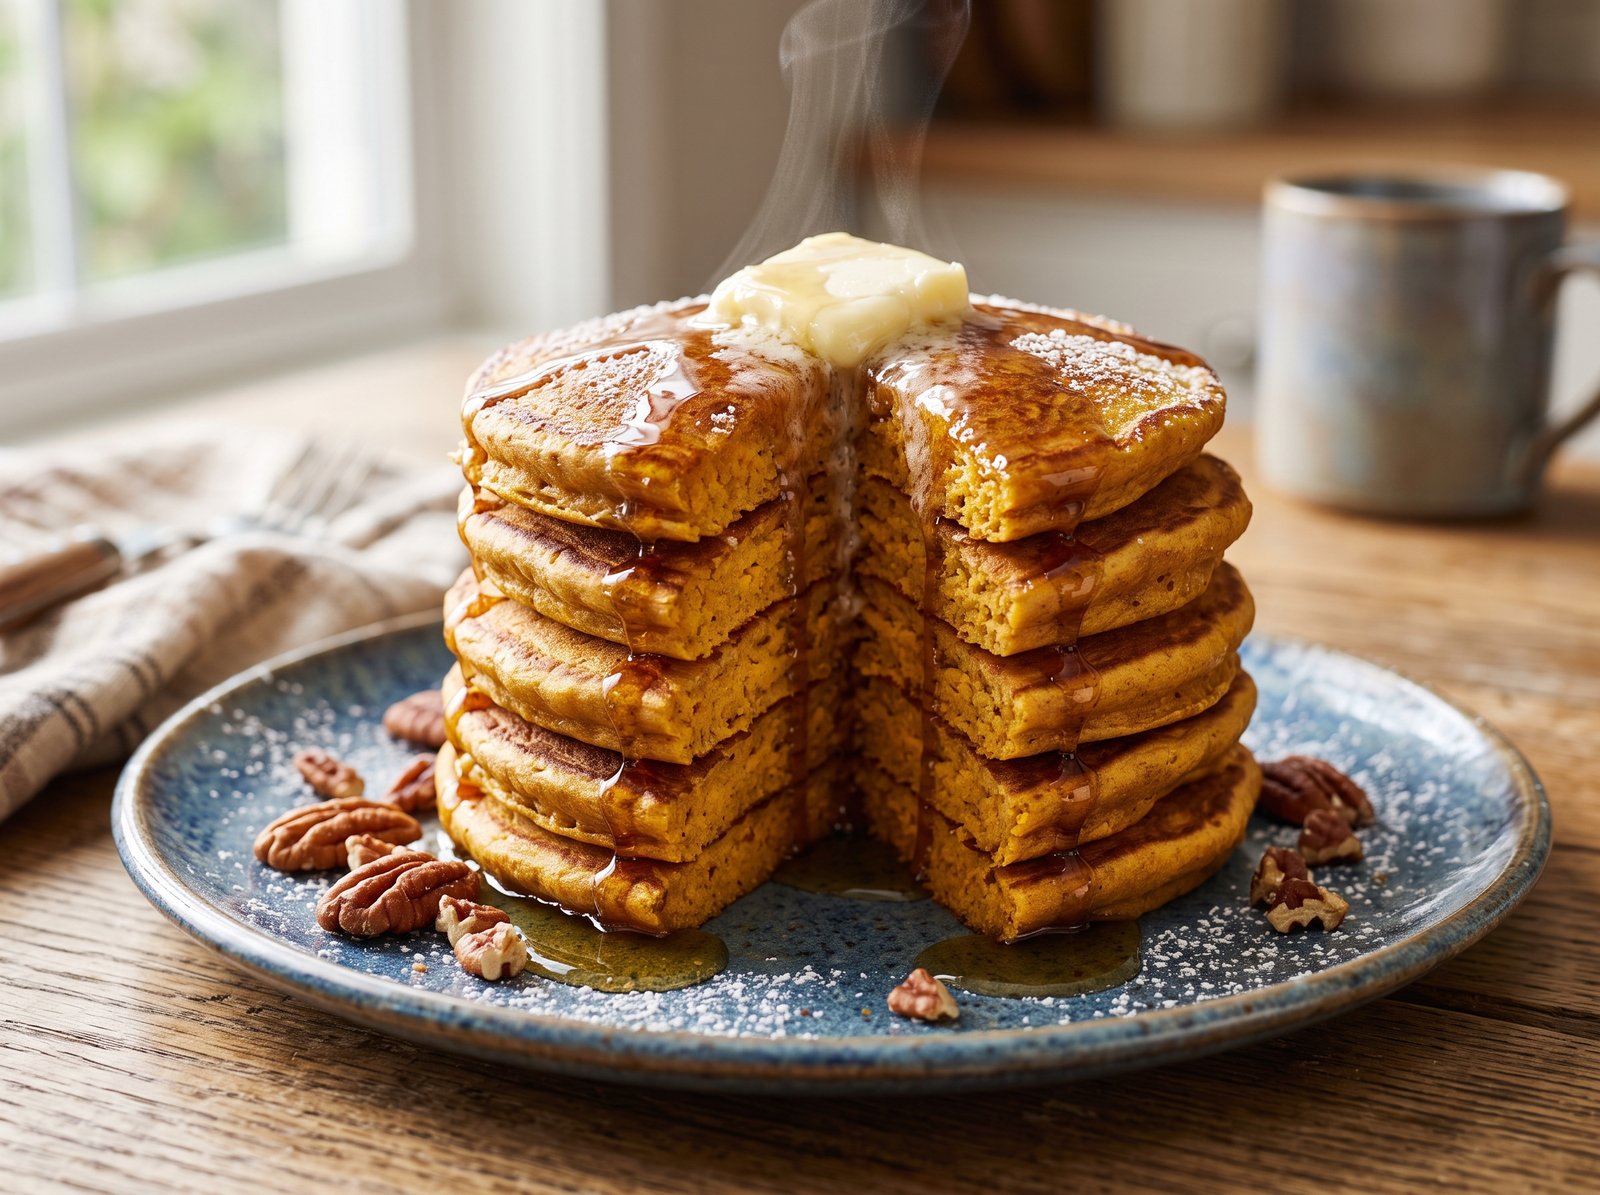
The Ultimate Fluffy Homemade Pumpkin Pancakes
When the air finally turns crisp and the leaves begin their colorful descent, there is a collective, unspoken shift in our morning cravings. The light, breezy smoothies of summer are suddenly replaced by a deep, undeniable desire for something warm, spiced, and comforting. Enter the undisputed champion of autumn breakfasts: homemade pumpkin pancakes.
There is something inherently magical about waking up on a chilly weekend morning to the aroma of cinnamon, nutmeg, and cloves wafting through the house. But if you have ever tried making pumpkin pancakes by simply stirring a scoop of canned pumpkin into a boxed mix, you likely ended up with flat, gummy, or disappointingly dense results. Because pumpkin puree is so heavy and moisture-rich, it requires a specific balance of leavening agents, flour, and dairy to achieve that coveted diner-style fluffiness.
This comprehensive guide will walk you through exactly how to make the tallest, fluffiest, most flavor-packed pumpkin pancakes from scratch. We are going to cover the science of the batter, the crucial difference between canned pumpkin products, and the best griddle techniques to ensure you get golden-brown edges and tender, pillowy centers every single time. Get your maple syrup ready.
What Are Pumpkin Pancakes?
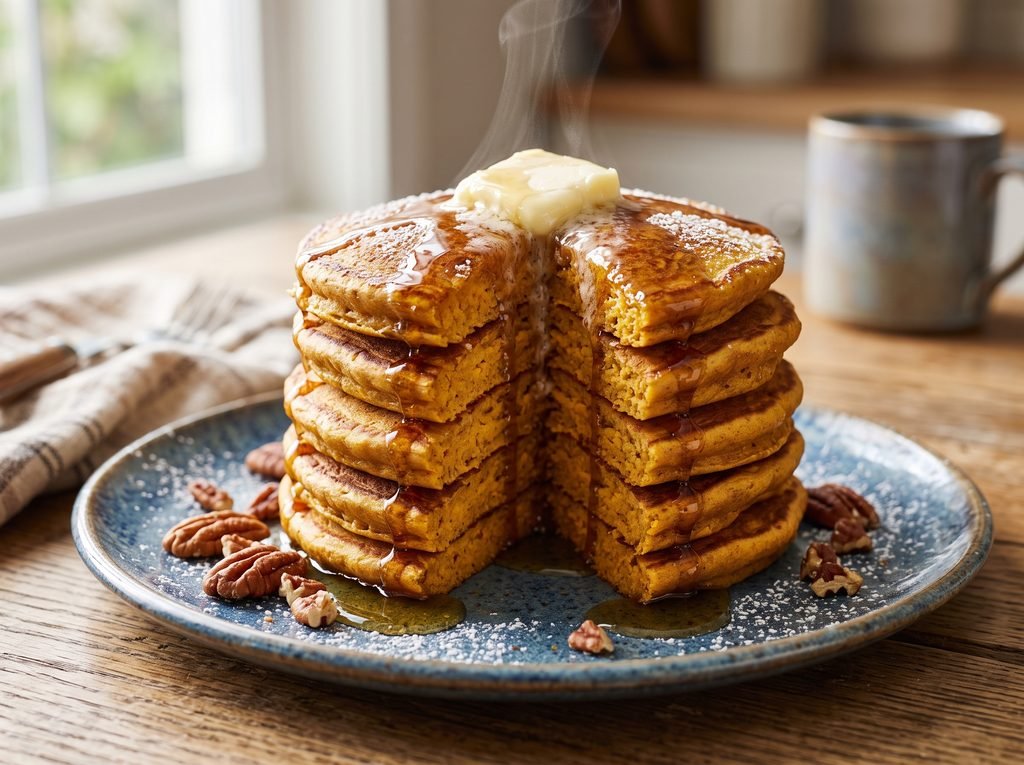
At their core, pumpkin pancakes are a seasonal twist on the classic American buttermilk pancake. Instead of a plain batter, rich pumpkin puree is whisked into the wet ingredients along with a generous dose of warm autumn spices—typically a blend of cinnamon, ginger, nutmeg, cloves, and allspice.
However, they are not just regular pancakes with an added ingredient. Because pumpkin puree acts as both a moisture-provider and a binding agent, a proper pumpkin pancake recipe adjusts the ratios of liquid and flour. When balanced correctly with acidic buttermilk and baking soda, the result is a deeply orange, aromatic pancake that boasts a tender crumb and a robust, earthy sweetness that tastes exactly like a slice of pumpkin pie in breakfast form.
Why You’ll Love This Recipe
There are countless pumpkin pancake recipes out there, but this specific version will quickly become your go-to autumn tradition for several very practical reasons:
- Unbelievably Fluffy Texture: By utilizing a combination of both baking powder and baking soda, along with acidic buttermilk, these pancakes rise beautifully on the griddle, completely avoiding the dense, heavy texture that plagues many pumpkin recipes.
- True Pumpkin Flavor: We use a full cup of real pumpkin puree and brown sugar instead of white sugar, which brings out a deep, rich molasses note that perfectly complements the squash.
- Pantry-Friendly: Aside from the can of pumpkin and a carton of buttermilk, everything you need to make these is likely already sitting in your baking cabinet.
- Incredible Leftovers: These pancakes freeze exceptionally well. You can make a double batch on Sunday and pop them in the toaster all week long for a fast, comforting weekday breakfast.
- The Ultimate Canvas: This batter is sturdy enough to hold your favorite mix-ins, from toasted pecans to semi-sweet chocolate chips, allowing you to customize your breakfast to your exact liking.
Ingredients
To achieve the perfect texture and flavor, you need the right balance of dry structure, wet moisture, and leavening power. Here is exactly what you need to gather.
The Dry Ingredients
- 2 cups All-Purpose Flour: Standard all-purpose flour provides the right amount of gluten to give the pancakes structure without making them tough. Do not pack the flour; spoon it into your measuring cup and level it off.
- ¼ cup Light Brown Sugar: Packed brown sugar is essential here. The natural molasses in brown sugar pairs beautifully with the earthy pumpkin and helps the pancakes caramelize on the griddle.
- 2 teaspoons Baking Powder & 1 teaspoon Baking Soda: This dual-leavening approach is the secret to height. The baking powder provides a steady rise, while the baking soda reacts instantly with the buttermilk for an airy lift.
- 2 teaspoons Pumpkin Pie Spice: A convenient blend of cinnamon, nutmeg, ginger, and cloves. (If you don’t have it, use 1 ½ tsp cinnamon, ¼ tsp ginger, ¼ tsp nutmeg, and a pinch of cloves).
- ½ teaspoon Kosher Salt: Never skip the salt in sweet baked goods; it balances the sugars and enhances the warm spices.
The Wet Ingredients
- 1 cup Pure Pumpkin Puree: Make sure the can says “100% Pure Pumpkin.” Do not buy pumpkin pie filling, which is already sweetened and spiced and will completely throw off the chemistry of this recipe.
- 1 ½ cups Buttermilk: The acidity in buttermilk tenderizes the gluten and activates the baking soda. Whole milk buttermilk will give you the richest flavor.
- 2 Large Eggs: Ensure they are at room temperature so they blend smoothly into the batter without seizing the melted butter.
- ¼ cup Unsalted Butter, melted and slightly cooled: Adds richness, flavor, and tenderizes the crumb.
- 1 teaspoon Pure Vanilla Extract: Enhances the perceived sweetness and rounds out the spice blend.
How to Make Homemade Pumpkin Pancakes
Prep Time: 10 minutes Cook Time: 15 minutes Total Time: 25 minutes Servings: About 12-14 medium pancakes
Step 1: Whisk the Dry Ingredients
In a large mixing bowl, combine the 2 cups of all-purpose flour, ¼ cup packed light brown sugar, 2 teaspoons baking powder, 1 teaspoon baking soda, 2 teaspoons pumpkin pie spice, and ½ teaspoon kosher salt. Whisk vigorously until the spices are evenly distributed and there are no clumps of brown sugar remaining. Create a well in the center of the dry ingredients.
Step 2: Combine the Wet Ingredients
In a separate medium bowl, add the 1 cup of pumpkin puree, 1 ½ cups buttermilk, 2 room-temperature large eggs, ¼ cup melted and cooled unsalted butter, and 1 teaspoon vanilla extract. Whisk this mixture until it is completely smooth and cohesive. The mixture will be thick and bright orange.
Step 3: Mix the Batter (Gently!)
Pour the wet pumpkin mixture into the well of the dry ingredients. Using a rubber spatula or a wooden spoon, gently fold the wet and dry ingredients together. Stop mixing as soon as the last streak of flour disappears. The batter should be thick and lumpy. Overmixing will develop the gluten and result in tough, rubbery pancakes.
Step 4: Let the Batter Rest
Walk away and let the batter sit undisturbed for 5 to 10 minutes. This is a crucial step! Resting allows the flour to properly hydrate and gives the baking powder time to activate. You will actually see the batter become puffier and more aerated as it sits.
Step 5: Preheat the Griddle
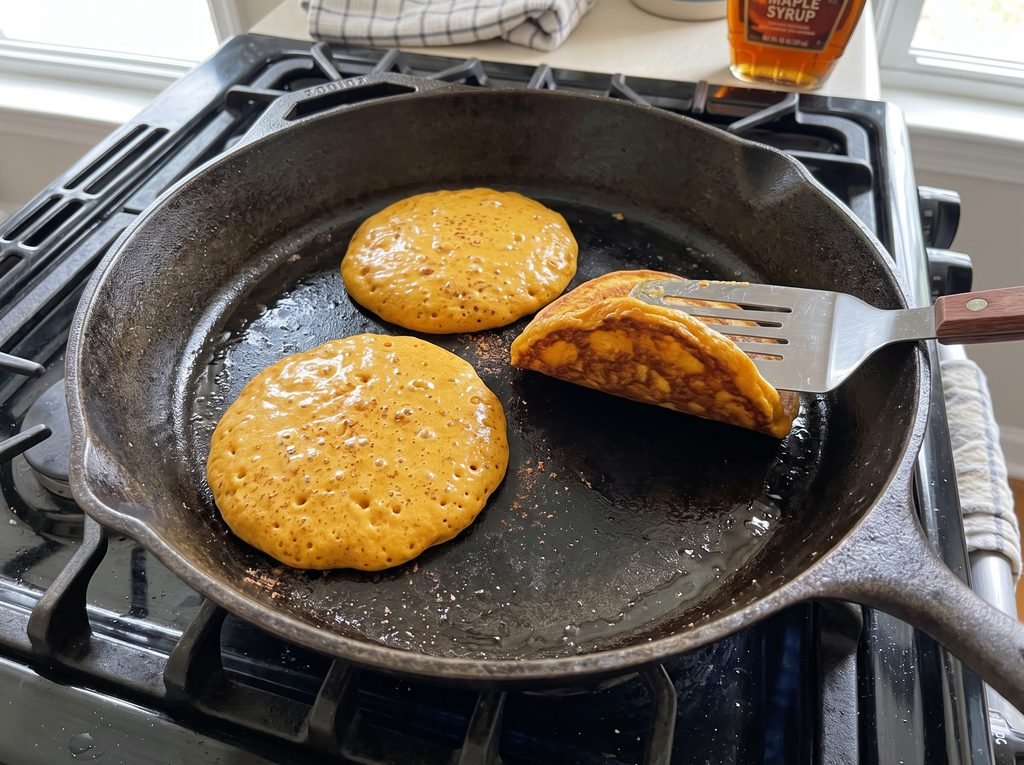
While the batter rests, heat a large electric griddle to 350°F, or place a cast-iron skillet or non-stick pan over medium-low heat on the stove. Because pumpkin batter is thick and contains brown sugar, it burns faster than regular pancake batter. Cooking them “low and slow” is the key to a cooked center and a golden-brown crust.
Step 6: Cook the Pancakes
Lightly grease your griddle with a small pat of butter or a neutral cooking oil. Using a ⅓-cup measuring cup or a large cookie scoop, portion the batter onto the hot griddle, leaving about 2 inches of space between each pancake. Use the back of a spoon to gently spread the thick batter into a 4-inch circle.
Step 7: Flip and Finish
Cook for 2 to 3 minutes on the first side. You are looking for the edges to look dry and set, and for a few bubbles to pop on the surface (pumpkin batter won’t bubble as aggressively as plain batter). Carefully slide a thin spatula under the pancake and flip it in one swift motion. Cook for an additional 1 to 2 minutes on the second side until golden brown and puffed.
Step 8: Serve Immediately
Transfer the cooked pancakes to a warm plate and serve immediately, or keep them warm in the oven while you cook the remaining batches.
Helpful Tips for the Best Results
Even with a foolproof recipe, pancake-making requires a bit of technique. Keep these culinary tips in mind to achieve absolute breakfast perfection.
- Do Not Press Down: After you flip the pancake, never press down on it with your spatula! This squishes all the beautiful air pockets you just created, resulting in a dense, heavy hockey puck.
- The First Pancake Rule: The first pancake is almost always a sacrifice to the griddle gods. Use it to gauge your heat. If it is too dark on the outside but gooey on the inside, turn your heat down slightly.
- Wipe the Pan Between Batches: If you are using butter to grease your skillet, it will begin to brown and eventually burn over the course of multiple batches. Take a paper towel and quickly wipe the pan clean before adding fresh butter for the next round.
- The Buttermilk Substitute: If you do not have buttermilk on hand, you can make a quick substitute. Measure 1 ½ tablespoons of white vinegar or fresh lemon juice into a liquid measuring cup. Fill the rest of the cup with whole milk until it reaches the 1 ½ cup line. Stir and let it sit for 5 minutes to curdle before using.
- How to Keep Pancakes Warm: If you are cooking for a crowd, set your oven to 200°F. Place a wire cooling rack inside a rimmed baking sheet and put it in the oven. As you finish cooking the pancakes, transfer them to the wire rack in a single layer. This keeps them hot without letting them get soggy from their own steam.
Variations and Substitutions
This batter is incredibly versatile. Once you master the base recipe, you can start customizing your autumn breakfasts with these delicious additions.
Chocolate Chip Pumpkin Pancakes
Pumpkin and chocolate are a wildly underrated combination. Gently fold ¾ cup of semi-sweet chocolate chips into the batter right after you combine the wet and dry ingredients. The pockets of melted chocolate contrast beautifully with the warm spices.
Pecan Crunch Pancakes
For those who love texture, add ½ cup of finely chopped, toasted pecans or walnuts directly to the batter. Alternatively, you can sprinkle the nuts onto the wet surface of the pancake immediately after pouring the batter onto the griddle, ensuring they get toasted as the pancake cooks.
Dairy-Free Pumpkin Pancakes
To make this recipe dairy-free, substitute the butter for an equal amount of melted coconut oil or a neutral vegetable oil. Swap the buttermilk for 1 ½ cups of almond milk or oat milk mixed with 1 ½ tablespoons of apple cider vinegar to provide the necessary acid for the baking soda.
Streusel Topped Pancakes
If you want to mimic a bakery-style pumpkin muffin, make a quick streusel. Mix ¼ cup flour, ¼ cup brown sugar, ½ tsp cinnamon, and 2 tablespoons of cold, diced butter until crumbly. Sprinkle a generous pinch of the streusel onto the raw side of the pancake right before flipping. The sugar will caramelize on the griddle, creating a crunchy, sweet crust.
What to Serve With Pumpkin Pancakes
A stack of hot, fluffy pumpkin pancakes is glorious on its own, but the right toppings can elevate the dish into a memorable brunch experience.
- Pure Maple Syrup: Accept no substitutes. The rich, woody flavor of 100% pure maple syrup (preferably a dark, robust grade) is the ultimate partner for pumpkin spice.
- Cinnamon Honey Butter: Whip ½ cup of softened unsalted butter with 2 tablespoons of honey and 1 teaspoon of ground cinnamon. A dollop of this melting over a hot stack is purely decadent.
- Whipped Cream and Pecans: For a true “pumpkin pie” experience, top your pancakes with lightly sweetened, freshly whipped heavy cream and a handful of toasted, candied pecans.
- Apple Cider Syrup: If you want to double down on the fall flavors, simmer 2 cups of apple cider in a saucepan until it reduces to a thick, syrupy glaze (about 20 minutes) and pour it over your pancakes.
- Savory Sides: Because these pancakes lean sweet and spiced, they pair perfectly with salty, savory sides. Crisp, thick-cut applewood smoked bacon, maple sausage links, or a side of creamy scrambled eggs round out the meal perfectly.
Storage, Freezing, and Reheating
Pancakes are the ultimate make-ahead breakfast. Making a double batch of these pumpkin pancakes is a brilliant way to meal-prep for busy fall mornings.
How to Store Leftovers: Allow the cooked pancakes to cool completely to room temperature on a wire rack. Stacking warm pancakes in a container will cause them to steam and become soggy. Once cool, place them in an airtight container or a zip-top bag and store them in the refrigerator for up to 4 days.
How to Freeze Pancakes: Freezing is the best way to preserve pancakes. Line a baking sheet with parchment paper and lay the cooled pancakes in a single layer so they aren’t touching. Place the baking sheet in the freezer for about 1 hour until the pancakes are frozen solid. (This prevents them from sticking together). Transfer the frozen pancakes to a heavy-duty freezer bag, squeeze out as much air as possible, and freeze for up to 3 months.
How to Reheat:
- The Toaster Method (Best for 1-2 pancakes): Pop the frozen or refrigerated pancakes directly into your toaster. Toast on a medium setting until heated through and slightly crispy on the edges.
- The Oven Method (Best for a crowd): Preheat your oven to 350°F. Place the pancakes in a single layer on a foil-lined baking sheet. Cover the sheet tightly with another piece of foil so they don’t dry out. Bake for about 10 minutes (or 15 minutes if reheating from frozen) until hot and fluffy.
- The Microwave Method (Fastest): Place 2 to 3 pancakes on a microwave-safe plate. Cover with a damp paper towel and microwave for 45 to 60 seconds. Note that microwaving will result in a softer, less crispy pancake, but it is incredibly fast.
Frequently Asked Questions
Can I use fresh pumpkin instead of canned? Yes, you can use homemade pumpkin puree, but proceed with caution. Fresh pumpkin puree holds significantly more water than the canned variety. If you use fresh, you must strain it through a cheesecloth or fine-mesh sieve for about an hour to remove the excess liquid. If you don’t, your pancake batter will be too runny and the pancakes will be dense.
Why are my pumpkin pancakes gummy and dense inside? There are usually two culprits for a gummy interior. First, you may have overmixed the batter, which develops the gluten and makes them tough. Second, your griddle was likely too hot. Because pumpkin batter is thick, a pan that is too hot will burn the outside before the inside has a chance to cook through. Lower the heat and cook them a bit longer.
I bought pumpkin pie filling by mistake. Can I still use it? You can, but you must adjust the recipe drastically. Since pie filling is already sweetened and spiced, you will need to omit the brown sugar and the pumpkin pie spice from the recipe completely. However, the texture may still be slightly different due to the thickeners used in pie filling, so 100% pure pumpkin puree is always highly recommended.
Can I make the pancake batter the night before? It is not recommended to mix the wet and dry ingredients the night before. The baking soda will activate immediately when it touches the buttermilk and will lose its leavening power overnight, resulting in flat pancakes. Instead, you can whisk the dry ingredients in one bowl, and whisk the wet ingredients in a separate bowl. Keep the wet ingredients in the fridge overnight. In the morning, simply pour the wet into the dry, fold, rest, and cook.
Why isn’t my batter bubbling on the griddle like normal pancakes? Pumpkin pancake batter is significantly thicker and heavier than traditional diner pancake batter. The bubbles often struggle to break through the surface. Do not wait for the entire top to be covered in popped bubbles before flipping. Check the edges—when they look dry, set, and slightly lifted, carefully check the underside. If it’s golden brown, it is time to flip.
How do I make my own pumpkin pie spice? If you don’t have a jar of pre-mixed pumpkin pie spice, you can easily make a batch. Combine 3 tablespoons of ground cinnamon, 2 teaspoons of ground ginger, 2 teaspoons of ground nutmeg, 1 teaspoon of ground allspice, and 1 teaspoon of ground cloves. Store it in an airtight jar in your spice cabinet for all your fall baking needs.
Final Thoughts
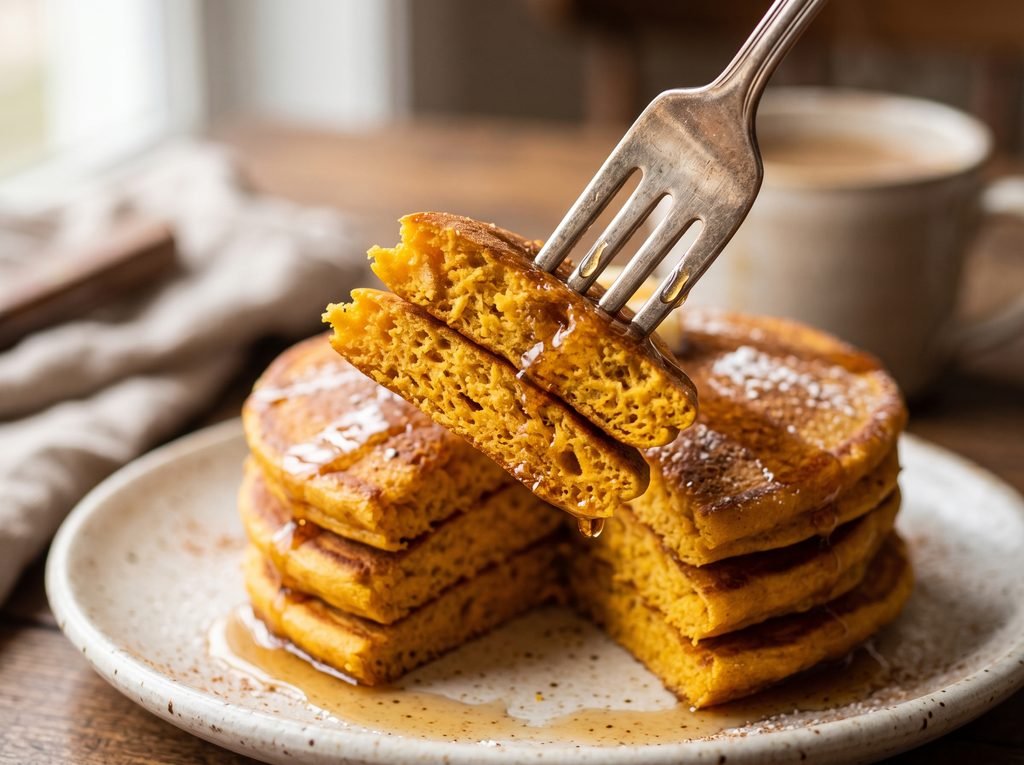
There is a distinct kind of comfort that comes from a homemade autumn breakfast, and these fluffy pumpkin pancakes deliver on every front. They capture the essence of the season without requiring hours of labor, bridging the gap between an everyday breakfast and a special holiday treat.
By utilizing the right leavening agents, respecting the power of buttermilk, and mastering your griddle temperature, you can easily avoid the dense, heavy pitfalls of lesser recipes. Whether you are serving them up on a crisp Halloween morning before the chaos of costumes, enjoying a slow Sunday brunch with family, or simply pulling a frozen batch from the toaster on a busy Tuesday, these classic pumpkin pancakes are guaranteed to bring a little bit of seasonal magic to your morning routine.