
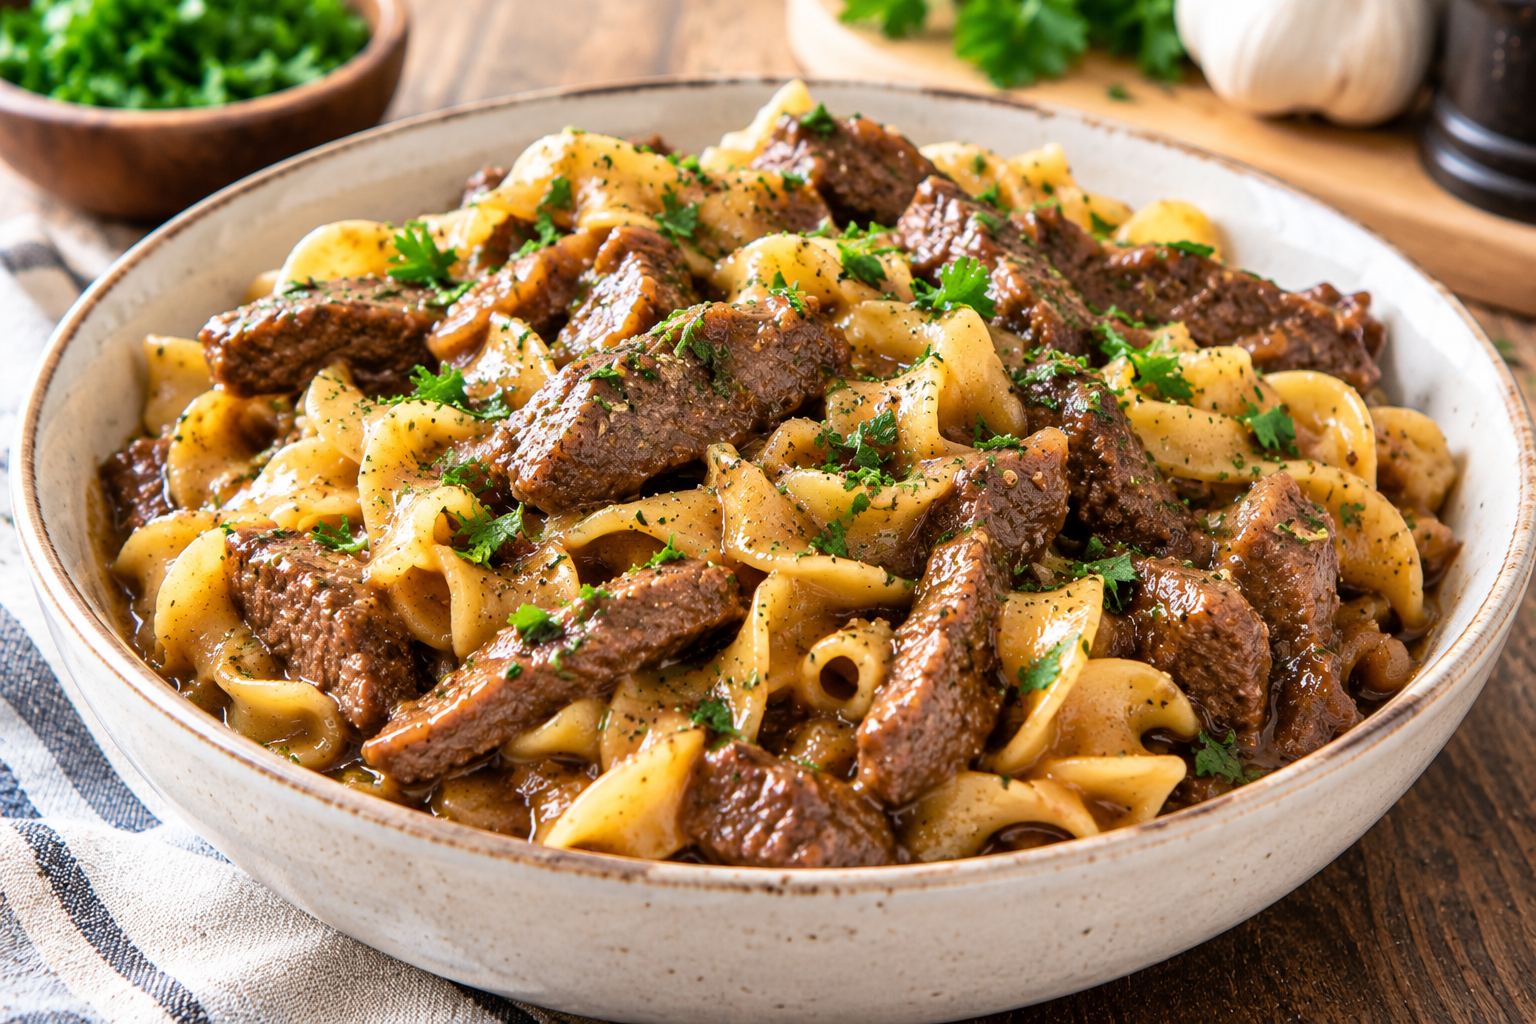
The Ultimate Guide to Classic Beef and Noodles: A Masterclass in Comfort Food
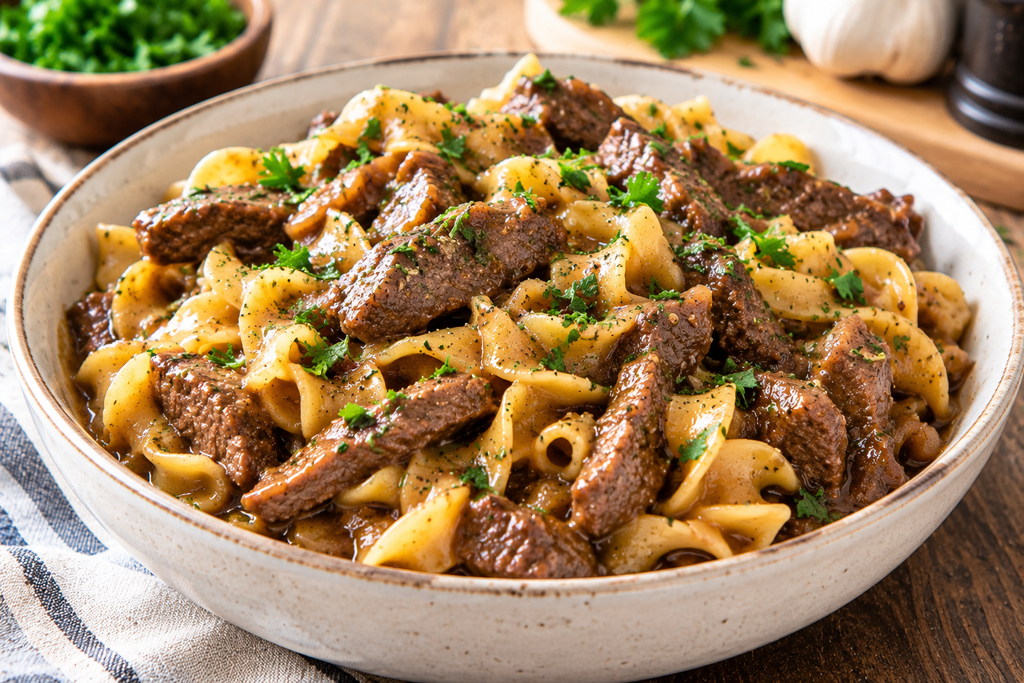
There are few dishes in the culinary lexicon that evoke the deep, soul-warming satisfaction of classic Beef and Noodles. It is the quintessential comfort food—a dish that transcends generations, cultures, and culinary trends. Picture this: fork-tender chunks of beef, slow-braised to perfection in a rich, deeply savory, herb-infused brown gravy, all ladled generously over a bed of buttery, wide egg noodles. It is the culinary equivalent of a warm blanket on a freezing winter evening.
In this comprehensive guide, we are not just giving you a recipe; we are embarking on a deep dive into the art and science of making the perfect Beef and Noodles. Whether you are a novice home cook looking to impress your family on a Sunday afternoon or a seasoned kitchen veteran seeking to refine your technique, this article covers everything. We will explore the best cuts of meat, the debate between homemade and store-bought noodles, the secret to a glossy, flavor-packed gravy, and troubleshooting tips to ensure your dish turns out flawlessly every single time.
Chapter 1: The Anatomy of Comfort Food
Why does Beef and Noodles resonate so deeply with us? The answer lies in the combination of macronutrients and flavor profiles. The rich proteins and fats from the beef provide deep satiety, while the carbohydrates from the noodles offer immediate energy and trigger the release of serotonin in the brain.
Historically, dishes resembling beef and noodles emerged from a necessity to stretch expensive proteins. By taking tougher, cheaper cuts of meat and cooking them low and slow in a flavorful liquid, home cooks could transform humble ingredients into a feast. The addition of noodles—made simply from flour, eggs, and water—added bulk and absorbed the precious, flavor-packed cooking liquids. Over decades, this pragmatic approach to feeding a family evolved into the beloved staple we know today.
Chapter 2: Selecting the Perfect Beef
The foundation of this dish is, unsurprisingly, the beef. The biggest mistake home cooks make is choosing a lean, expensive cut like tenderloin or top sirloin for a slow-braised dish. Lean cuts will dry out and become tough when simmered for long periods. For Beef and Noodles, you want a cut that is high in collagen and connective tissue.
1. Chuck Roast (The Gold Standard)
Chuck roast, sourced from the shoulder of the cow, is undeniably the king of braising meats. Because the shoulder is a heavily exercised muscle, it contains a vast network of connective tissue (collagen). When cooked quickly, chuck is impossibly tough. But when seared and simmered slowly over low heat, that collagen breaks down and melts into gelatin. This gelatin not only makes the meat “melt-in-your-mouth” tender, but it also leaches into the cooking liquid, giving the gravy a luxurious, silky mouthfeel that cannot be replicated with thickeners alone.
2. English Roast or Arm Roast
Similar to chuck, these cuts come from the front quarter of the animal. They offer great flavor and will break down beautifully during a long simmer. They tend to be slightly leaner than a standard chuck roast, so you may yield slightly less natural gelatin, but they remain an excellent choice.
3. Round Roast (Bottom or Top Round)
Sourced from the rear leg, round roasts are leaner than chuck. While they can be used for beef and noodles, they require careful monitoring. They will become tender, but because they lack the high intramuscular fat (marbling) of the chuck, the meat chunks can sometimes feel a bit dry on the palate, even when submerged in gravy.
4. Pre-Cut “Stew Meat”
While convenient, grocery store “stew meat” is often a gamble. Butchers typically use scraps from various cuts to create stew meat. This means in a single package, you might have a mix of chuck, round, and sirloin. Because different cuts cook at different rates, you may end up with a batch where half the beef is tender and the other half is chewy. Whenever possible, buy a whole roast and cut it into uniform 1.5-inch cubes yourself.
Chapter 3: The Noodle Conundrum – Store-Bought vs. Homemade
The “noodles” in Beef and Noodles are just as crucial as the beef. They are the vehicle that delivers the rich gravy to your palate.
Store-Bought Egg Noodles
For most weeknight dinners, high-quality, store-bought dried egg noodles are perfectly acceptable. Look for “wide” or “extra-wide” egg noodles. The width is important; thin noodles will turn to mush under the weight of the heavy beef and gravy. Egg noodles are preferred over standard Italian pasta (like penne or spaghetti) because the inclusion of eggs in the dough provides a richer flavor and a slightly softer, more comforting texture that pairs beautifully with the rustic nature of the dish.
Frozen Reames Noodles
In many parts of the American Midwest, frozen, thick-cut egg noodles (like the Reames brand) are considered the ultimate choice for this dish. They are thick, dense, and have a chewy bite that mimics homemade noodles much closer than dried pasta. They take longer to cook but hold up incredibly well to hearty gravies.
The Ultimate Upgrade: Homemade Egg Noodles
If you have the time, making noodles from scratch elevates this dish from “great” to “unforgettable.” The rustic, uneven cuts and the tender yet chewy texture of fresh pasta transform the meal.
Quick Homemade Noodle Recipe:
- 2 cups All-Purpose Flour
- 3 Large Eggs
- 1/2 teaspoon Salt
- 1-2 tablespoons Water (if needed)
- Mound the flour on a clean counter and make a well in the center.
- Crack the eggs into the well and add the salt.
- Using a fork, gently beat the eggs, gradually pulling in flour from the edges.
- Once a shaggy dough forms, knead by hand for 5-7 minutes until smooth and elastic.
- Wrap in plastic wrap and let rest for 30 minutes (crucial for relaxing the gluten).
- Roll the dough out thinly on a floured surface.
- Using a pizza cutter or sharp knife, cut into thick ribbons.
- Boil in salted water for 3-4 minutes until tender.
Chapter 4: Building the Ultimate Gravy
The liquid that the beef cooks in will eventually become your gravy. Building deep, complex flavor requires layering ingredients properly.
1. The Sear (The Maillard Reaction): Never skip searing the beef. Pat the beef cubes completely dry. Moisture is the enemy of a good sear. Heat oil in a heavy Dutch oven until shimmering. Add the beef in batches so you don’t overcrowd the pan. Overcrowding drops the temperature, causing the meat to steam and turn grey instead of browning. The deep brown crust formed during searing (the Maillard reaction) creates hundreds of complex flavor compounds that will dissolve into your broth.
2. The Aromatics: Once the beef is removed, the pan will be left with rendered fat and “fond”—the sticky, browned bits on the bottom. This is liquid gold. Add diced onions, carrots, and celery (a classic mirepoix). As the vegetables release their water, use a wooden spoon to scrape up the fond. Add minced garlic only for the last 30 seconds to prevent it from burning and turning bitter.
3. The Deglazing Liquid: Beef broth is standard, but to elevate the dish, deglaze the pan with a splash of dry red wine (like Cabernet Sauvignon or Merlot) or a dark stout beer before adding the broth. The alcohol extracts flavor compounds in the aromatics that water and fat cannot, adding incredible depth.
4. Umami Boosters: Beef broth alone can sometimes taste flat. To achieve a rich, restaurant-quality flavor, add umami-rich ingredients:
- Worcestershire sauce
- Soy sauce (just a tablespoon)
- A teaspoon of tomato paste (cooked down with the aromatics)
- A splash of fish sauce (trust us, it won’t taste fishy, it just adds meaty depth)
Chapter 5: The Science of Thickening
Once the beef is tender, you are left with a flavorful, but thin, broth. There are two primary ways to thicken it into a gravy.
Method 1: The Cornstarch Slurry (The Easiest) Mix equal parts cornstarch and cold water (usually 2 tablespoons of each for this recipe). Whisk until completely smooth. Stir this slowly into the boiling broth. It will thicken almost instantly and leave a beautiful, glossy finish. Warning: Never add dry cornstarch directly to hot liquid, or it will instantly clump into unappetizing lumps.
Method 2: The Butter-Flour Roux (The Richest) In a separate small skillet, melt 3 tablespoons of butter and whisk in 3 tablespoons of all-purpose flour. Cook this paste for 2-3 minutes to remove the raw flour taste. Whisk a ladleful of the hot beef cooking liquid into the roux to temper it, then whisk the whole mixture back into the main pot. A roux provides a slightly more opaque, incredibly rich, and velvety texture.
Chapter 6: The Master Recipe: Classic Beef and Noodles
Prep time: 20 minutes | Cook time: 2.5 hours | Yield: 6-8 servings
Ingredients:
For the Beef and Broth:
- 3 lbs Chuck Roast, trimmed of hard fat and cut into 1.5-inch cubes
- 1 tablespoon Kosher salt
- 1 teaspoon freshly cracked black pepper
- 2 tablespoons olive oil (or beef tallow)
- 1 large yellow onion, finely diced
- 8 oz Cremini (baby bella) mushrooms, thickly sliced (optional, but highly recommended)
- 4 cloves garlic, minced
- 2 tablespoons tomato paste
- 1/2 cup dry red wine (optional)
- 4 cups high-quality, low-sodium beef broth (or bone broth for extra richness)
- 2 tablespoons Worcestershire sauce
- 1 tablespoon soy sauce
- 2 sprigs fresh thyme (or 1 tsp dried)
- 1 bay leaf
For Thickening (Slurry):
- 3 tablespoons cornstarch
- 3 tablespoons cold water
For the Noodles:
- 16 oz wide or extra-wide dried egg noodles (or frozen homestyle noodles)
- 2 tablespoons unsalted butter
- 2 tablespoons fresh parsley, finely chopped
Step-by-Step Instructions:
- Prepare the Beef: Remove the chuck roast from the refrigerator 30 minutes before cooking. Trim away any large, hard pieces of white fat, but leave the intramuscular marbling. Cut the meat into uniform 1.5-inch cubes. Pat the cubes completely dry with paper towels. Season generously on all sides with kosher salt and black pepper.
- Sear to Perfection: Place a large, heavy-bottomed Dutch oven over medium-high heat. Add the olive oil. Once the oil is shimmering and almost smoking, add the beef cubes in a single layer. Do not crowd the pan! Work in two or three batches if necessary. Let the beef sear undisturbed for 3-4 minutes per side until a deep, dark mahogany crust forms. Remove the seared beef to a plate and repeat with the remaining meat.
- Sauté Aromatics: Lower the heat to medium. If the pan is dry, add a tiny splash of oil or a knob of butter. Add the diced onions and mushrooms. Sauté for 6-8 minutes, stirring occasionally, until the onions are translucent and the mushrooms have released their moisture and browned. Add the minced garlic and cook for 30 seconds until fragrant.
- Toast the Tomato Paste: Push the vegetables to the edges of the pot. Add the tomato paste to the center. Let it cook for 2 minutes, stirring it into the vegetables, until it turns a deep rust color. This caramelizes the sugars in the tomato and removes any raw, metallic taste.
- Deglaze the Pan: Pour in the red wine (if using). It will immediately bubble and steam. Use a wooden spoon to aggressively scrape the bottom of the pot, lifting up all the browned bits (the fond). Let the wine reduce until it is almost completely evaporated.
- Build the Braising Liquid: Pour in the beef broth, Worcestershire sauce, and soy sauce. Stir well. Add the fresh thyme sprigs and the bay leaf.
- Simmer Low and Slow: Return all the seared beef, along with any juices that have collected on the plate, back into the Dutch oven. Bring the liquid to a rolling boil. Immediately reduce the heat to the lowest possible setting. Cover the pot with a tight-fitting lid. Let it simmer gently for 2 to 2.5 hours. Check it occasionally to ensure it isn’t boiling too hard (a rapid boil will make the meat tough). The meat is done when it yields completely to a fork without resistance.
- Thicken the Gravy: Once the beef is fork-tender, fish out and discard the thyme stems and the bay leaf. In a small bowl, whisk together the cornstarch and cold water until perfectly smooth. While gently stirring the beef mixture, slowly pour in the slurry. Allow the pot to simmer uncovered for 5 minutes. You will watch the thin broth magically transform into a glossy, thick gravy that coats the back of your spoon.
- Cook the Noodles: While the gravy is thickening, bring a large pot of heavily salted water to a boil. Add the egg noodles and cook according to the package directions until al dente (usually about 7-9 minutes for dried, longer for frozen). Drain the noodles well.
- Butter and Combine: Return the drained noodles to their warm pot. Toss them immediately with 2 tablespoons of butter and the chopped fresh parsley until the butter is melted and coats every noodle.
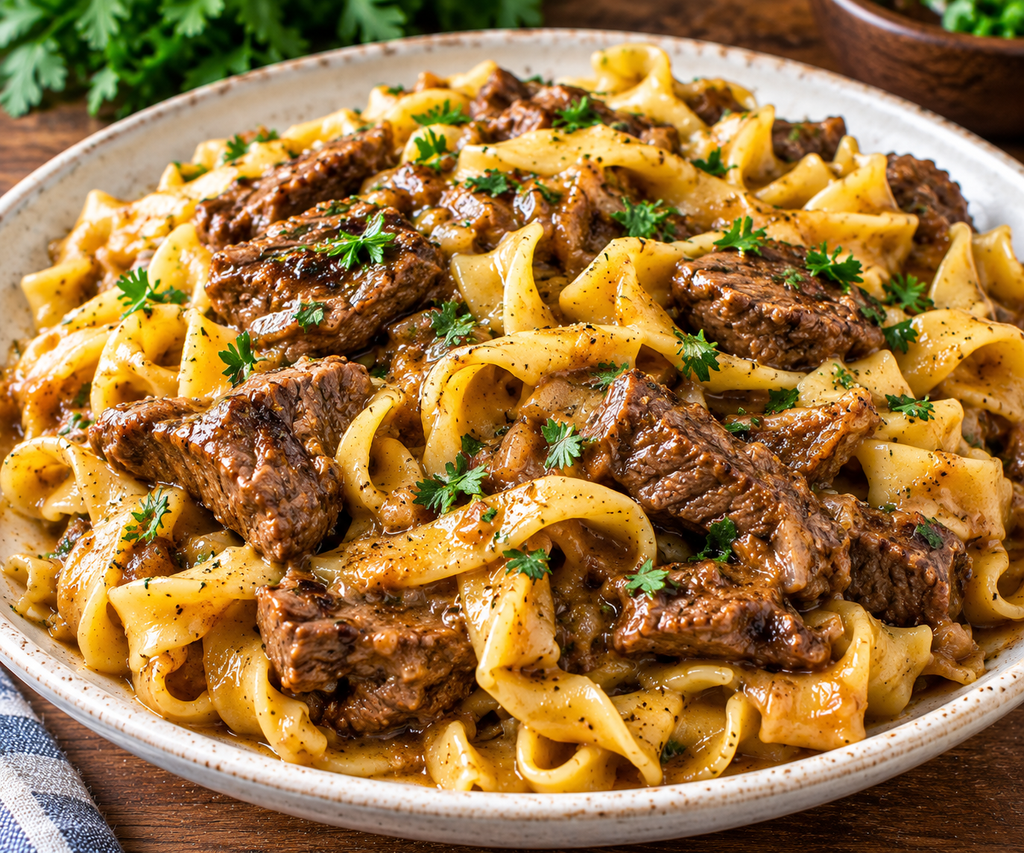
- Serve: You can either gently fold the buttered noodles directly into the Dutch oven with the beef and gravy (for a cohesive, casserole-like feel) or serve the beef and gravy ladled generously over individual bowls of noodles (which looks more elegant on the plate).
Chapter 7: Innovative Variations on a Classic
While the classic recipe is unbeatable, sometimes it is fun to change things up. Here are a few ways to adapt Beef and Noodles:
1. The Stroganoff Twist
To turn this into a mock-Beef Stroganoff, follow the recipe exactly as written. Once the gravy is thickened and removed from the heat, stir in 3/4 cup of full-fat sour cream and a tablespoon of Dijon mustard. Crucial tip: Do not let the gravy boil after adding the sour cream, or it will curdle.
2. Slow Cooker Method
Don’t want to leave the stove on? You can easily adapt this for a Crockpot. You must still sear the beef and sauté the onions in a skillet first to develop flavor. Once seared, transfer the beef, onions, and all other ingredients (except the cornstarch slurry and noodles) to your slow cooker. Cook on LOW for 7-8 hours or HIGH for 4-5 hours. Stir in the cornstarch slurry during the last 30 minutes of cooking.
3. Spicy Asian-Inspired Beef and Noodles
Swap the standard egg noodles for thick Udon or Lo Mein noodles. In the braising liquid, omit the tomato paste and red wine. Instead, add 2 tablespoons of gochugaru (Korean chili flakes) or chili crisp, 1 tablespoon of minced fresh ginger, 2 tablespoons of brown sugar, and a splash of rice vinegar. Finish with sliced green onions and a drizzle of sesame oil.
Chapter 8: Pro Tips for Storage, Freezing, and Reheating
Beef and Noodles is one of those rare dishes that actually tastes better the next day. As it sits in the refrigerator, the proteins continue to relax and the flavors meld and deepen.
Refrigeration: Store leftovers in an airtight container in the fridge for up to 4 days. It is highly recommended to store the beef/gravy separate from the noodles if possible. If stored together, the noodles will continue to absorb the gravy overnight, potentially becoming mushy and leaving you with very little sauce.
Reheating: Reheat gently on the stovetop over low heat. The gravy will have gelatinized in the fridge and will look like meat jelly—don’t panic, it will melt back down into a liquid as it warms. You may need to add a splash of water or beef broth to loosen it up.
Freezing: The beef and gravy freeze exceptionally well! Let it cool completely, transfer to freezer-safe bags (squeeze out the air), and freeze for up to 3 months. Thaw overnight in the fridge before reheating. Do not freeze the cooked noodles. Cooked egg noodles do not survive the freezing and thawing process well; they turn to a watery mush. Always make a fresh batch of noodles when serving frozen leftover beef.
Chapter 9: Frequently Asked Questions (FAQ)
Q: Why is my beef tough after cooking for 2 hours? A: There are two main culprits. First, you may have used the wrong cut of meat (like sirloin) which lacks the connective tissue needed for long braising. Second, your heat might have been too high. If the liquid was at a rolling boil rather than a gentle simmer, the meat proteins tense up and squeeze out all their moisture. If you used chuck and it’s still tough, it simply needs more time. Keep simmering! It will eventually break down.
Q: Can I use chicken broth if I don’t have beef broth? A: Yes, absolutely. In fact, many chefs prefer using a high-quality chicken broth or stock over store-bought canned beef broth, as commercial beef broth can sometimes taste artificial. The beef itself will flavor the chicken stock beautifully.
Q: My gravy is too thin. What do I do? A: Simply make a bit more of the cornstarch slurry (equal parts cold water and cornstarch) and slowly stir it into the simmering liquid until you reach your desired consistency.
Q: My gravy is too thick and gloopy! A: This happens if you add too much cornstarch or let it reduce for too long. Simply stir in a splash of warm water or extra beef broth until it thins out to the right texture.
Q: Do I have to use alcohol (wine)? A: Not at all. The wine adds depth and acidity, but you can achieve a similar acidic brightness by adding one tablespoon of balsamic vinegar or apple cider vinegar to the broth.
Q: What should I serve alongside Beef and Noodles? A: Because this dish is incredibly rich, heavy, and brown, it desperately needs color and acidity on the side. Serve it with:
- Roasted green beans with lemon zest
- Honey-glazed carrots
- A crisp, sharp green salad with a mustard vinaigrette
- Crusty French bread to mop up any remaining gravy.
Conclusion
Mastering Classic Beef and Noodles is a rite of passage for any home cook. It teaches patience, the importance of technique (like searing and deglazing), and the magic of slow cooking. By understanding the science of the meat and the components of the gravy, you can stop relying on dry packet mixes and canned cream soups. Armed with this guide, you are ready to create a masterpiece of comfort food that will have your family and friends begging for your secret recipe. Enjoy the process, savor the aromas that fill your kitchen, and dig into a bowl of pure nostalgia.