
The Best Scones Recipe Ever: Your Master Guide to Flaky, Buttery Perfection
If you have spent any amount of time hunting for the absolute best scones recipe ever, you have likely encountered a wide array of disappointing pastries. Too often, commercial bakeries and coffee shops serve scones that are impossibly dense, dry enough to require a gallon of coffee to wash down, or so sweet they taste like a confused cupcake. A true, expertly crafted scone should be none of these things.
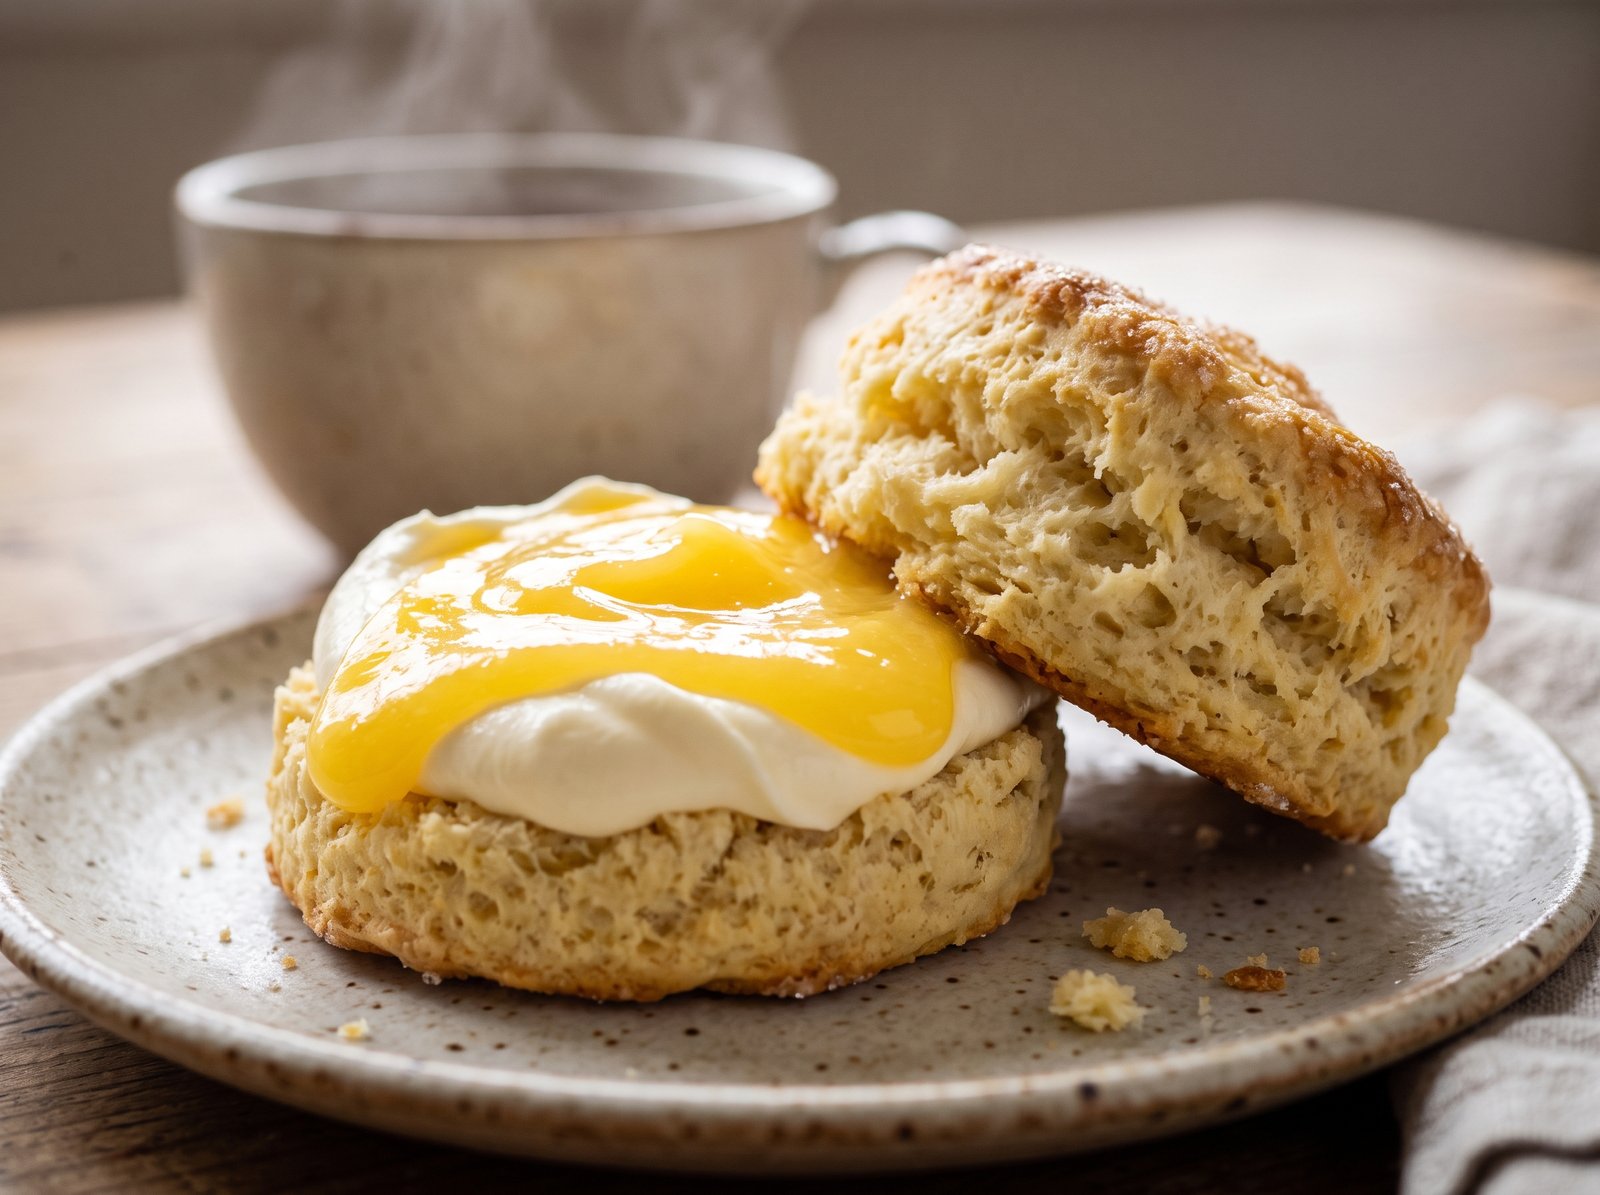
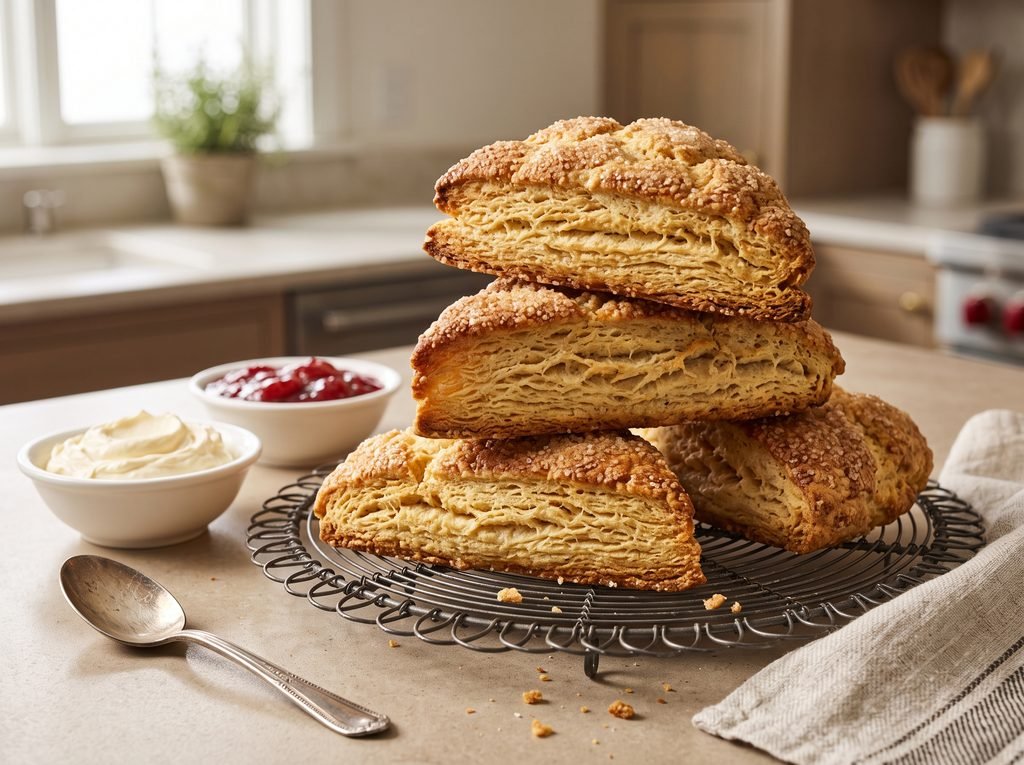
The ultimate scone is a study in magnificent contrasts. The exterior should boast a delicate, golden-brown crust that shatters slightly when you bite into it, generously sparkling with a crunch of coarse sugar. The interior, however, must be impossibly tender, soft, and moist, featuring visible, buttery layers that practically pull apart in your hands. It should be rich but not cloying, serving as the perfect canvas for a pat of salted butter, a dollop of lemon curd, or a generous sweep of clotted cream and strawberry preserves.
This master recipe is designed to deliver exactly that experience every single time. By combining fundamental pastry science with a few accessible, brilliant kitchen techniques, you can transform basic pantry staples into bakery-tier creations. Whether you are hosting an elegant weekend brunch, preparing for an afternoon tea, or simply treating yourself on a quiet Tuesday morning, this is the only scone recipe you will ever need.
The Anatomy of the Perfect Scone
To appreciate what makes this specific recipe the best, it is helpful to understand the landscape of baked goods. Where exactly does a scone fit in, and how does it differ from its close cousins?
Traditional British scones lean heavily toward the savory or very mildly sweet side. They are usually stamped out into tall, round shapes and act almost entirely as a vehicle for rich toppings. American scones have taken a slightly different path, evolving to become richer, slightly sweeter, and often loaded with mix-ins like chocolate chips, toasted nuts, or fresh berries. They are most commonly shaped into large discs and cut into hearty wedges.
This recipe strikes a harmonious balance between the two traditions. It possesses the rich, melt-in-your-mouth tenderness of an American cream scone, but retains the elegant, restrained sweetness and towering, flaky rise of a traditional British bake.
Scones vs. Buttermilk Biscuits
Many home bakers confuse scones and southern-style buttermilk biscuits because the ingredient lists look remarkably similar. However, the fat-to-liquid ratios and mixing techniques differ. Biscuits typically rely on a higher ratio of fat and utilize buttermilk for a savory, tangy lift. Scones generally incorporate a touch of sugar and rely on heavy cream, yielding a slightly tighter, cake-like crumb that is undeniably designed to be paired with a hot beverage.
Why You’ll Love This Recipe
Finding a reliable foundational recipe is a game-changer for any home baker. Here is why this formula earns its title:
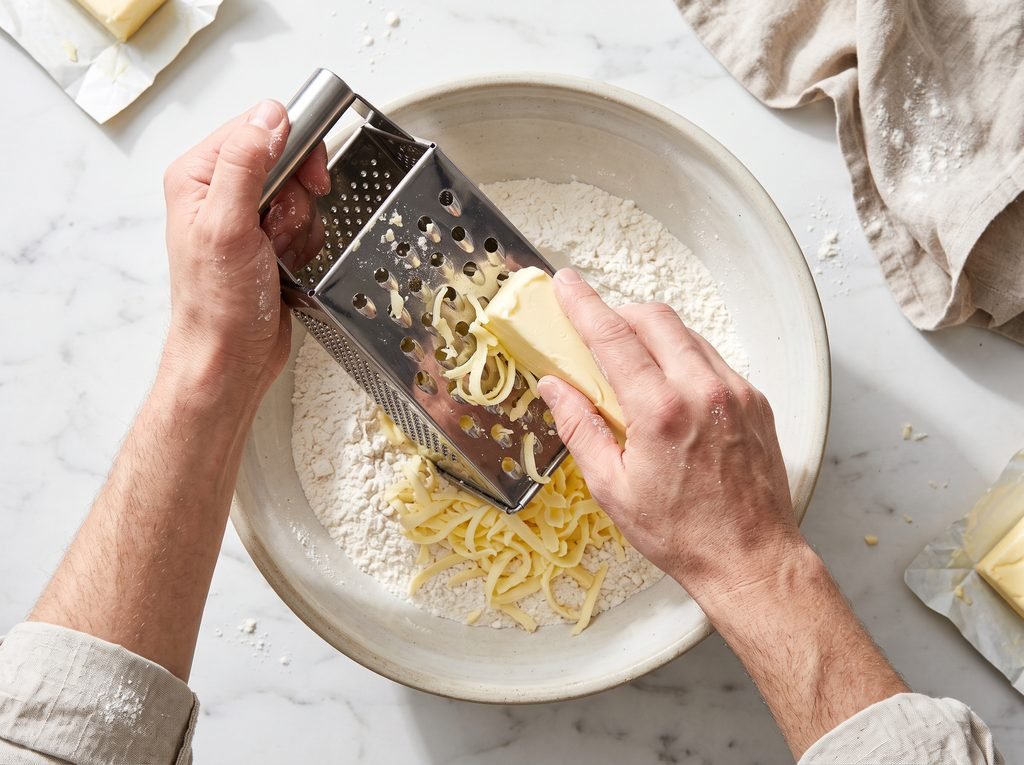
- No Special Equipment: Leave your heavy stand mixer and bulky food processor in the cabinet. This dough comes together entirely by hand, utilizing a simple box grater to achieve maximum flakiness.
- Speed and Simplicity: Because this dough uses chemical leavening (baking powder) rather than yeast, there is no waiting for the dough to proof. You can go from craving a pastry to pulling a hot tray out of the oven in about thirty minutes.
- The Ultimate Blank Canvas: Once you master this vanilla-scented cream dough, you have unlocked dozens of flavor possibilities. It adapts beautifully to almost any sweet or savory mix-in you can imagine.
- Make-Ahead Magic: These pastries freeze exceptionally well in their raw, unbaked state. You can do the prep work on a Sunday afternoon and bake off fresh, hot scones one at a time throughout the week.
The Science of Flakiness: Cold Butter is Key
Before you pull out your measuring cups, we must discuss the golden rule of pastry making: temperature control. The secret to sky-high, flaky layers is keeping your ingredients—specifically your butter and heavy cream—as cold as possible.
Here is how the science works: Flakiness is created by tiny, distinct pieces of solid fat suspended throughout the flour. When you slide the baking sheet into a hot oven, the water trapped inside those cold pieces of butter rapidly evaporates, turning into steam. That steam aggressively pushes upward, separating the flour into distinct, delicate layers before the gluten structure sets.
If your butter is too warm while you are mixing the dough, it will soften and smear evenly into the flour. Without those distinct pockets of solid fat, there is no steam expansion. Instead of flaky layers, you will end up with a dense, heavy, cookie-like texture. For this reason, utilizing frozen butter is the non-negotiable secret to success.
Ingredient Deep Dive
Because this is a short ingredient list, the quality and exact nature of each component matter significantly.
- 2 cups All-Purpose Flour: Standard all-purpose flour has the perfect protein content (around 10-11%) to provide enough structure for the scones to stand tall without making them tough and chewy. Be sure to spoon your flour into the measuring cup and level it off. Scooping directly from the bag packs the flour down, which will dry out your dough. (For absolute precision, weigh out 250 grams).
- 1/3 cup Granulated Sugar: This amount provides a gentle, background sweetness that tenderizes the crumb without turning the scone into a dessert.
- 1 tablespoon Baking Powder: Do not mistake this for baking soda. Baking powder is doing all the heavy lifting here. One tablespoon may seem like a lot, but this is a heavy dough. Ensure your baking powder is fresh and active.
- 1/2 teaspoon Fine Sea Salt: Salt highlights the butter and vanilla, preventing the pastry from tasting flat.
- 1/2 cup (1 stick / 4 ounces) Unsalted Butter: Your butter must be frozen solid. Using unsalted butter allows you to control the exact sodium level. If you can find a high-fat, European-style butter, your scones will be even richer.
- 3/4 cup Heavy Cream: Heavy cream, heavy whipping cream, or double cream (in the UK) is essential. The high fat content coats the flour proteins, preventing excess gluten formation and guaranteeing a soft, moist center. You will also need an extra tablespoon for brushing the tops.
- 1 teaspoon Pure Vanilla Extract: A high-quality vanilla extract adds a beautiful aromatic warmth to the master dough.
- Coarse Sugar: Sprinkling turbinado, demerara, or sanding sugar over the cream-brushed tops before baking creates a stunning, crunchy, bakery-style finish.
How to Make the Best Scones Ever
Follow these step-by-step instructions carefully. Remember that a light, gentle touch is your best tool in the kitchen.
Prep Time: 15 minutes Cook Time: 15 to 18 minutes Total Time: 33 minutes Servings: 8 large scones
1. Prepare Your Environment
Preheat your oven to 400°F (200°C). Line a large, heavy-duty rimmed baking sheet with a piece of parchment paper or a silicone baking mat. Having your pan ready ensures your cold dough does not have to sit on the warm counter waiting to be transferred.
2. Whisk the Dry Ingredients
In a large, wide mixing bowl, combine the 2 cups of all-purpose flour, 1/3 cup of granulated sugar, 1 tablespoon of baking powder, and 1/2 teaspoon of fine sea salt. Whisk these together vigorously for about thirty seconds. It is crucial that the baking powder is evenly distributed throughout the flour to ensure an even rise.
3. Grate the Frozen Butter
Remove your stick of butter from the freezer. Using the large shredding holes of a standard metal box grater (the side you would use for cheddar cheese), grate the entire stick of butter directly into the bowl of dry ingredients.
4. Toss the Butter and Flour
Using your fingertips, gently toss the grated ribbons of butter into the flour mixture. Do not squeeze, press, or knead the butter into the flour; you simply want to separate the butter shreds so each one is fully coated in flour. The mixture should quickly resemble coarse, dry sand with distinct pieces of fat.
5. Incorporate the Wet Ingredients
Make a small well in the center of the flour and butter mixture. Pour in the 3/4 cup of cold heavy cream and the 1 teaspoon of vanilla extract.
6. Fold to Create a Shaggy Dough
Using a rubber spatula, a wooden spoon, or a dough whisk, gently fold the mixture together. Stop mixing the very second the liquid is absorbed and a rough, shaggy dough begins to form. There will likely be flour left at the bottom of the bowl—this is exactly what you want. Do not overmix.
7. Turn Out and Shape
Turn the shaggy dough, along with any loose, dry flour from the bottom of the bowl, out onto a clean, bare countertop. With lightly floured hands, gently press and gather the loose pieces together, folding the dough over itself once or twice just until it forms a cohesive mass.
8. Form the Disc
Gently press the dough down into a flat, even disc. It should be approximately 8 inches in diameter and an essential 1-inch thick. If you press the dough too thin, your scones will be flat and brittle rather than tall and fluffy.
9. Cut the Wedges
Using a sharp chef’s knife or a metal bench scraper, cut the dough disc in half, then into quarters, and finally into eighths, creating 8 equal triangular wedges. When cutting, press straight down and pull straight up. Do not saw back and forth with the knife; sawing pinches the edges of the dough together and restricts the scones from rising properly in the oven.
10. Brush and Garnish
Transfer the 8 wedges to your prepared baking sheet, leaving about two inches of space between each pastry. Dip a pastry brush into a little extra heavy cream and lightly brush the top surface of each wedge, avoiding the cut sides. Sprinkle the tops generously with coarse sugar.
11. Bake to Golden Perfection
Place the baking sheet on the middle rack of your preheated 400°F (200°C) oven. Bake for 15 to 18 minutes. The scones are finished when they have puffed up significantly, the layers are visible on the sides, and the tops are a beautiful, light golden brown.
12. Cool and Serve
Remove the baking sheet from the oven and allow the scones to rest on the hot pan for 5 minutes to set their structure. Transfer them to a wire cooling rack. They are absolute perfection when served warm, about 15 minutes out of the oven.
Pro Tips for Next-Level Results
Even with a perfect recipe, execution is everything. Keep these professional tips in your back pocket to ensure success:
- The Chilling Trick: If your kitchen is warm, or if your hands run hot and you feel the dough has softened while shaping, place the entire baking sheet of cut, unbaked scones into the refrigerator for 15 to 20 minutes before baking. Re-solidifying the butter guarantees the flakiest texture.
- The “Folding” Technique for Extra Layers: When turning your shaggy dough out onto the counter, try gently patting it into a rough rectangle, folding it in half like a book, and then patting it down into your 8-inch disc. This single fold creates a laminated effect, resulting in stunning, sky-high layers.
- Do Not Twist the Cutter: If you choose to make round scones instead of wedges, pat the dough out to 1-inch thickness and use a floured biscuit cutter. Press straight down and pull straight up. Never twist the cutter, as this seals the edges and halts the rising process.
- Heavy Cream vs. Egg Wash: Brushing the tops with heavy cream yields a lovely, matte, golden-brown finish. If you prefer a glossy, shiny, deeply browned exterior, brush the tops with a beaten egg wash (one egg beaten with a splash of milk) instead.
Variations and Substitutions
Because the ratio of fat, liquid, and flour in this recipe is incredibly stable, it serves as the ultimate base for your culinary creativity. You can safely fold in up to 1 generous cup of mix-ins. Add your mix-ins to the dry flour and butter mixture before you add the heavy cream.
- Classic Blueberry Lemon: Add 1 cup of fresh or frozen blueberries and the freshly grated zest of one large lemon. If using frozen berries, do not thaw them first, or they will bleed purple juice entirely through the dough.
- White Chocolate Raspberry: Fold in 1/2 cup of high-quality white chocolate chips and 1/2 cup of fresh raspberries. Be extra gentle when shaping the dough so you do not crush the delicate berries.
- Maple Pecan: Substitute the granulated sugar for 1/3 cup of pure maple sugar (or light brown sugar). Fold in 3/4 cup of toasted, chopped pecans. Drizzle the cooled baked scones with a glaze made of powdered sugar and maple syrup.
- Savory Cheddar, Bacon, and Chive: To transform this into a savory delight, reduce the sugar to just 1 tablespoon and omit the vanilla extract. Fold in 1 cup of freshly grated sharp cheddar cheese, 1/3 cup of cooked, crumbled bacon, and 1/4 cup of minced fresh chives. Add a generous pinch of cracked black pepper.
- Double Chocolate Chunk: Replace 1/4 cup of the all-purpose flour with 1/4 cup of unsweetened Dutch-process cocoa powder. Fold in 3/4 cup of dark chocolate chunks.
What to Serve With It
A fresh scone is magnificent on its own, but pairing it with the right accompaniments turns it into a memorable event.
- The Traditional Spread: You cannot beat the classic British preparation. Split the warm scone in half horizontally. Spread a thick layer of clotted cream (or mascarpone cheese if clotted cream is unavailable) on each half, and top generously with a high-quality, tart fruit preserve like raspberry, blackberry, or bitter orange marmalade.
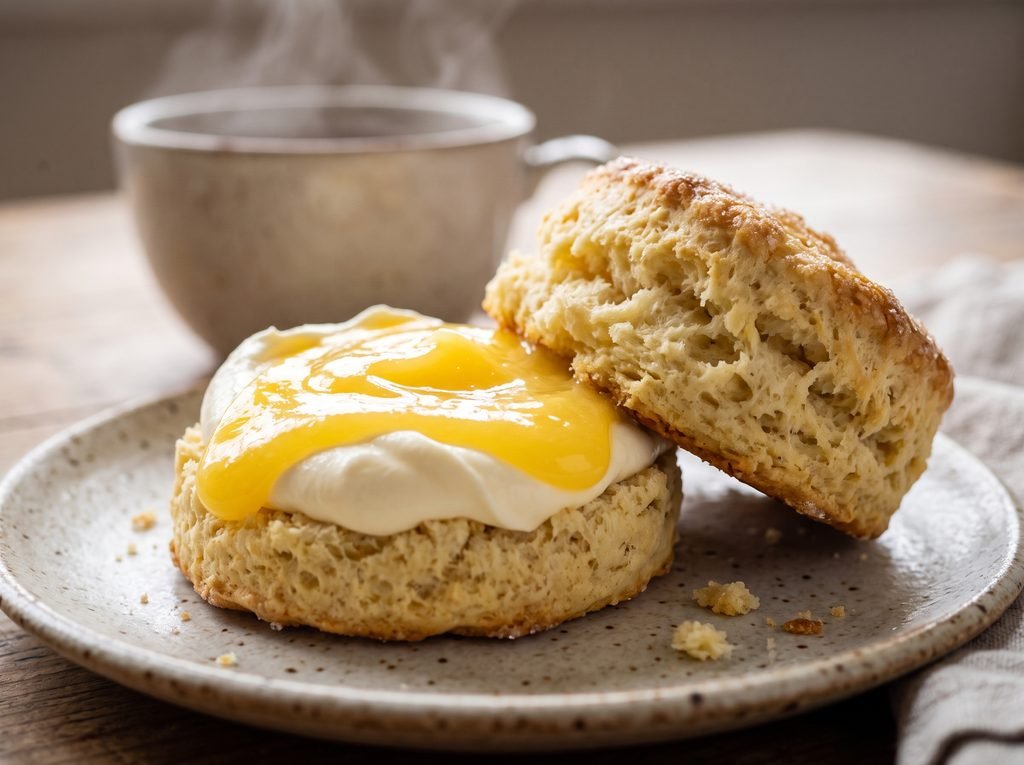
- Curds and Butters: The bright, zesty punch of homemade lemon curd or passionfruit curd cuts beautifully through the richness of the pastry. Alternatively, whip some softened salted butter with a little honey and cinnamon for an incredible, melty topping.
- Beverage Pairings: Scones have a naturally crumbly texture that practically begs for a hot drink. Serve them alongside a robust black tea (Earl Grey, Darjeeling, or English Breakfast), a frothy cappuccino, or a French press of dark roast coffee.
Storage and Reheating Guidelines
Like all baked goods that rely on butter and chemical leavening, scones are at their absolute peak within hours of leaving the oven. However, proper storage ensures your leftovers will remain delicious.
Storing Baked Scones
Allow the baked scones to cool completely to room temperature. If you put warm pastries into a container, the escaping steam will create condensation and turn the crusts soggy. Once entirely cool, place them in an airtight container lined with a dry paper towel to absorb excess moisture. They will keep at room temperature for up to 2 days, or in the refrigerator for up to 5 days.
Freezing Unbaked Dough (The Best Method)
This is the ultimate hack for freshly baked treats on demand. Prepare the recipe all the way through cutting the dough into wedges. Place the unbaked wedges on a parchment-lined plate and freeze for 1 hour until solid. Transfer the frozen wedges to a heavy-duty freezer bag. They will stay fresh for up to 3 months. When you are ready to eat, simply place the frozen wedges on a baking sheet, brush with cream, and bake at 400°F (200°C)—adding 2 to 4 extra minutes to the original bake time. Do not thaw them first.
Reheating Baked Leftovers
To revive a day-old scone and restore its crispy exterior, place it in a 350°F (175°C) oven or toaster oven for 5 to 8 minutes until warmed completely through. Avoid the microwave if possible; while it will make the scone hot, it will destroy the flaky crust and render the pastry soft and steamy.
Frequently Asked Questions
Why did my scones spread out and become flat? Flat baked goods are usually the result of warm butter or old, expired baking powder. If your butter melted before it hit the hot oven, the structure collapsed. Always use frozen butter. Additionally, ensure you did not press the dough disc too thin before cutting; it must be at least 1-inch thick.
Can I use a food processor instead of a box grater? Yes. Place the dry ingredients into the food processor, drop in cold, cubed butter, and pulse 5 or 6 times until the butter resembles pea-sized chunks. Transfer the mixture to a large bowl before adding the heavy cream. Do not add the cream to the food processor, or you will overmix the dough into a tough paste.
What is the difference between heavy cream and buttermilk in scones? Heavy cream provides a high fat content that results in a tender, rich, almost cake-like crumb with a subtle sweetness. Buttermilk is highly acidic and lower in fat; it yields a much lighter, tangier pastry that closely resembles a savory Southern biscuit. While you can substitute buttermilk in this recipe, heavy cream produces the ultimate sweet scone texture.
Why are my scones tough and dry? Toughness is caused by overworking the dough, which develops too much gluten. Dryness is caused by adding too much flour (always spoon and level your measuring cups) or baking them for too long. Mix the dough only until it just barely comes together.
Can I use milk instead of heavy cream? You can use whole milk in an absolute pinch, but the results will not be the same. Milk lacks the necessary fat content, so your scones will be notably less tender and less rich. If you must use milk, consider adding an extra tablespoon of cold butter to the dry ingredients to compensate for the lost fat.
Are these supposed to be crumbly? A proper scone should have a crumbly, flaky exterior, but the interior should be soft, moist, and tender. It should not crumble to dust in your hands. If it is entirely dry and choking, the dough was overworked or over-floured.
Can I make the dough the night before? Absolutely. You can mix the dough, cut it into wedges, and arrange them on a baking sheet. Cover the sheet tightly with plastic wrap and store it in the refrigerator overnight. The next morning, uncover, brush with cream, and bake directly from the fridge.
Final Thoughts
The pursuit of the best scones recipe ever does not need to end in frustration or a trip to an overpriced bakery. By understanding the importance of cold ingredients, utilizing the brilliant box-grater technique for your butter, and treating your dough with a gentle hand, you can master this classic pastry with ease. This recipe proves that you do not need complex techniques or specialized equipment to create something extraordinary. Whether you keep them delightfully plain to showcase high-quality butter and vanilla, or load them up with fresh berries and chocolate, these flaky, tender scones are guaranteed to elevate your mornings and impress anyone lucky enough to share them with you.